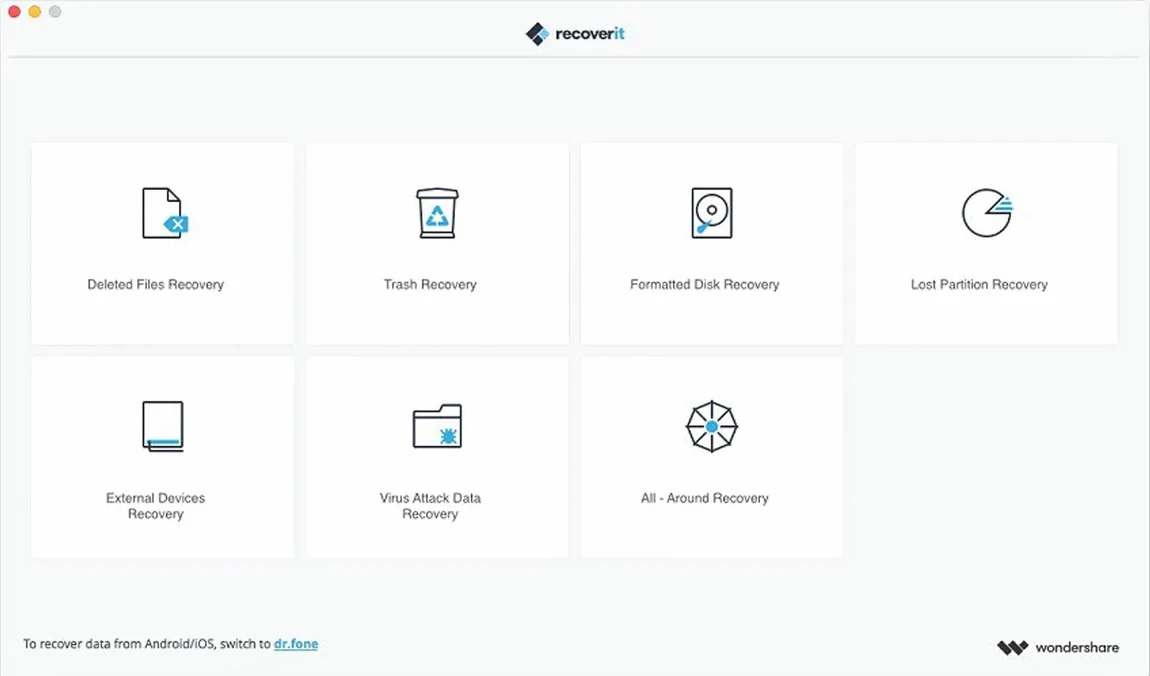
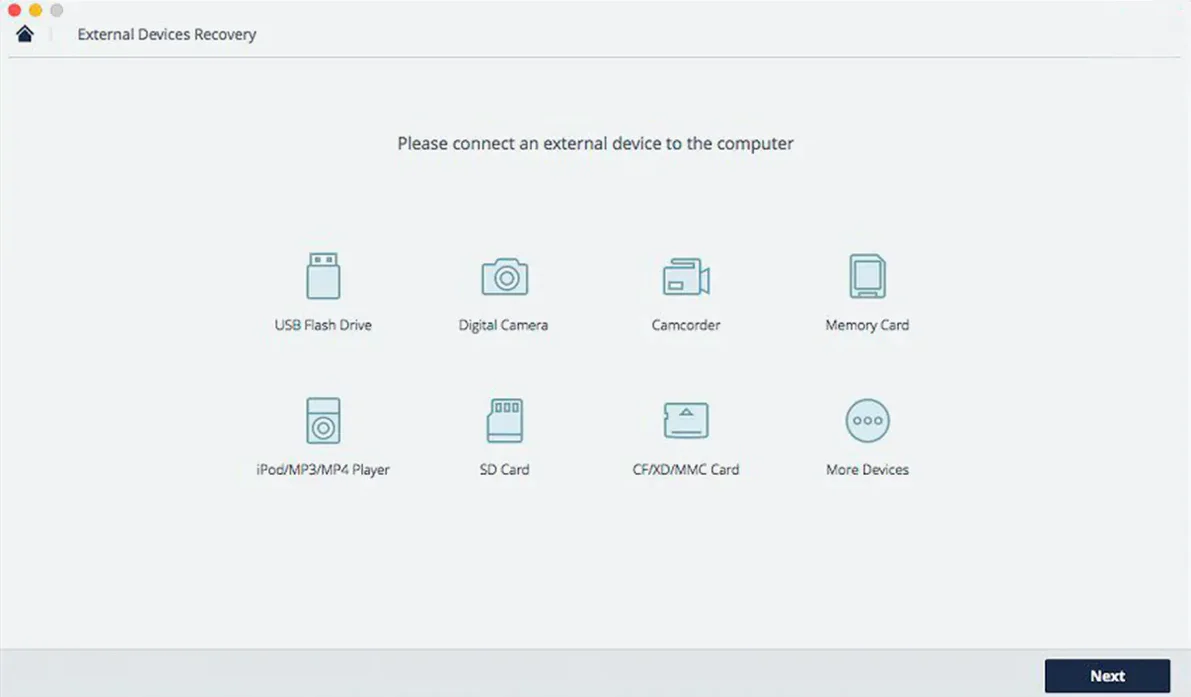
People who need more than a basic trash-can scan—users recovering from formatted drives, failed external SSDs, or corrupted memory cards—are the audience for Wondershare Recoverit. It scans internal disks, external HDDs, SSDs, USB flash drives, and memory cards, and lets you preview files before committing to recovery.
Recovers files from Macs running macOS 10.14 or later
- Recovering deleted or lost files from Mac systems running macOS 10.14 or later.
- Working with multiple external media types without switching tools.
- Previewing recoverable files before restoring, which saves time on large scans.
Intel-only with no native Apple Silicon support
- Intel-only; no native Apple Silicon support as of version 14.0.20.6.
- Interface languages include English, German, Spanish, Italian, Portuguese, French, and Japanese.
- The app requires a Gatekeeper bypass step during installation—standard for unsigned Mac software.
Trips over Gatekeeper bypass during installation
Even straightforward recovery tools have quirks. Here are the ones I see people trip over most often with Recoverit.
Scan finishes but shows no files
This usually happens when the scan mode doesn't match the data-loss scenario. If you deleted files and emptied the trash, a quick scan may miss them. Switch to a deeper scan from the menu before starting over. Also check that the drive isn't mounted read-only—some external drives default to read-only on Mac after a corruption event.
Preview shows garbled thumbnails
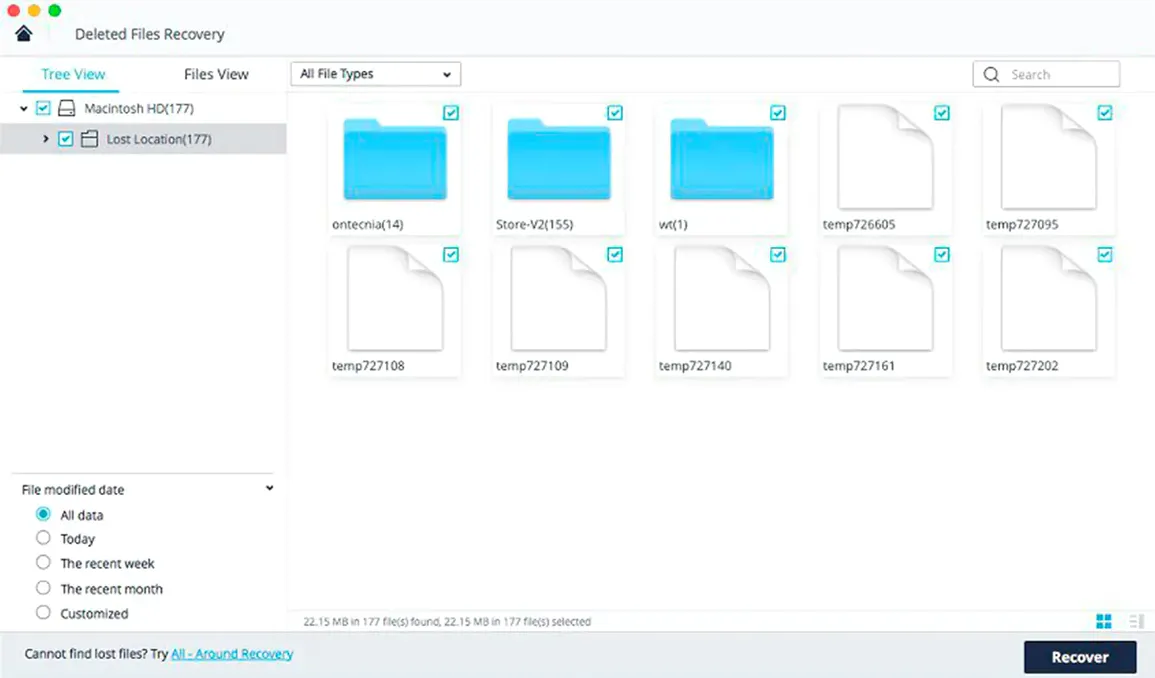
Preview relies on the file headers still being intact. If a file shows as a generic icon or with scrambled metadata, it may be partially overwritten. You can still attempt recovery, but set expectations accordingly. Recoverit will mark the file as recoverable even if the preview is incomplete.
Gatekeeper blocks the install
The install flow for version 14.0.20.6 requires you to press Enter in Terminal to bypass Gatekeeper. If you run the app and get a "can't open because it's from an unidentified developer" message, you missed that step. Remount the disk image, run the bypass command again, and drag the app to Applications.
Recovery hangs or takes very long
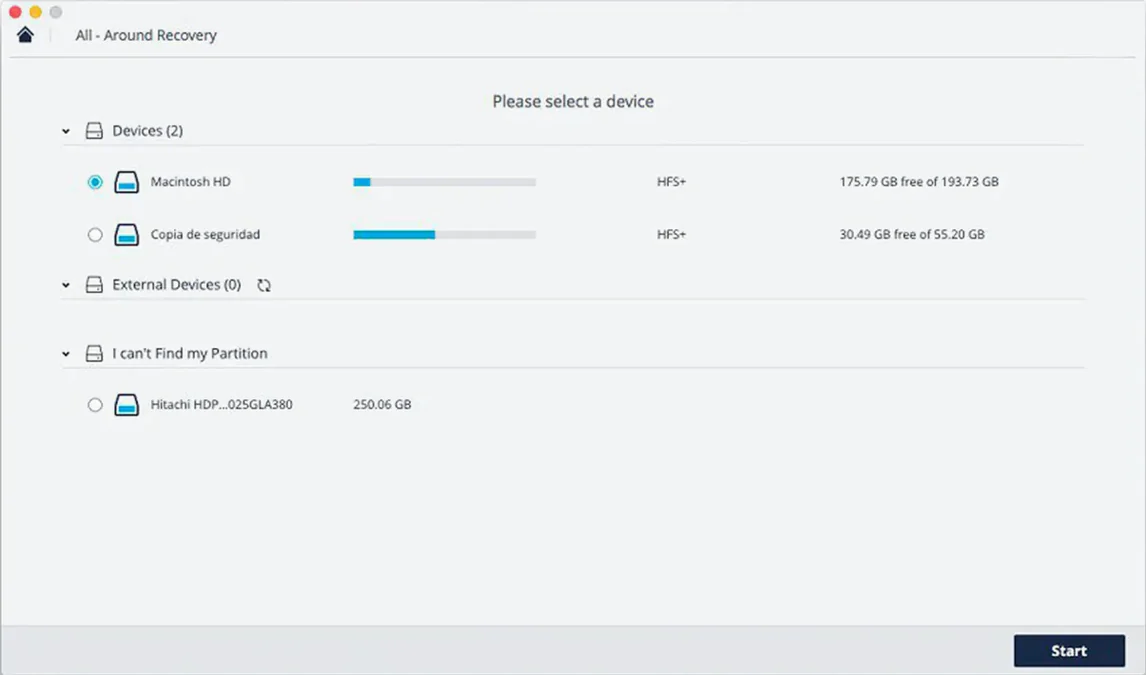
Large drives with many small files can slow scanning to a crawl. If the progress bar stalls for more than a few minutes, close Recoverit, disconnect the drive, reconnect it, and restart the scan with the "external device" option explicitly selected. Avoid using the computer for other disk-heavy tasks during the scan.
Benefits Mac users who need external media recovery
Recoverit is a general-purpose recovery tool, but some Mac users benefit more than others.
Users with mixed media collections
If you store photos (RAW, TIFF, PNG), video clips (MOV, AVI, MP4), audio files (MP3, WAV, AAC), and documents on the same drive, Recoverit's file-type coverage saves you from running separate tools for each format. One scan covers them all.
People reformatting drives for reuse
After a full format, file tables are wiped. Recoverit can still scan the raw data and reconstruct files. This is useful for repurposing old external drives without losing everything on them first.
Users with multiple external drives and memory cards
Photographers, videographers, and anyone juggling several storage devices will appreciate not having to install a different tool for each interface type. Recoverit handles internal SATA, external USB, Thunderbolt enclosures, SD cards, and CF cards from the same interface.
Mac users running older Intel hardware
Version 14.0.20.6 runs on macOS 10.14 and later Intel machines. If you're on a 2014–2019 Mac that doesn't support newer macOS versions, Recoverit still works. No need to upgrade the OS solely for recovery.
Writing new data to the drive before scanning
Most errors come from rushing the process. These are the ones I've seen repeated.
- Writing new data to the drive before scanning. Every new file increases the chance that the deleted file's space is overwritten. Install Recoverit on a different drive, not the one you're recovering.
- Recovering files back to the same drive. The official guide warns against this. Saving recovered files to the same physical drive risks overwriting data you haven't recovered yet. Always use a separate disk.
- Skipping the preview step. Recoverit lets you preview files before recovery. Beginners sometimes restore everything they see, filling their destination drive with corrupted files. Previewing saves time and space.
- Running the scan on a failing drive without disabling auto-mount. A failing drive can trigger macOS disk-checking tools when connected. Disable automatic mounting in System Preferences > External Drives before plugging in a suspect drive, then mount it manually inside Recoverit.
- Expecting every file to be fully recoverable. Recovery depends on whether the file's clusters are still contiguous and unclaimed. Some files will be partial. Recoverit marks them as recoverable, but you may only get a fragment.
Run a quick scan on a test file first
The first hours with Recoverit are better spent understanding your drives than jumping into a full recovery.
Run a quick scan on a test file first. Delete a non-essential document, empty the trash, then launch Recoverit and see if it finds that file. This confirms the app is working with your particular macOS version and drive setup, and it teaches you the scan-preview-recover workflow without pressure.
Familiarize yourself with the file-type filters. Recoverit lists recoverable files by category. After a scan, use the filter to show only documents or only images. This narrows results quickly when you're looking for one file among thousands.
Note the destination drive you plan to use. Ideally, that drive is empty or has ample free space. If you don't have a spare external drive, consider using a large USB stick or a second internal drive. Do not rely on cloud storage during recovery—uploading large files over a slow connection can cause the app to time out.
Keep a log of what you attempt. Drive letter, scan type, scan duration, and which files you recovered. If something goes wrong later, you'll know what worked and what didn't. A text file on your desktop is enough.
Fills gaps that Trash and Time Machine leave open
Recoverit doesn't replace macOS's built-in Trash or Time Machine, but it fills gaps that those tools leave open.
macOS Trash and Finder
When you empty the Trash, files are still on the disk but marked as available space. Finder no longer sees them. Recoverit scans the disk at a lower level and finds those files by their headers. It works alongside Finder—you use Finder to browse the recovered files after Recoverit places them on the destination drive.
Time Machine backups
Time Machine backs up files at scheduled intervals. If a file was created and deleted between backups, Time Machine never had it. Recoverit can still pull it from the live disk. If Time Machine did back it up, you could also restore from there—Recoverit is for the gap cases.
Disk Utility and fsck
macOS Disk Utility can repair file-system structures, but it doesn't recover deleted files. Running fsck or a repair on a failing drive can sometimes make recovery harder by moving data around. If you suspect hardware failure, use Recoverit to recover files first, then run Disk Utility diagnostics afterward.
Third-party file managers and cloud sync clients
If you use a file manager like ForkLift or a cloud sync tool like Dropbox or Google Drive, be aware that syncing resumes as soon as you save recovered files to a synced folder. Disable sync on the destination drive before starting recovery, or Recoverit's progress will compete with upload processes and slow both down.
Disk imaging utilities
For critical recoveries, some users create a byte-level disk image first using dd or a tool like Clonezilla. Recoverit can then scan the image file instead of the physical drive. This is a more advanced workflow but avoids further wear on a failing drive. Recoverit does not create disk images itself—pair it with a dedicated imaging tool for that scenario.
The app stays out of the way when not in use. It doesn't install background services or modify system files beyond its own directory. Unmounting the disk image after installation leaves no traces. It's a fire-and-forget tool: launch it when you need it, quit when you're done.
- macOS 10.14 or later
- Intel processor
Questions from the notes
What file types can Recoverit preview before recovery?
The official guide states that files can be previewed before recovery, but does not list specific file types. In practice, common document and image formats are previewable.
Does Recoverit work on Apple Silicon Macs?
No, the current version 14.0.20.6 is Intel-only and runs under Rosetta 2 on Apple Silicon Macs.
What media does Recoverit support for recovery?
It supports internal disks, external HDDs, SSDs, USB flash drives, and memory cards.
Install procedure
- Mount the disk image and run Open Gatekeeper friendly.
- Press Enter in Terminal to bypass Gatekeeper.
- Drag the app to the Applications folder.
- Launch the app after installation.
Reports from players
Sign in or create a tester account to file a report.
No reports filed yet.