
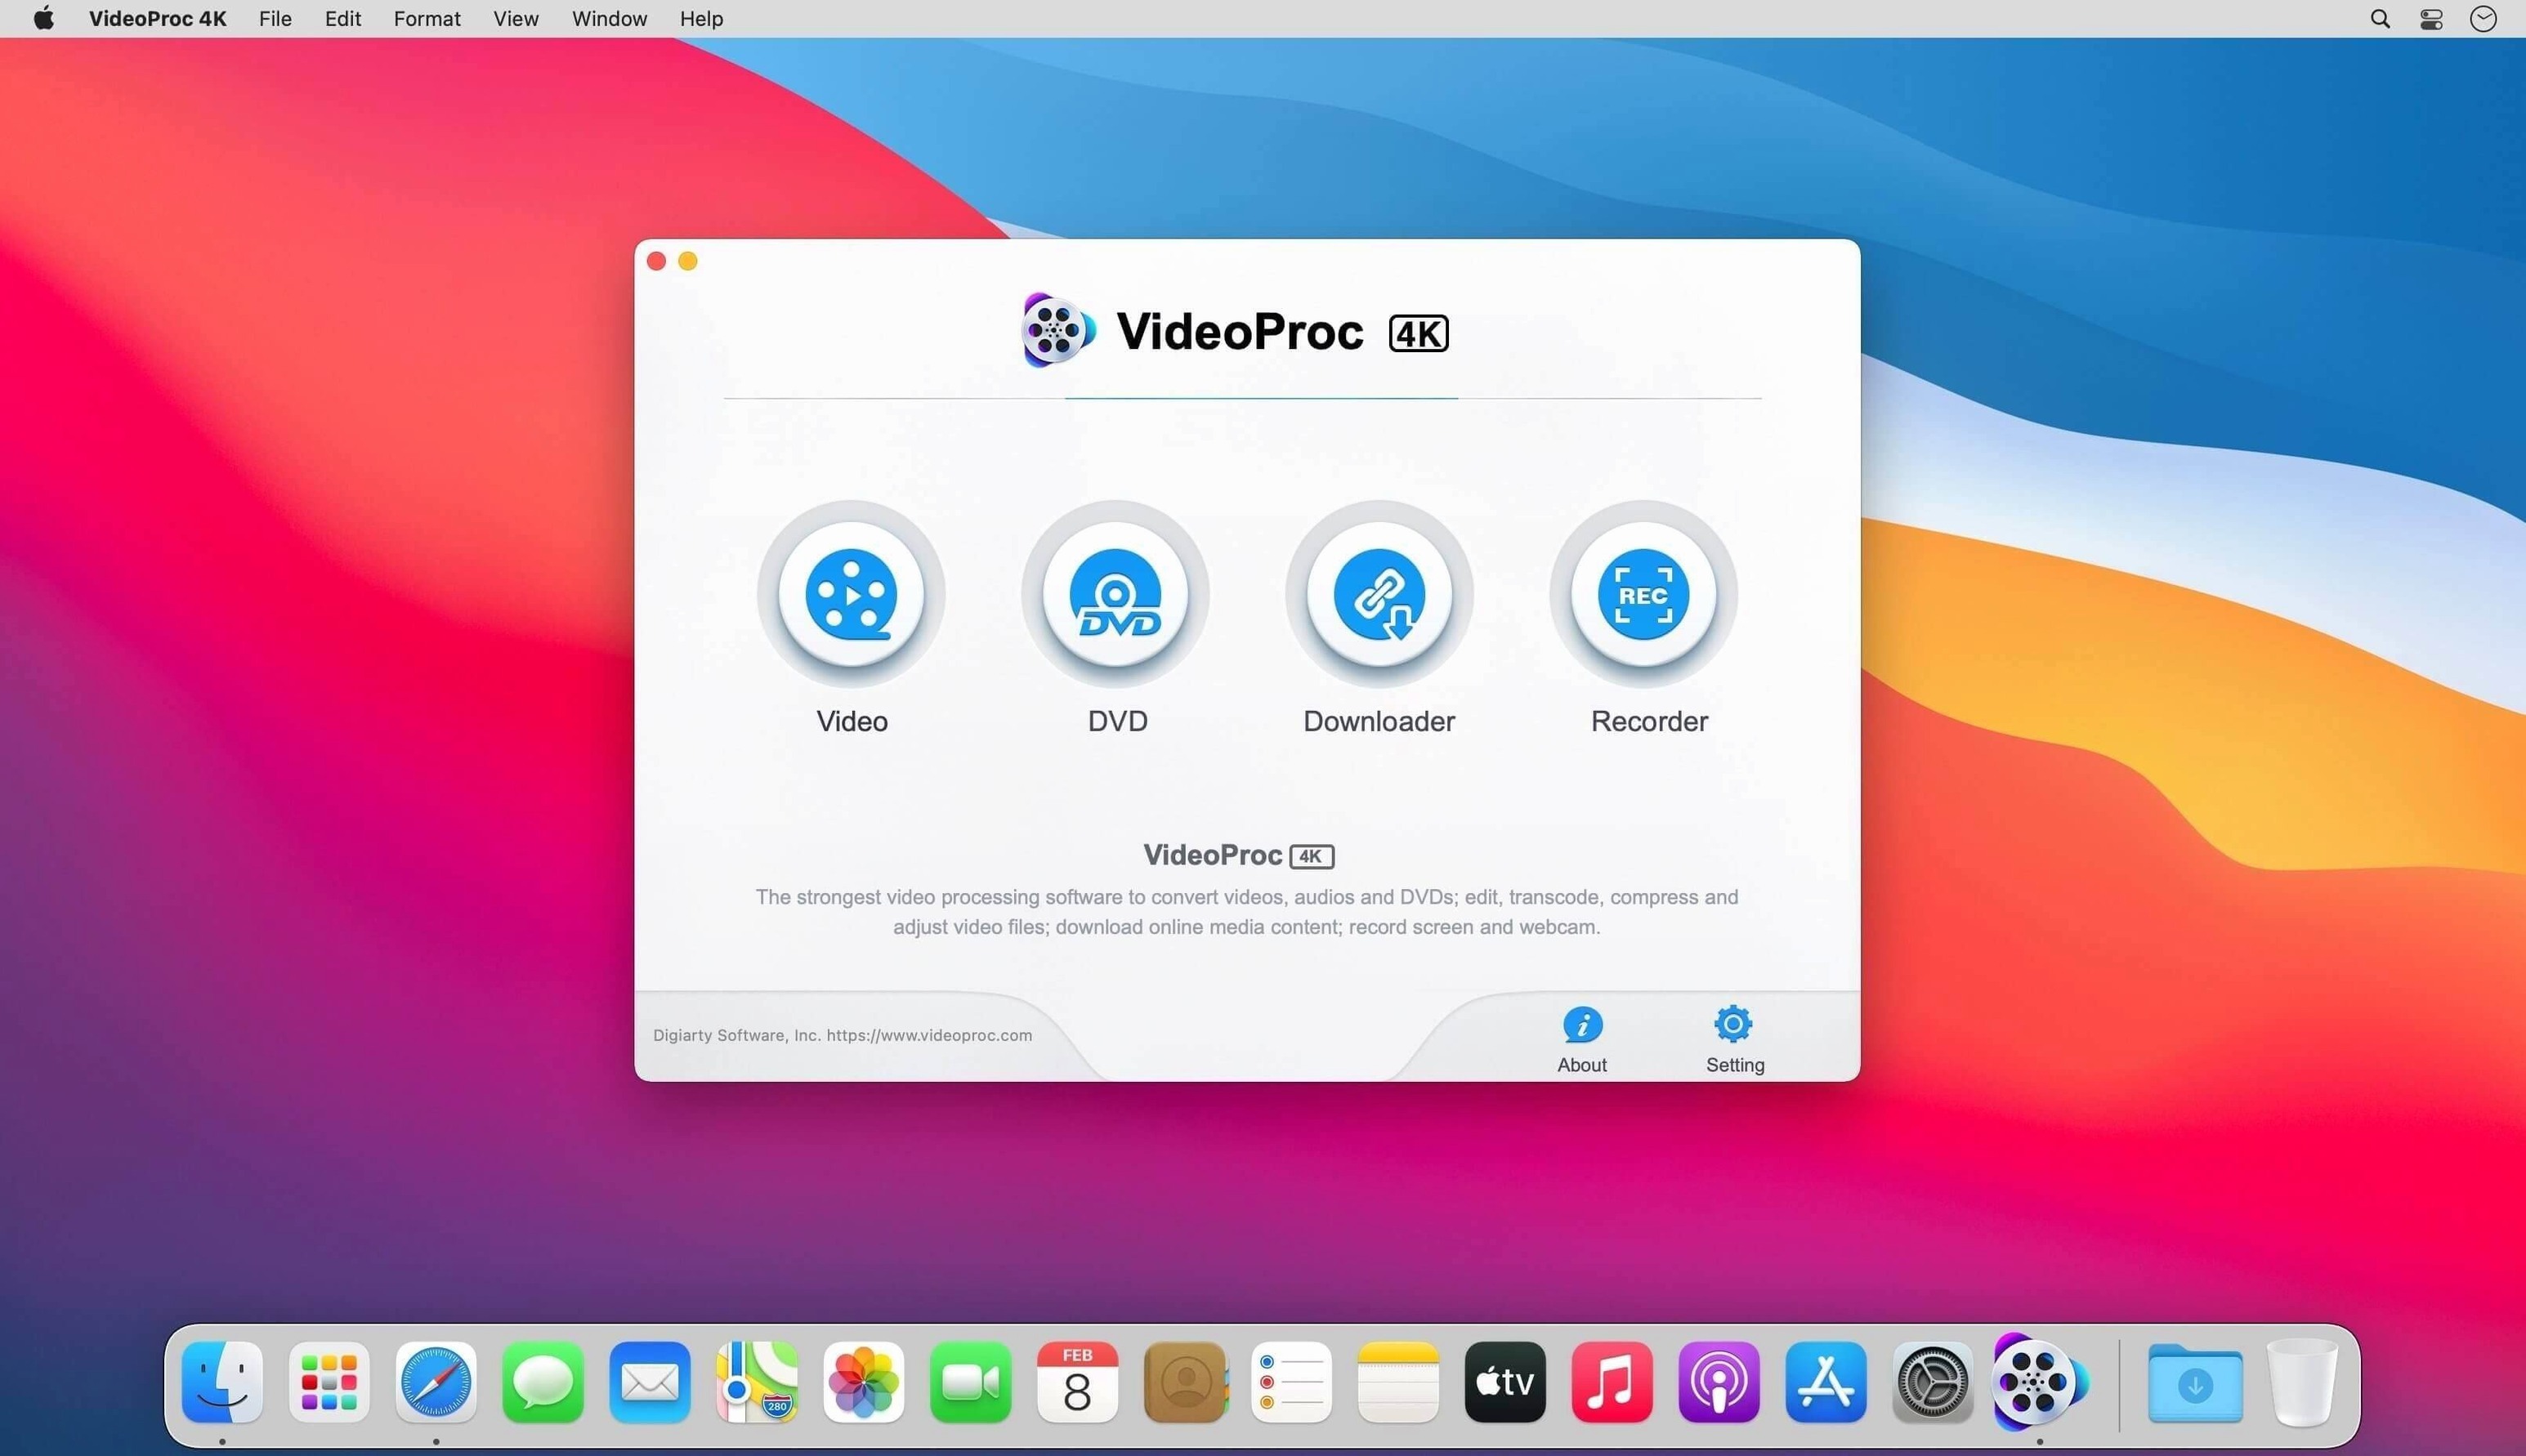
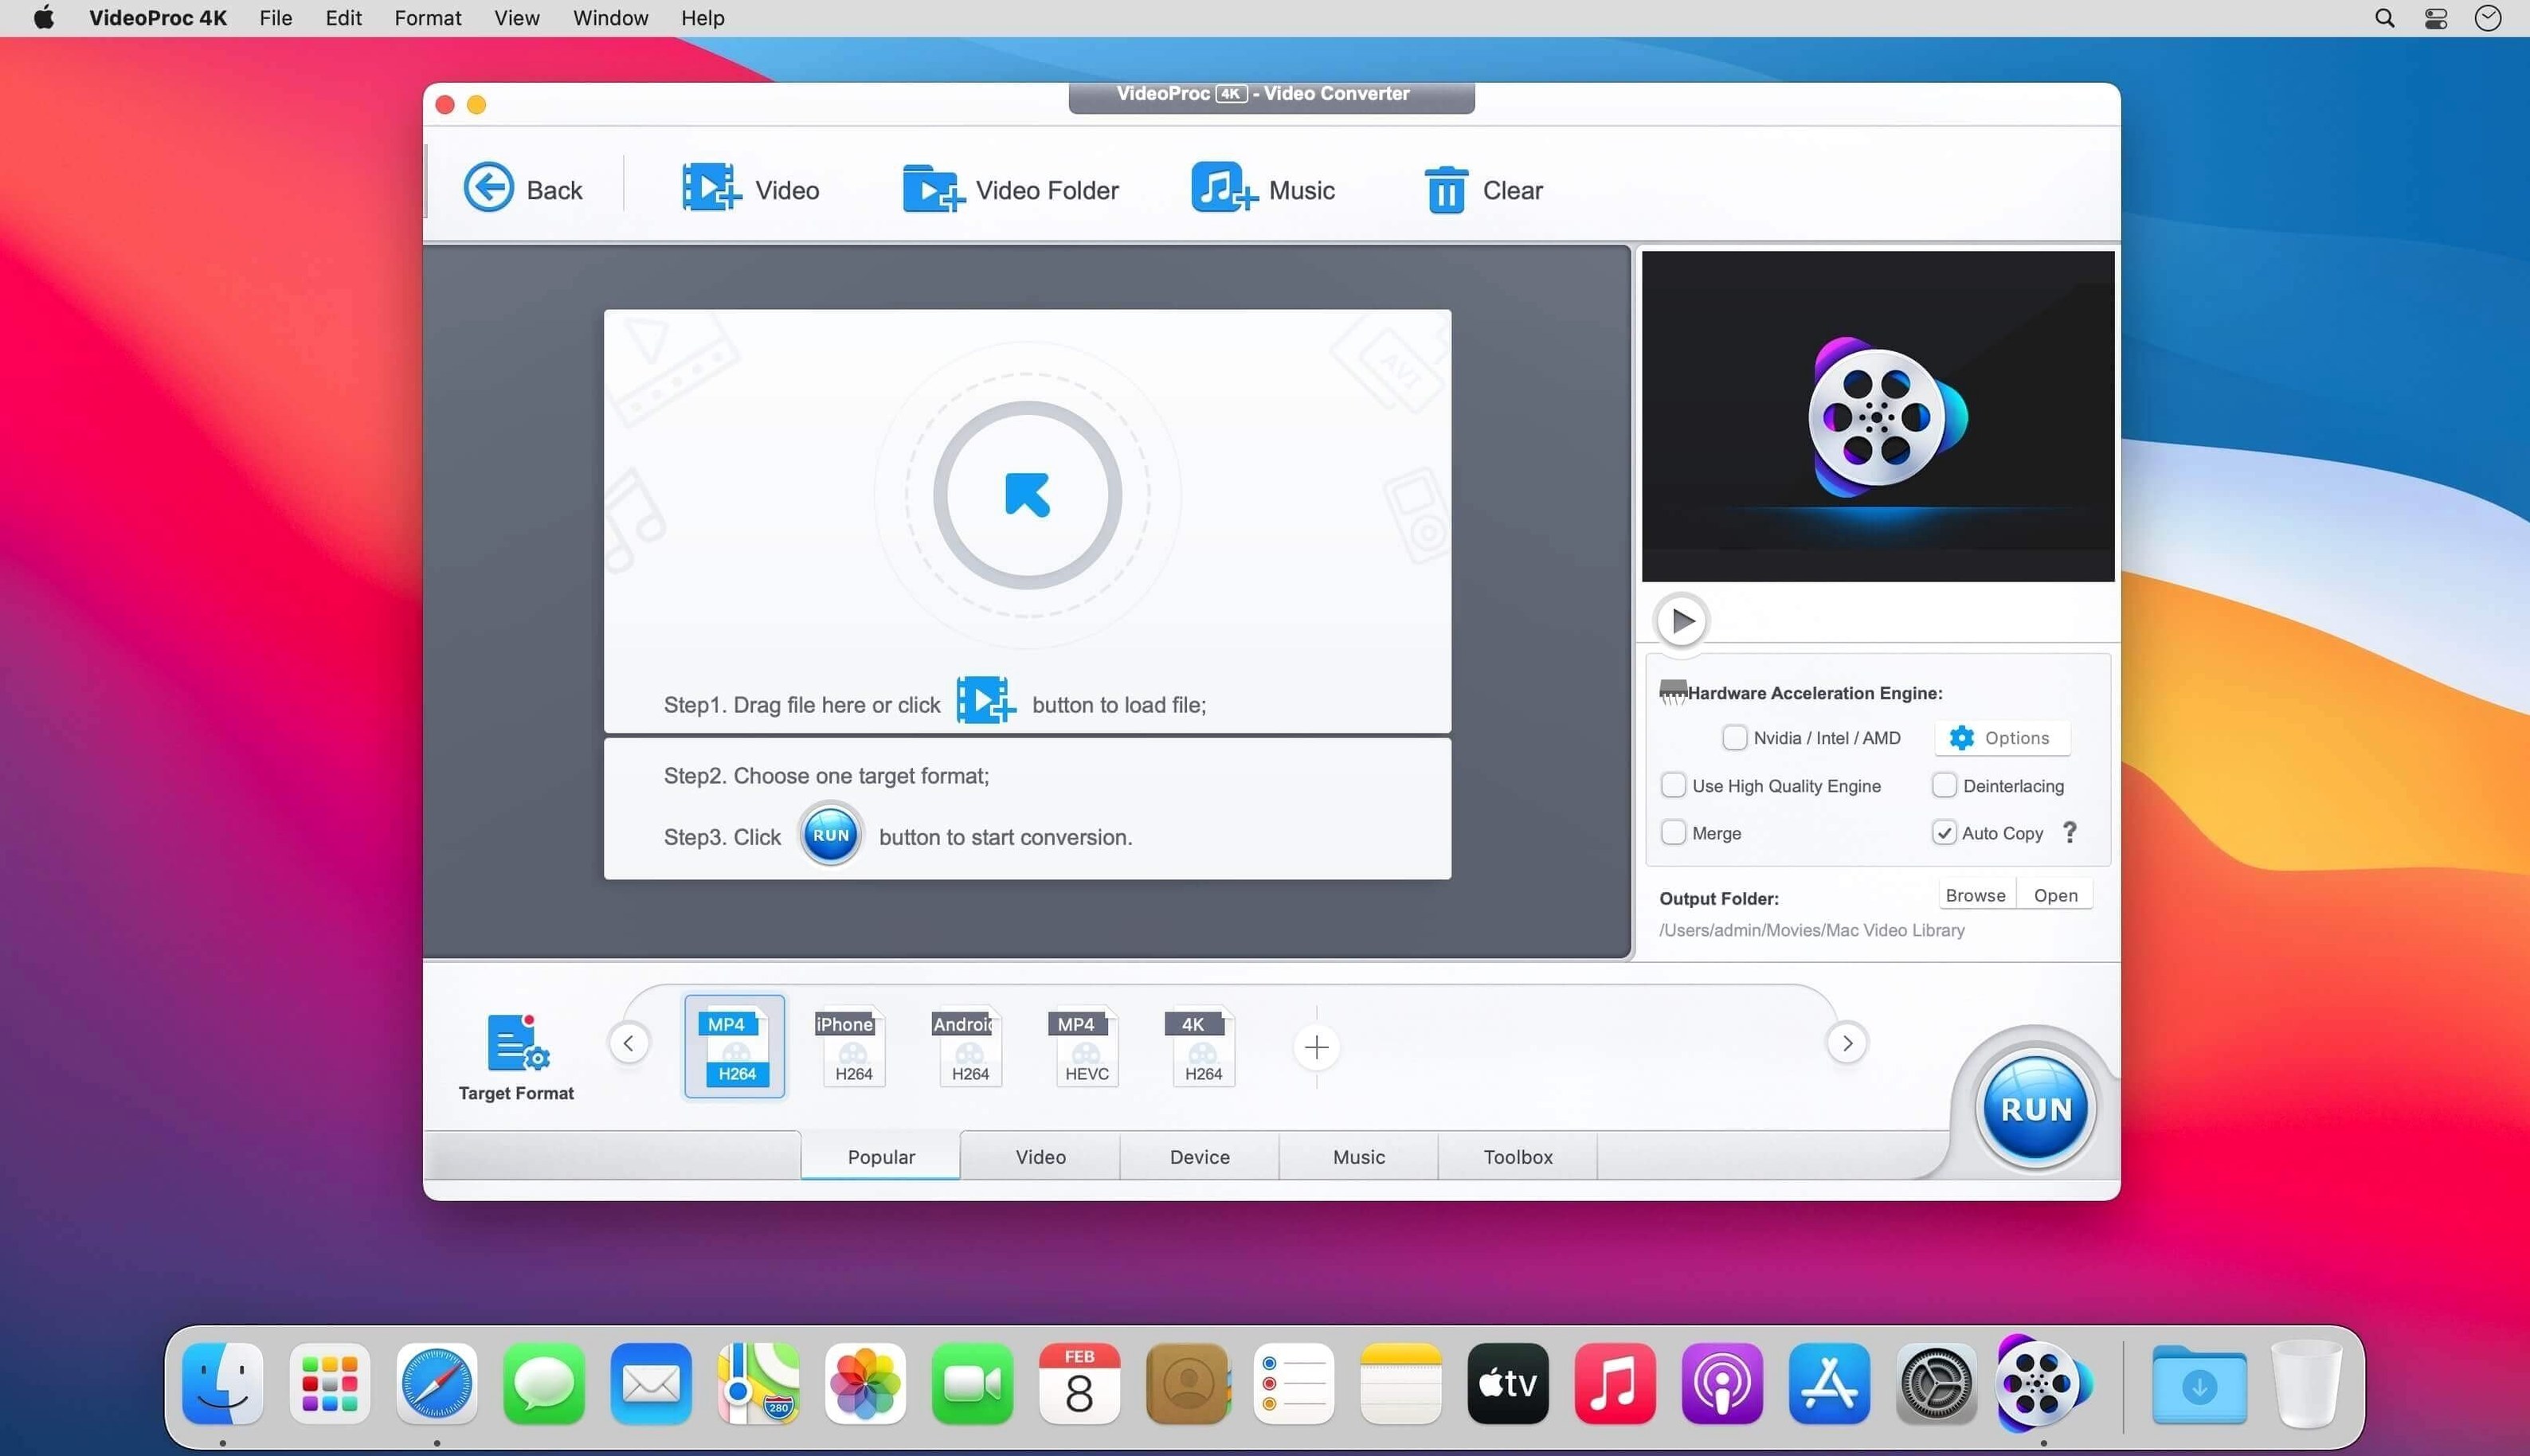
VideoProc Converter 6.6 runs on Intel Macs with macOS 10.10 or later. The 64-bit build covers the older hardware still doing daily work, which matters for a utility that's meant to handle files from phones, cameras, drones, and GoPro units. Here is one realistic job from start to finish.
- Mount the disk image, run the Gatekeeper-friendly installer, drag the app into Applications.
- Launch, drop in a 4K clip from a drone, and pick an output format from the 370 codecs supported.
- Trim the parts you do not need before conversion, so you only process what stays.
- Apply compression to shrink the file for upload; GPU acceleration keeps the pass quick.
- Batch a second file from an iPhone in the same queue.
- Convert and check the output in Finder.
Before getting deep into conversions, a few settings are worth adjusting first. Open the preferences and check the hardware acceleration toggle — VideoProc Converter supports GPU acceleration, so make sure it’s enabled for your Intel Mac. If you plan to compress video regularly, set a default output folder in the same panel; this saves you from hunting through nested Finder windows after each batch. The temp file location matters too, especially when working with 4K or long recordings: point it to a drive with enough free space, not your system SSD.
Trim before converting to avoid long waits
The most common slip is skipping the trim step. People drop a two-hour recording into the converter and let it process the whole thing, then wonder why it took so long. Trimming the start and end before conversion cuts processing time significantly, and the editor inside VideoProc Converter handles this in a few clicks. Another mistake is ignoring the output codec preset. The app lists 370 supported codecs, but beginners often pick a generic format like MP4 without checking whether the destination device actually plays H.265 files. Test one short clip first if you are unsure. Hardware acceleration draws more current, so plug into power if you want the pass to finish at a reasonable clip.
Trades raw control for convenience over HandBrake
Compared with HandBrake, VideoProc Converter trades some raw control for convenience. HandBrake gives you deep encoder tuning and is free, but its interface can feel dated, and batch operations require a separate queue manager. VideoProc Converter keeps everything inside one window — trimming, cropping, effect filters, and compression are all part of the same workflow. For quick edits on drone footage, that integration saves time.
Subler serves a different niche: it muxes, demuxes, and tags video files, but it does not re-encode or compress. If your task is metadata cleanup or adding subtitles to an existing MKV, Subler works fine. If you need to shrink a 4K GoPro file down to 1080p for upload, VideoProc Converter is the tool that actually does the conversion.
FFmpeg through the terminal offers every option imaginable, but only if you know the command syntax by heart. VideoProc Converter puts a GUI over the same underlying libraries, so you get the power without keeping a cheat sheet open. The trade-off is less granularity for advanced filters, but for everyday conversion and compression, that trade is worth making.
A workflow for converting and compressing a batch of drone clips
Open VideoProc Converter and drag all twelve files into the main window. The app stacks them in a queue automatically.
Select all clips and pick an output format — H.264 in an MP4 container is safe for most platforms. If the source bitrate is high, drop it to around 20 Mbps; the compression slider inside the app gives you a preview of the resulting file size. Leave hardware acceleration enabled on that Intel Mac so the batch finishes in fewer passes.
Before running the queue, add a trim to each clip. Click the edit icon on a clip, mark the in and out points to remove the boring parts at the start and end. Repeat for the other clips. The app stores each trim separately, so nothing gets overwritten.
Hit the convert button and let the queue process. The output folder fills up with your trimmed, compressed files. Check one or two to confirm the quality looks acceptable. If a clip came out too soft, raise the bitrate slightly and re-run only that clip. The batch approach saves hours compared to doing each file manually, and the GPU acceleration keeps the wait manageable even on Intel hardware.
The interface ships in nine languages, including English, French, and both Chinese variants. For a straight convert-and-trim workflow, the tool stays out of the way.
- macOS 10.10 or later
- Intel x86 (64-bit)
Install procedure
- Mount the disk image and run the Gatekeeper-friendly installer.
- Press Enter in Terminal to bypass Gatekeeper.
- Drag the app to the Applications folder.
- Open the app from Applications.
Reports from players
Sign in or create a tester account to file a report.
No reports filed yet.