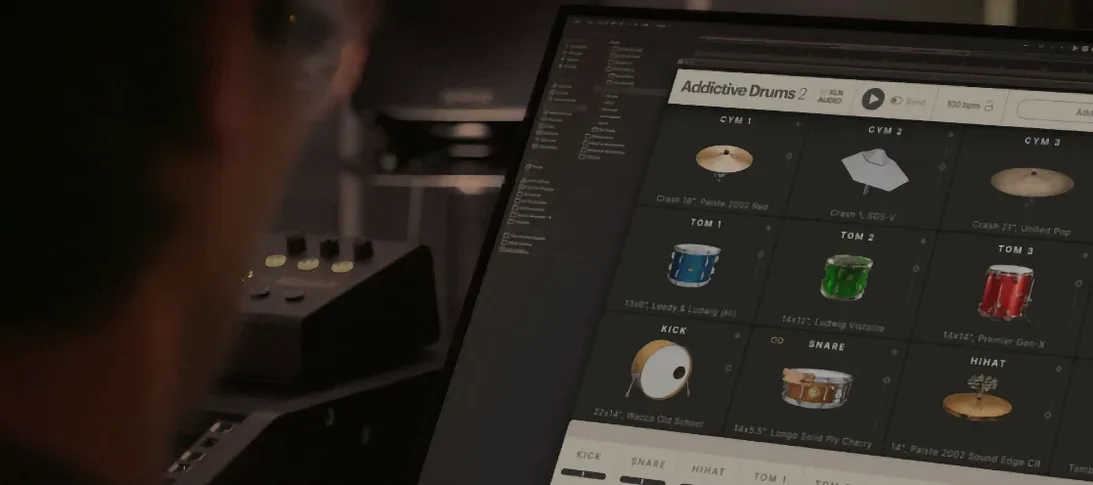
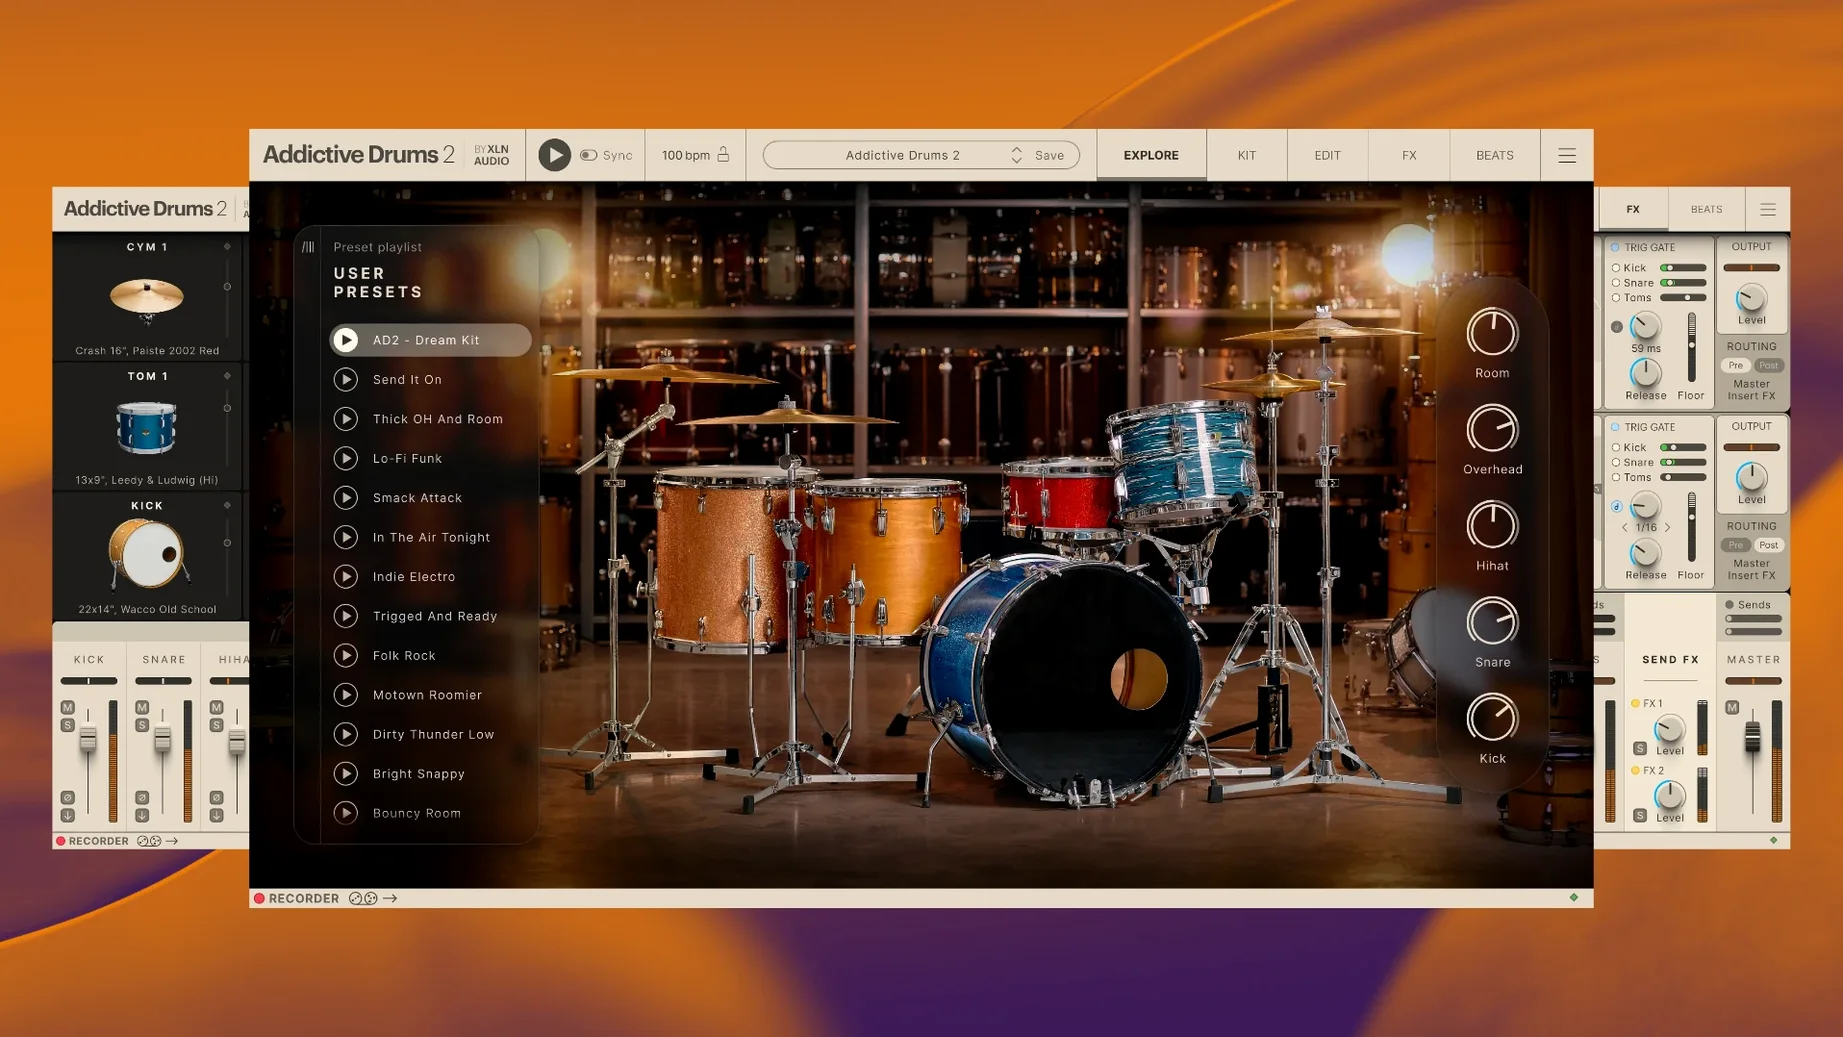
Addictive Drums 2 is a virtual drum instrument and plugin for building drum tracks inside a DAW.
Setting up a drum track
You insert Addictive Drums 2 on a new instrument track. The plugin handles the drum kit sound, so you only need one track per kit. Audio from the plugin runs to that track's output bus, ready for mixing.
Routing outputs to separate buses
Each drum component (kick, snare, toms, cymbals) can be sent to its own bus in your DAW. This lets you apply separate compression, EQ, or reverb to individual pieces. The plugin supports multi-output configurations, making it a practical tool for detailed drum mixing.
Layering with MIDI
You can drag MIDI patterns from the plugin's built-in library onto the track. The MIDI triggers the kit pieces, and you can edit the notes like any other MIDI clip. This approach keeps the drum performance editable while the plugin handles the sound generation.
Keep your mix after loading a new kit
When you first open the plugin, the layout is straightforward, but a few details are worth knowing. The preset browser lists kits by collection, and each kit loads with a default mix. If you want to keep your own mix settings while trying different kits, the plugin remembers the mix position until you change it yourself. You are not forced to rebuild the balance each time.
The MIDI library is organized by style and intensity. You can preview a groove before dragging it to the track by clicking on it. The preview plays at the current project tempo, so you can judge the feel without committing. The groove list also shows the time signature, which helps when you are working in something other than 4/4.
Kit pieces can be muted individually from the main interface. This is useful when you want to hear only the kick and snare for a quick edit, or when a particular cymbal is too loud for a section. The mute state stays with the preset, so you can save it and recall it later.
Runs on Intel Macs and Apple Silicon Macs
Addictive Drums 2 works as a plugin in any 64-bit VST, AU, or AAX host on macOS 10.13 or later. It runs natively on both ARM and x86 architectures, which means it works on Intel Macs and Apple Silicon Macs without translation layers. If you use Logic Pro, the plugin appears in the instrument list like any other AU plugin. In Ableton Live or Cubase, you insert it as a VST instrument.
The standalone application opens the plugin outside a DAW. You can load a kit, browse MIDI grooves, and export audio or MIDI directly. This is a practical way to build a drum part before you even open your project, or to audition kits without starting a full session. The exported files can be dragged into any DAW later.
macOS system features like the standard file picker and context menus work as expected when you load kits or export files. The plugin does not require any additional system utilities beyond what macOS provides. Archive extraction for installation uses an external utility such as Keka, but that is only needed once during setup.
Requires macOS 10.13 or later and a 64-bit processor
The requirements are macOS 10.13 or later and a 64-bit processor. This covers both Intel-based Macs and Apple Silicon models. The plugin is a 64-bit application, so it will not run on 32-bit systems or very old versions of macOS. If your system meets those two criteria, the plugin should load without issues.
The Complete Collection includes all ADpaks, MIDIpaks, and Kitpiece Paks. The total download size is large, so be prepared for a long initial download and extraction. Once installed, the library occupies considerable disk space. Make sure you have enough free space before starting the setup.
The interface language is English only. There are no localization options for other languages. The plugin and its documentation are entirely in English, so a basic understanding of English terms for drum parts and mixing is assumed.
Pick a kit from the preset browser that fits your song
You open your DAW and create a new instrument track. You insert Addictive Drums 2 on that track. The plugin window opens with a default kit loaded. You browse the preset browser and pick a kit that fits your song — maybe a rock kit with a punchy kick and tight snare.
You click on the MIDI tab and browse grooves by style. You find a basic rock beat at 120 BPM. You preview it by clicking once. It sounds right, so you drag it from the plugin window onto the track in your DAW. The MIDI clip appears on the track, and you can see the notes for kick, snare, hi-hat, and crash.
You play the project from the beginning. The drum part plays back through the plugin. You notice the hi-hat is a bit loud in the mix. You click on the mixer tab in the plugin and lower the hi-hat fader a few dB. The change takes effect immediately. You continue listening and decide the snare needs a little more reverb. You route the snare output to a separate bus in your DAW and add a reverb send. The plugin's multi-output setup makes this easy without affecting the rest of the kit.
You want to add a fill before the chorus. You open the MIDI clip and manually add a few snare hits and a tom note at the end of the bar. The plugin responds to the new MIDI data instantly. You play the section again to hear the fill. It fits, so you move on.
Later, you want to try a different kit for the verse. You select a jazz kit from the preset browser. The MIDI clip stays the same, but the sound changes. The new kit has a softer kick and a brush snare. You adjust the mix again — kick up a little, snare down a little. The verse now has a different character. You save the kit as a user preset for reuse.
Expect no sound without MIDI data
A common mistake is loading a kit and expecting it to play without any MIDI. The plugin generates the sound, but it needs MIDI data to trigger the drum pieces. Without MIDI, there is no sound. Beginners often think the kit should play a default pattern, but it does not. You have to provide the MIDI, either from the built-in library or from your own programming.
Another mistake is forgetting to route multi-outputs correctly. If you are using separate tracks for each drum piece in your DAW, each output must be assigned to a separate bus. Beginners sometimes leave all outputs on the main stereo out and then wonder why they cannot apply individual effects. The plugin itself is not the issue — the DAW routing is.
Some users try to use the plugin as a standalone application and then cannot hear audio from their DAW. The standalone app is only for previewing and exporting drum parts. It does not communicate with your DAW in real time. You use the plugin inside the DAW for actual production.
New users also sometimes change the kit mix but do not save the preset. When they load another kit and come back, the mix is reset. If you want to keep your mix, save it as a user preset before switching kits. The plugin does not auto-save your mix adjustments.
Finally, beginners may try to use the plugin on a system that does not meet the requirements. The plugin checks for 64-bit support and a compatible macOS version at launch. If your macOS is older than 10.13 or your processor is 32-bit, the plugin will not start. Checking the requirements first saves time and frustration.
- macOS 10.13 or later
- 64-bit processor (ARM or x86)
- 64-bit host application
Install procedure
- Place the main archive and all split parts in the same folder.
- Use an archive utility such as Keka to extract the first part of the split archive.
- Right-click the .zip.001 file, choose Open With, then select Keka.
- Run the standard installation procedure for the resulting package.
Reports from players
Sign in or create a tester account to file a report.
No reports filed yet.