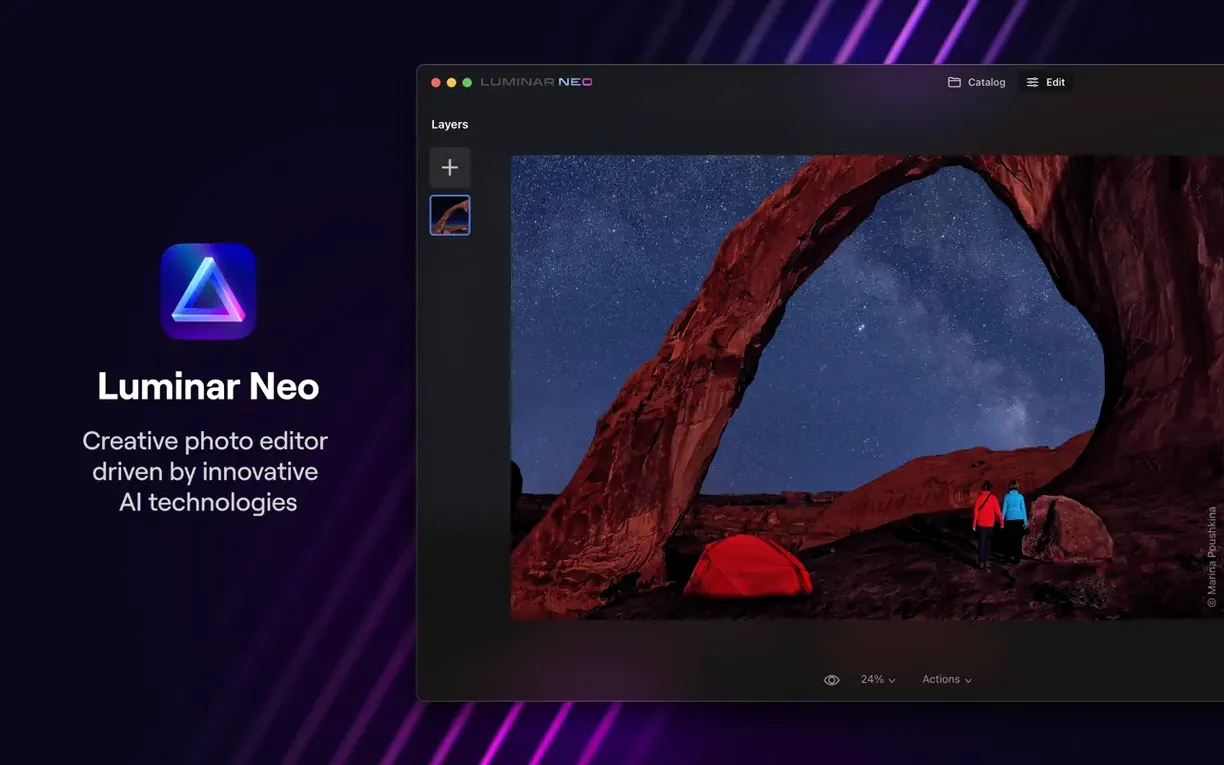
Luminar Neo 1.24.6 runs on both Intel and Apple Silicon Macs with macOS 12.0 or later. The next release will drop macOS 12 Monterey support, so users on that system should note the shift to macOS 13 Ventura as the minimum.
The workflow: pick, analyze, adjust
- Open the image. The editor reads the scene and determines depth and contents automatically.
- Try the AI Assistant. Now in both the Presets and Edit tabs, it suggests edits based on what it sees in the photo.
- Clean up dust. The dust removal tool handles sensor spots without manual cloning.
- Fine-tune. Standard sliders for exposure, color, and contrast remain available for manual control.
This version is a major update. The AI Assistant is designed to make editing faster by suggesting actions rather than requiring you to hunt for them. It is a creative image editor first, so the AI does the heavy lifting while you keep the final call on look.
Portrait and event photographers save time with background replacement
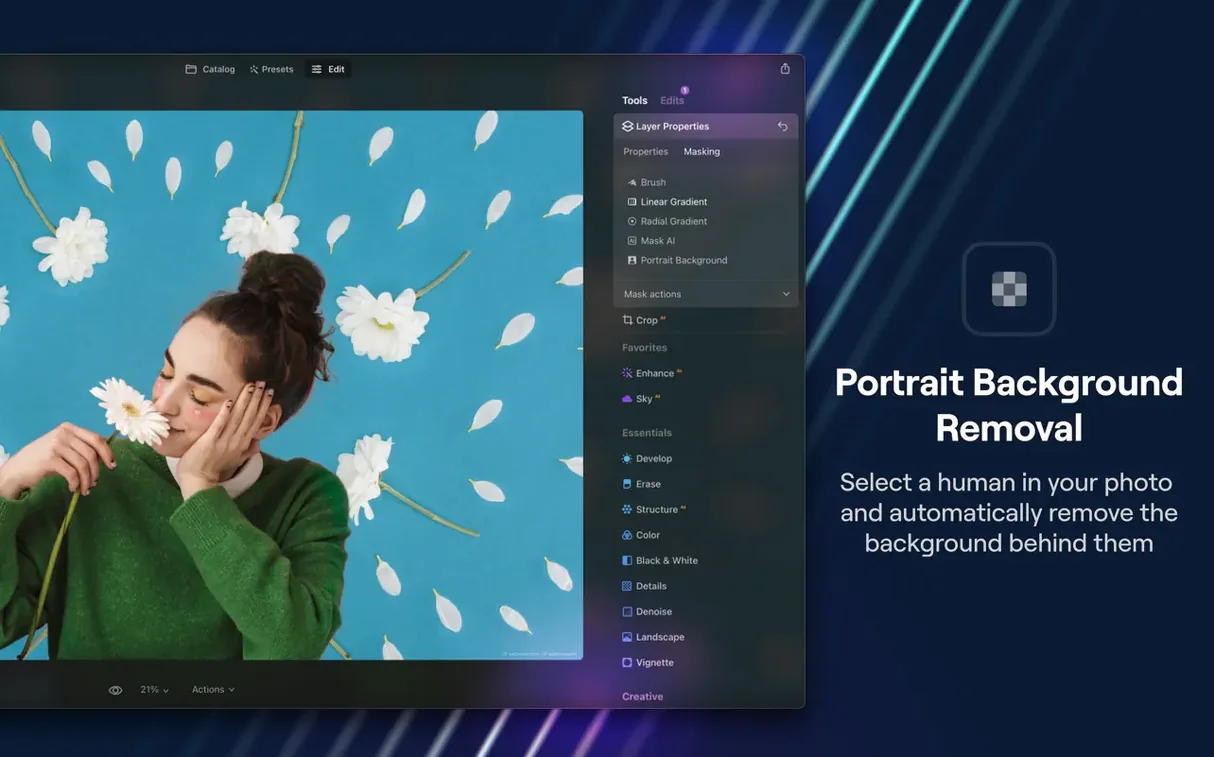
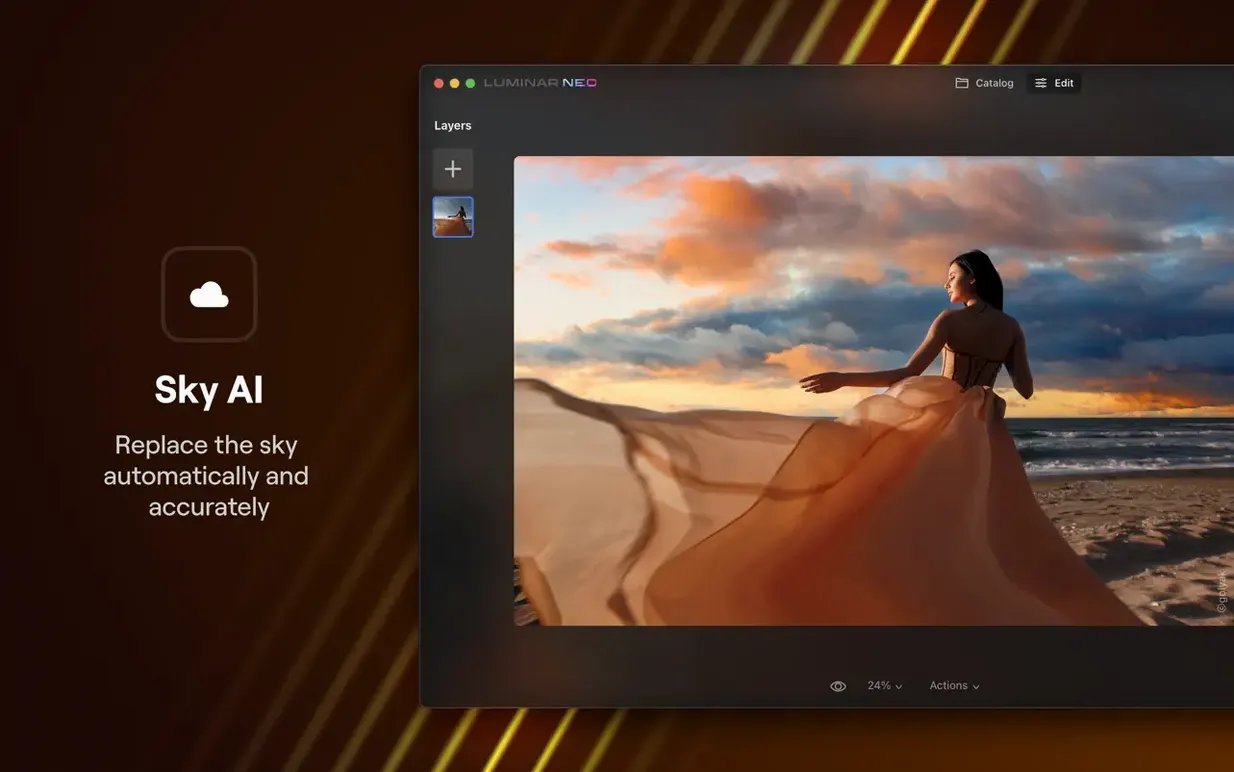
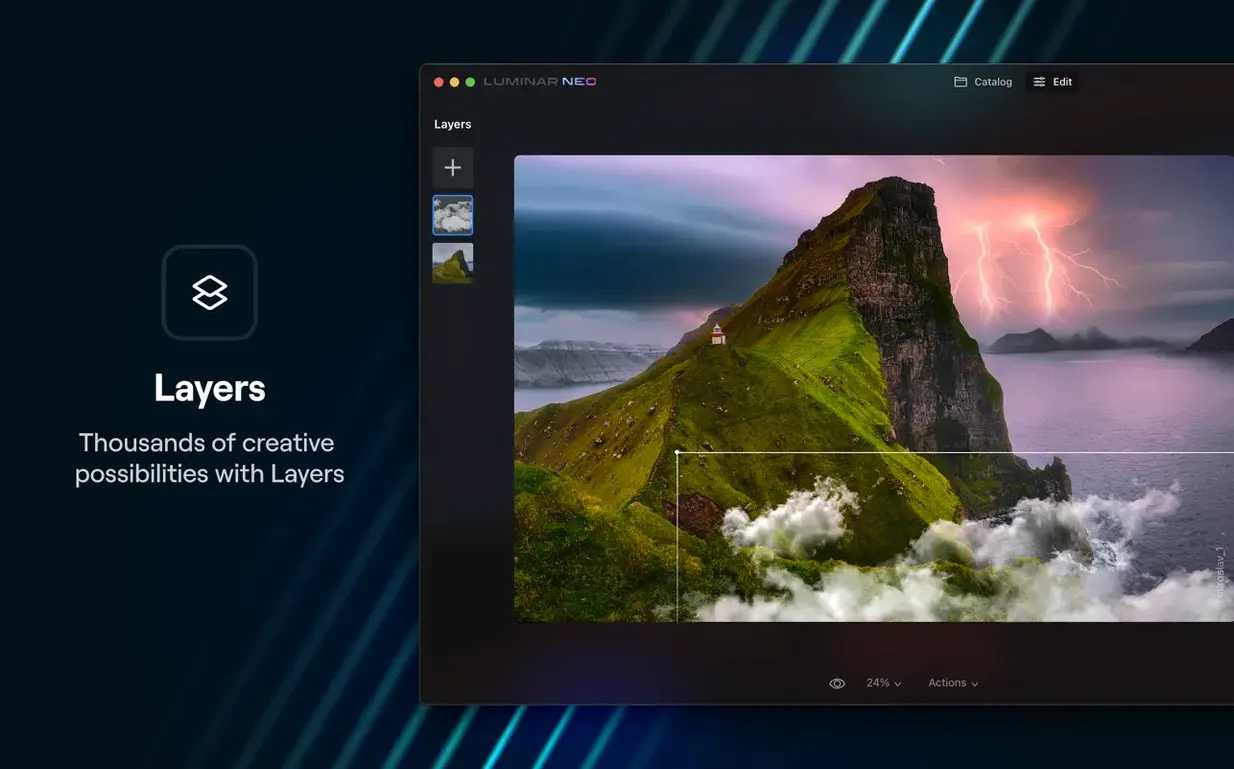
Luminar Neo fits best for Mac users who edit photos often but don't want to spend half the session inside a single tool. Portrait and event photographers benefit from the background replacement and relighting features — both save time when you need to swap a cluttered background or fix uneven lighting across a set of shots. Landscape photographers who work with layered edits will find the image layers useful for compositing skies or blending exposures, though the AI scene analysis handles the heavy lifting on depth maps.
Hobbyists with a large catalog of unedited images get value from the AI Assistant in the Presets and Edit tabs. It suggests edits based on what the scene contains, so you can move through a batch without manually dialing every slider. Digital artists who need quick cutouts or dust removal also save time — the dust removal tool handles sensor spots that would otherwise require the clone stamp in other editors. Casual users on macOS 12 Monterey can still run this version, but should plan for the upcoming jump to macOS 13 Ventura if they want updates beyond 1.26.0.
Disable the AI Assistant if you prefer a neutral starting frame
Once installed, a few adjustments make the editor behave more predictably day to day. The AI Assistant is on by default in both tabs — if you prefer starting from a neutral frame, you can disable it in the app preferences. This keeps the interface from suggesting adjustments before you've had a chance to assess the image yourself.
For users with 8 GB of RAM (the listed minimum), the app works but may feel slow when editing large RAW files. Switching the preview quality to a lower setting under the display options helps. Those with 16 GB or more can leave everything at default. The relighting tool benefits from a manual tweak: after the AI calculates the scene depth, you can adjust the intensity slider downward — the default tends to over-brighten shadow areas on portraits. Dust removal works best with the brush size set to match the spot diameter; starting small and enlarging prevents accidental smearing on fine details.
Gatekeeper blocks the first launch on macOS 12 and later
Open photos from Apple Photos via 'Edit in' without altering the original
On macOS 12 and later, the system may refuse to open an unverified app. The install steps handle this: mount the disk image, run Open Gatekeeper friendly, then press Enter in Terminal to bypass the block. If the app still won't launch, drag the app to the Applications folder and try again — that folder has fewer restrictions than the Desktop or Downloads.
AI Assistant suggestions seem off
The AI relies on scene analysis. If the photo contains mixed lighting or a cluttered background, the suggested edits may look overdone. Manually reset the Presets tab to None and use the Edit tab sliders to dial in exposure and contrast before re-enabling the Assistant. It works better on a properly exposed base image.
Layers don't line up as expected
When compositing with image layers, ensure both layers have the same pixel dimensions. Resizing one layer before dragging it in prevents alignment issues. If the background replacement produces a rough edge, the scene depth map may need a manual paint-over — the tool offers a refine brush for that.
Languages missing or interface looks wrong
The app ships with twelve languages including French, German, Spanish, and Japanese. If the interface appears in a language you didn't expect, check the language selector under Preferences > General. For Traditional Chinese or Ukrainian users, the default font rendering works fine — no extra character packs required.
The dust removal tool works on a separate layer automatically
Luminar Neo lives alongside the usual Apple editing tools. You can open a photo from Apple Photos via "Edit in" — the system's share menu sends the file to Luminar Neo as a copy, so the original stays untouched. The same works from Finder: right-click a RAW file, choose Open With, and select Luminar Neo. For batch workflows, dragging a folder of images onto the app icon opens them in the catalog view rather than one at a time.
On Apple Silicon Macs, the app runs natively as a 64-bit ARM binary — no translation layer needed. Intel Macs use the x86 build. Both architectures share the same features and AI models. If you run a second monitor, the editor's panels can be undocked and moved to the external display, which leaves the full canvas on the main screen. The relighting and background replacement tools both honor macOS color profiles, so edits match what you see in Apple Photos or Capture One.
Background replacement and relighting save time for event photographers
A few features aren't obvious from the main toolbar but save time once you find them. The dust removal tool works on a separate layer automatically — it doesn't alter the original image data. If you change your mind, delete that layer instead of undoing all the way back. The AI Assistant in the Edit tab suggests adjustments per tool, not just per image. Hover over a slider and a small icon appears next to it — clicking that icon asks the Assistant for a suggestion specific to that setting.
Background replacement includes a depth map preview mode. Toggle it on to see exactly which areas the AI considers foreground versus background before applying the swap. The relighting tool stores its depth analysis as a mask that you can paint on manually if the auto-detection misses a detail. Both tools respect transparency from layered files — if you import a TIFF with an alpha channel, the editor keeps the transparency and stacks the relighting or replacement behind it.
Users who work in multiple languages can switch the interface without restarting the app. The change takes effect as soon as you confirm the selection in Preferences. This is handy if you share the machine with someone who prefers a different language or if you need to match UI terms with a tutorial in another language. The presets library also saves your custom presets per user account, not per machine, so they follow you if you sign in on another Mac running the same version.
- AI Assistant added to the Presets and Edit tabs.
- Update aimed at faster, smarter editing workflows.
- macOS 12.0 or later
- Intel or Apple Silicon
- 8 GB RAM minimum, 16 GB recommended
Install procedure
- Mount the disk image and run Open Gatekeeper friendly.
- Press Enter in Terminal to bypass Gatekeeper.
- Drag the app to the Applications folder.
- Launch the app.
Reports from players
Sign in or create a tester account to file a report.
No reports filed yet.