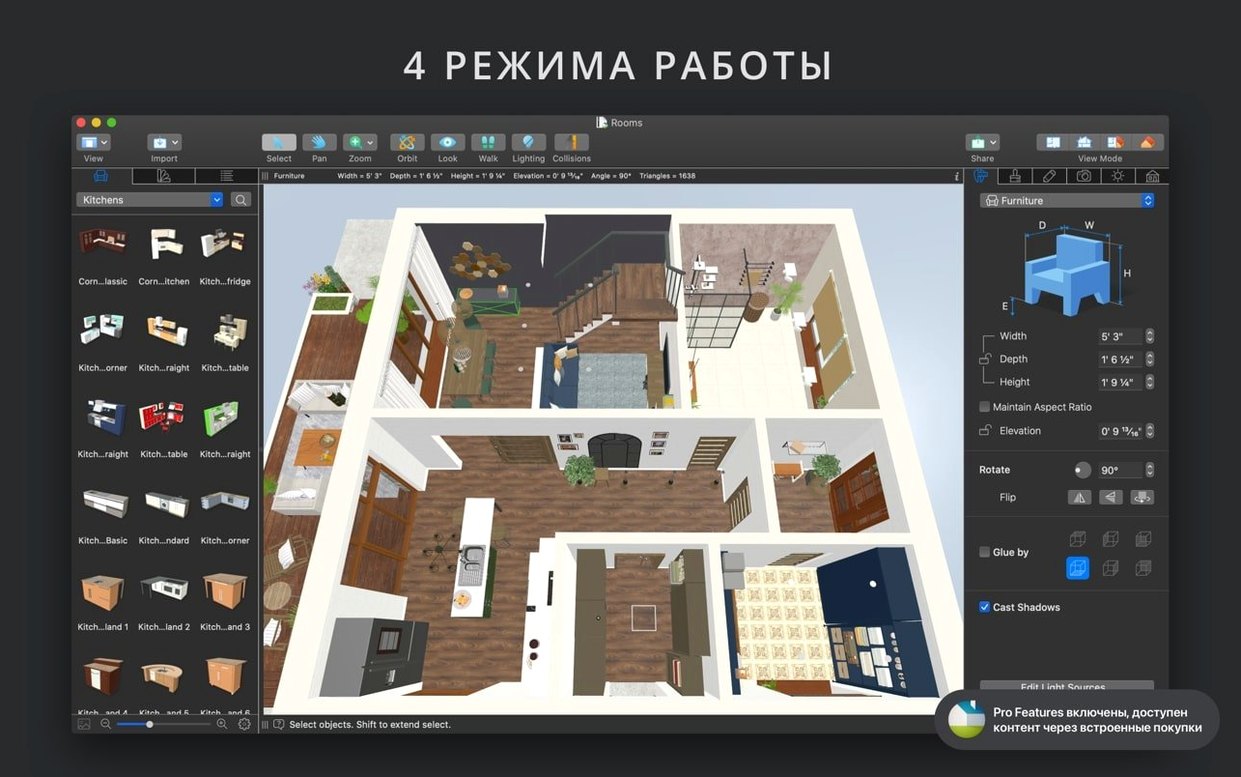
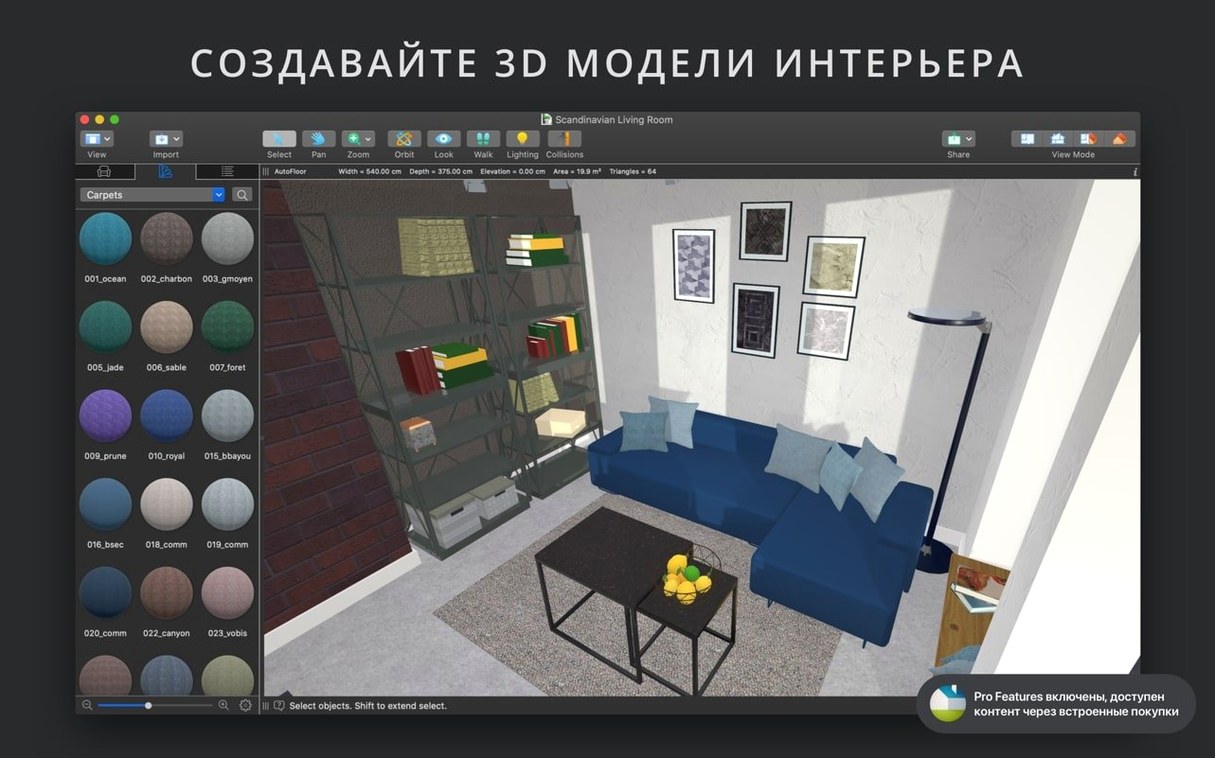
You need a quick floor plan for a client, or you want to rearrange your own living room without moving furniture. Live Home 3D Pro on macOS handles both. Here is the first workflow a newcomer should run through.
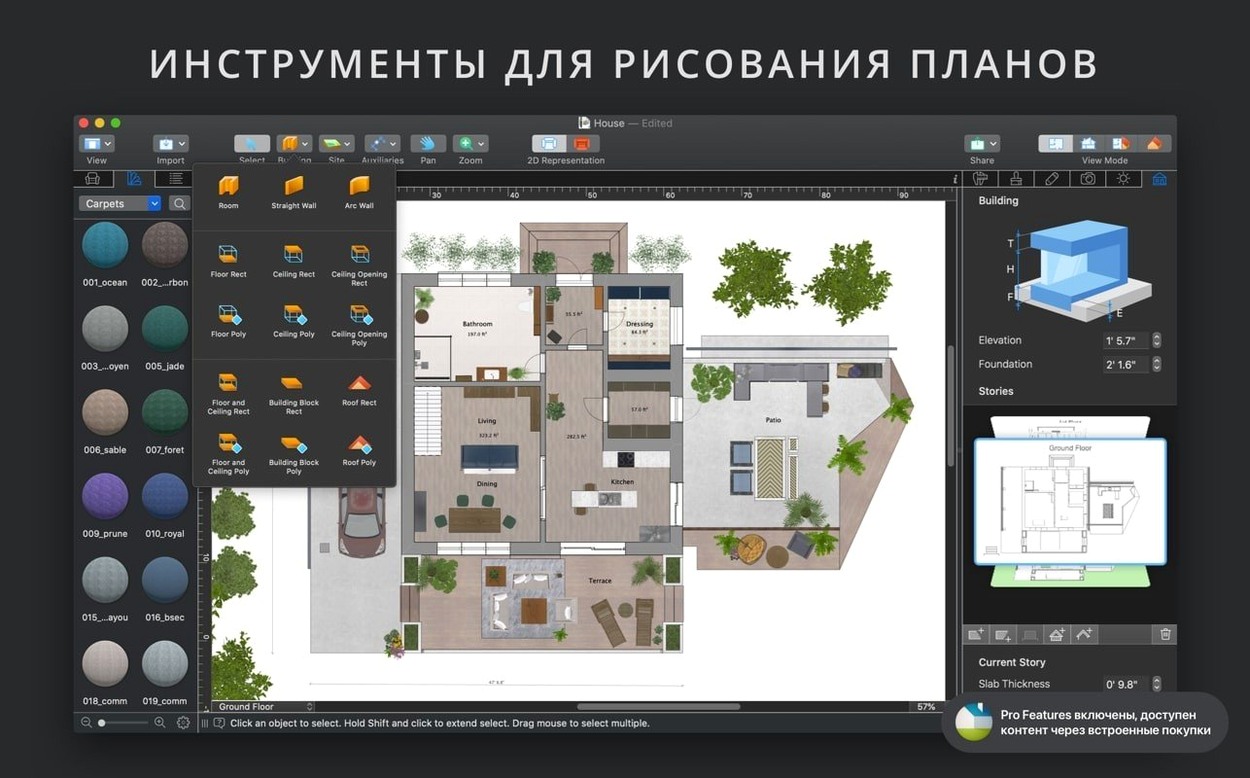
- Start a project. Choose a template or draw walls manually in the 2D plan view. The interface is straightforward; the help assistant explains each tool as you go.
- Add furniture. Open the built-in library and drag items onto the plan. They appear as outlines automatically, so the floor plan stays readable. For more variety, import models from Trimble 3D Warehouse.
- Switch to 3D. Toggle to 3D view and walk around. You can move objects, change materials, and adjust lighting directly in the 3D view—no need to jump back to 2D for every tweak.
- Set the attic. If your project has one, pick from the 16 customizable attic types to match the roof style.
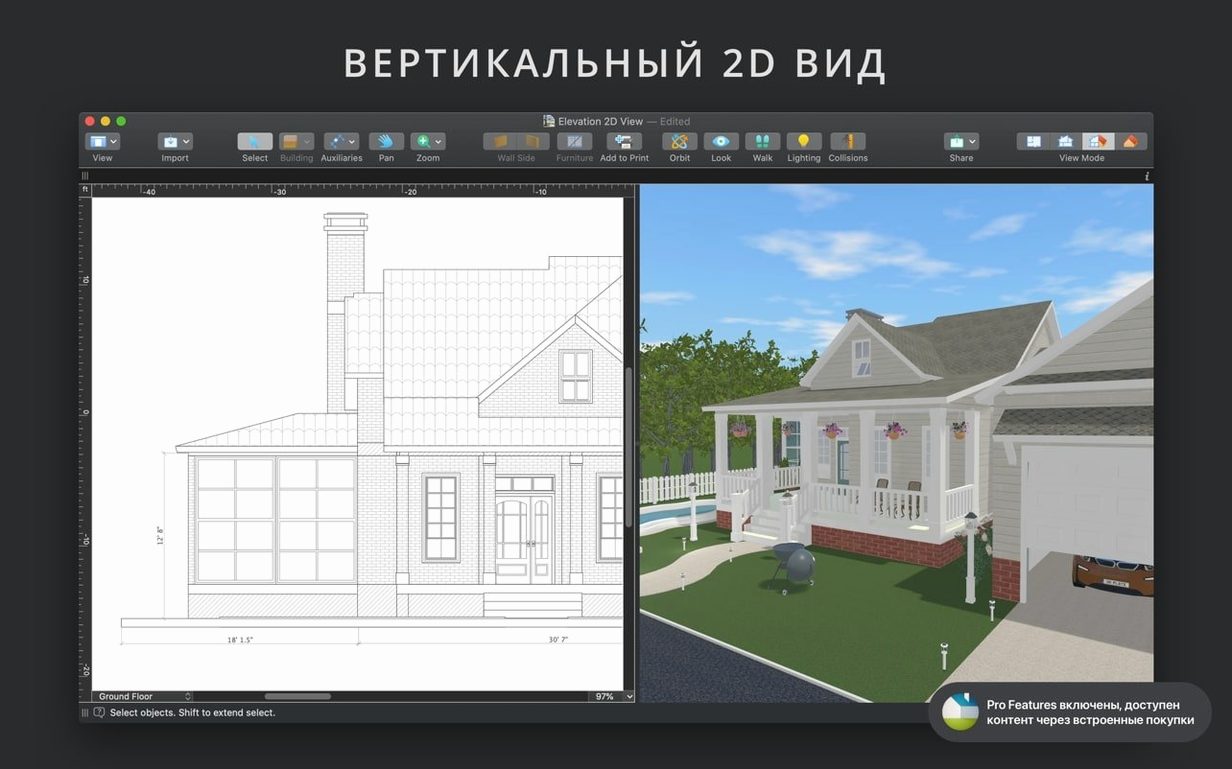
- Render. Use the vertical view mode for a straight-on look, then export an image as JPEG, TIFF, PNG, or BMP. For higher quality, use the Pro rendering features for ultra-high-resolution images, panoramas, or videos.
That sequence covers the basics. After that, experiment with the export options—COLLADA, SketchUp, VRML, X3D, FBX, and OBJ—if you need to hand models to other tools.
How Live Home 3D Pro works with other apps and macOS features
The app takes advantage of macOS sharing infrastructure without requiring you to leave the design environment. When a project is ready for client review, you can send a copy directly through Mail, Messages, or AirDrop. This bypasses the export step for quick feedback loops. For more formal delivery, export the 3D walkthrough video in Ultra HD resolution and drop it into a presentation in Keynote or any video editor that accepts standard formats.
iCloud support means your project files sync across your Macs if you use more than one. Open a plan on an iMac in the office, tweak the roof pitch on a MacBook later. The file format is self-contained, so there is no external database to manage.
Importing models from Trimble 3D Warehouse extends the library well beyond the built-in 2,000 items. If you already have a collection of SketchUp or FBX models from other projects, they import directly. The light source editor can add custom lights to those imported objects, which is useful when you bring in a lamp model that lacks its own lighting definition.
Interior and landscape designers benefit from unlimited floors and terrain tools
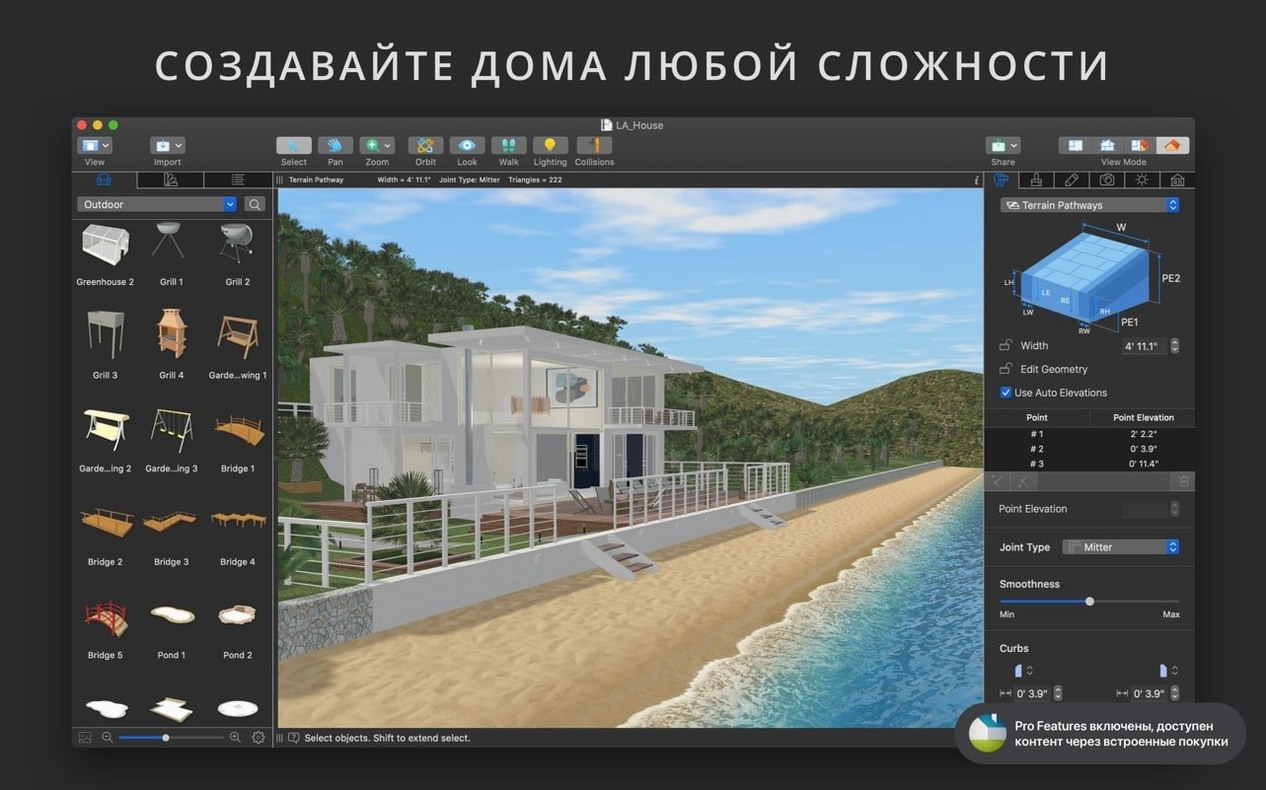
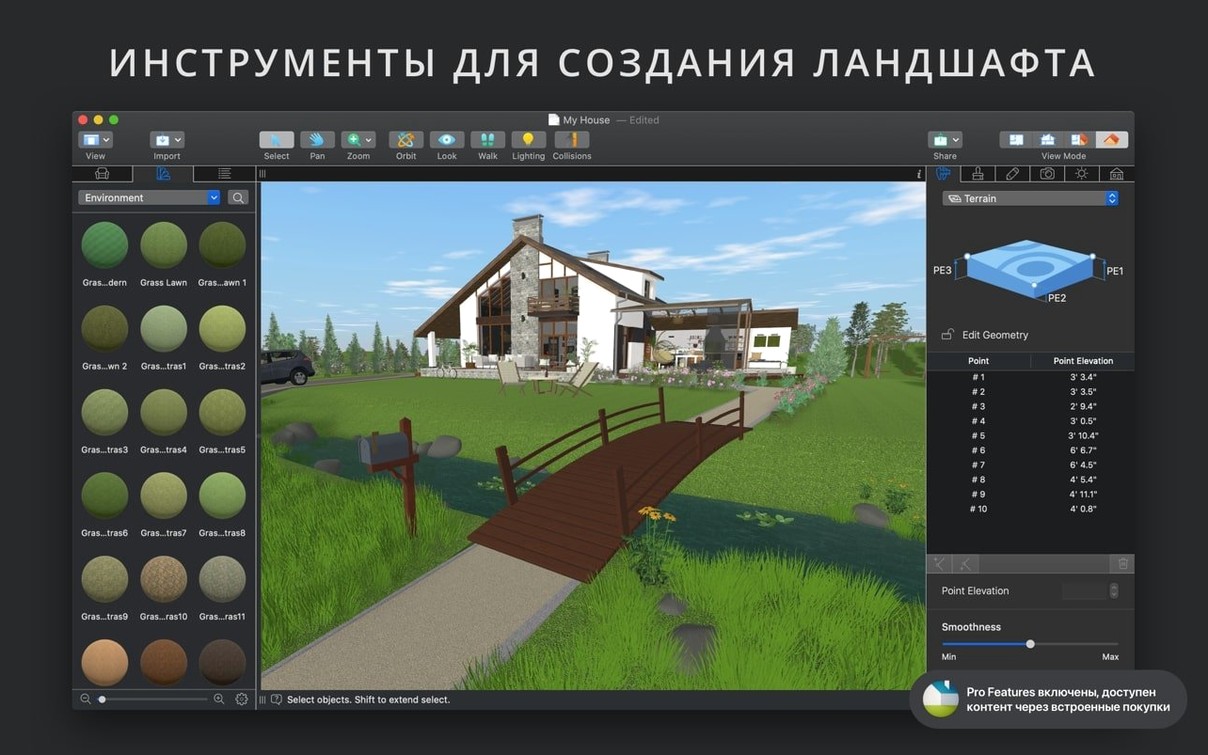
Interior designers working with clients who want multiple layout options benefit most. The unlimited floors and real-time 3D rendering let you flip between versions quickly. Landscape designers get the advanced terrain editing tools, which are part of the Pro feature set, and can model the property as well as the house.
Architects who need to communicate a design to a non-technical audience use the walkthrough video export. A client who cannot read a floor plan understands a Ultra HD walkthrough in seconds. Homeowners planning a renovation will find the built-in video tutorials and the gallery of house projects useful as a starting point—they can open a similar project and modify it rather than start from scratch.
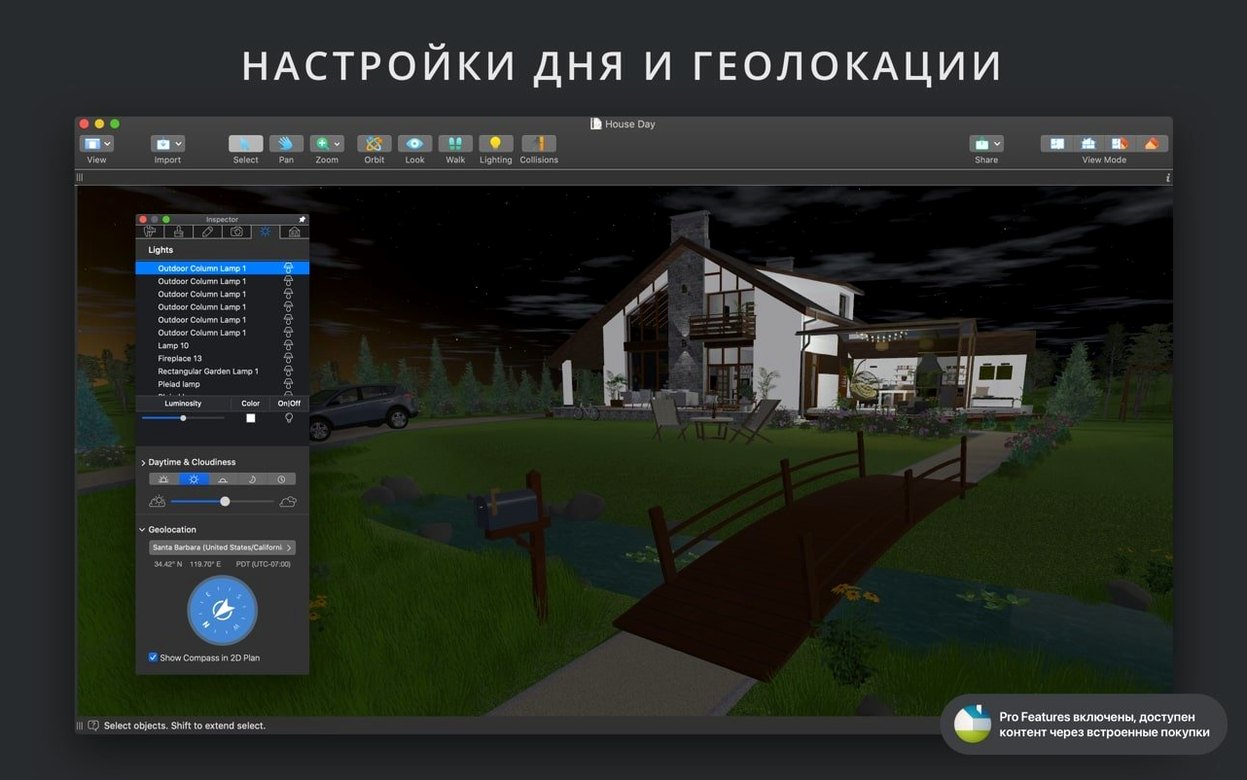
The app is also a practical fit for property photographers or stagers who need to show a space with different furniture arrangements or lighting conditions based on geolocation and time of day. Changing the cloudiness slider and the sun position is faster than rescheduling a shoot.
Start a blank project and set measurement units in the 2D plan view
You open Live Home 3D Pro and see the welcome screen with the gallery of sample projects. You skip the templates and choose a new blank project. The 2D plan view is the default. You set the measurement unit to feet in the project settings and start drawing the exterior walls using the straight wall tool. Automatic dimension lines appear as you draw, so you can confirm the length without a separate measurement tool.
You add an interior wall to separate the kitchen from the living room, then use the curved wall tool for a rounded entryway. The snapping and guides keep everything aligned. You switch to the 3D view to check the proportions. The switch is instant—no waiting for a render to complete.
You open the furniture library and drag a sofa, a dining table, and chairs onto the kitchen side. For the living room, you import a specific sofa model from Trimble 3D Warehouse that your client picked. You assign materials to the walls: a brick texture imported from a photo in Finder for the accent wall, a standard paint color from the 2,100-surface library for the others.
You place a corner window on the living room wall and adjust the natural lighting based on the project's actual address. The sun angle shifts and the shadows change in real time. You add a ceiling light in the kitchen, open the light source editor to give it a warm color temperature, and watch the 3D view update. You set up two cameras—one for a kitchen angle, one for the living room—and switch between them to review the lighting from different viewpoints.
You adjust the level-of-detail control so the 3D view stays responsive while you move objects around. With the layout finalized, you export a walkthrough video in Ultra HD and send the project file via AirDrop to the client's iPad for them to explore on their own.
Setting measurement units before drawing prevents redoing walls
The most common one is skipping the measurement unit setting at the start. If you begin drawing in inches and realize you need feet halfway through, you have to redo walls or convert manually. Set the unit before the first wall.
Another is placing furniture in 2D view without checking the 3D view for collisions. A sofa outline fits on the floor plan but overlaps a wall in 3D because the room depth is off. Toggle to 3D early and often.
Beginners also tend to ignore the level-of-detail control when the 3D view slows down on older Intel Macs. The app ships with detail set high. Lowering it while editing and raising it only for final renders keeps the session smooth.
New users sometimes forget that imported models from Trimble 3D Warehouse or external files may lack materials or lighting definitions. The model appears as a gray shape until you assign a surface material. Check the material editor right after import.
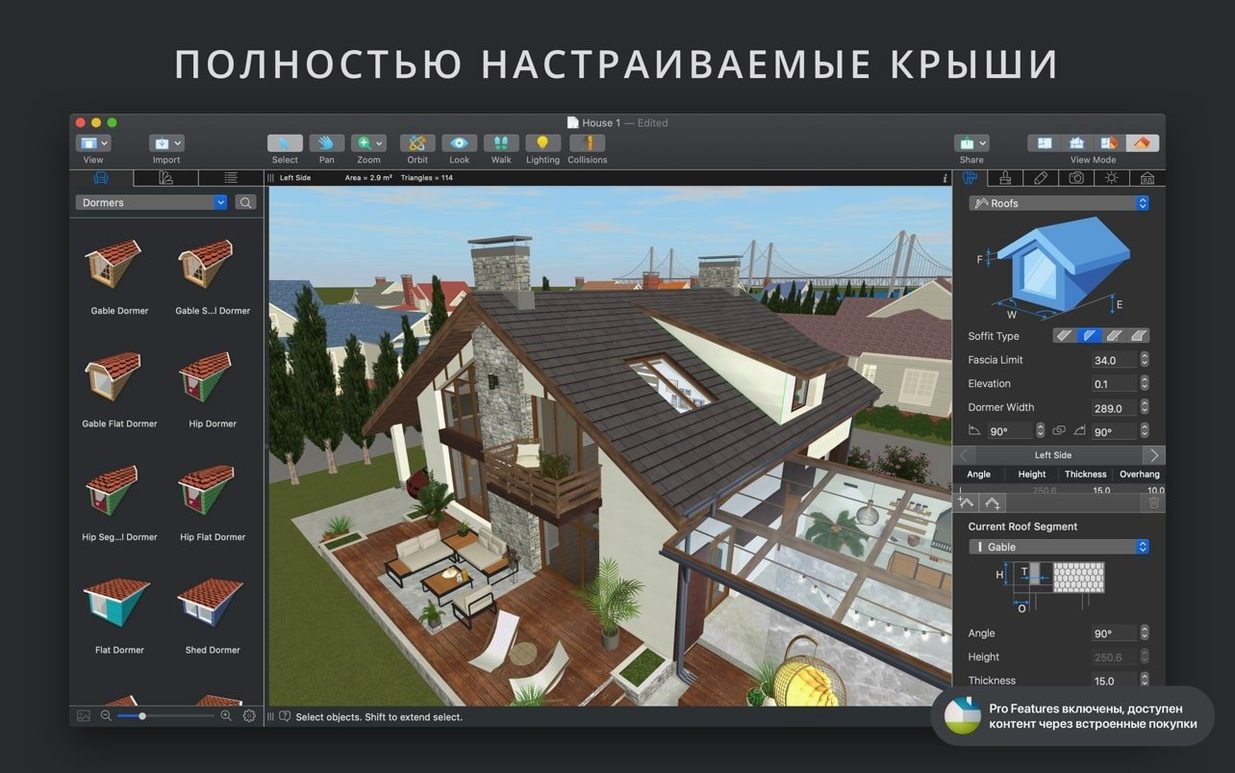
Overlooking the roof creation assistant is a missed shortcut for complex roofs. Manually drawing roof planes works, but the 12 customizable templates cover most common styles faster. The same applies to the attic types—choosing one from the 16 presets is quicker than building it from walls.
Finally, some users try to export a walkthrough video without first adjusting the camera field of view and projection type. The default settings work for general use, but a wide-angle lens or a different projection changes how the space reads on screen. Tweak the camera settings in 3D view before rendering the video.
Live Home 3D Pro 5.1.1 is a maintenance release. The developer has not published a specific change log for this version.
- macOS 12 or later
- Apple Silicon or Intel 64-bit processor
Questions from the notes
Can I import my own 3D models?
Yes, Live Home 3D Pro imports models from Trimble 3D Warehouse, so you can bring in real furniture or custom objects.
Does Live Home 3D Pro support both Intel and Apple Silicon Macs?
Yes, the app runs on both architectures, as long as you have macOS 12 or later.
What file formats can I export for rendering?
You can export 3D images as JPEG, TIFF, PNG, and BMP, and 3D models as COLLADA, SketchUp, VRML V2.0, X3D, FBX, and OBJ.
Install procedure
- Mount the disk image and launch Open Gatekeeper friendly.
- Press Enter in Terminal to bypass Gatekeeper.
- Drag the app to the Applications folder.
- Open the app when installation is complete.
Reports from players
Sign in or create a tester account to file a report.
No reports filed yet.