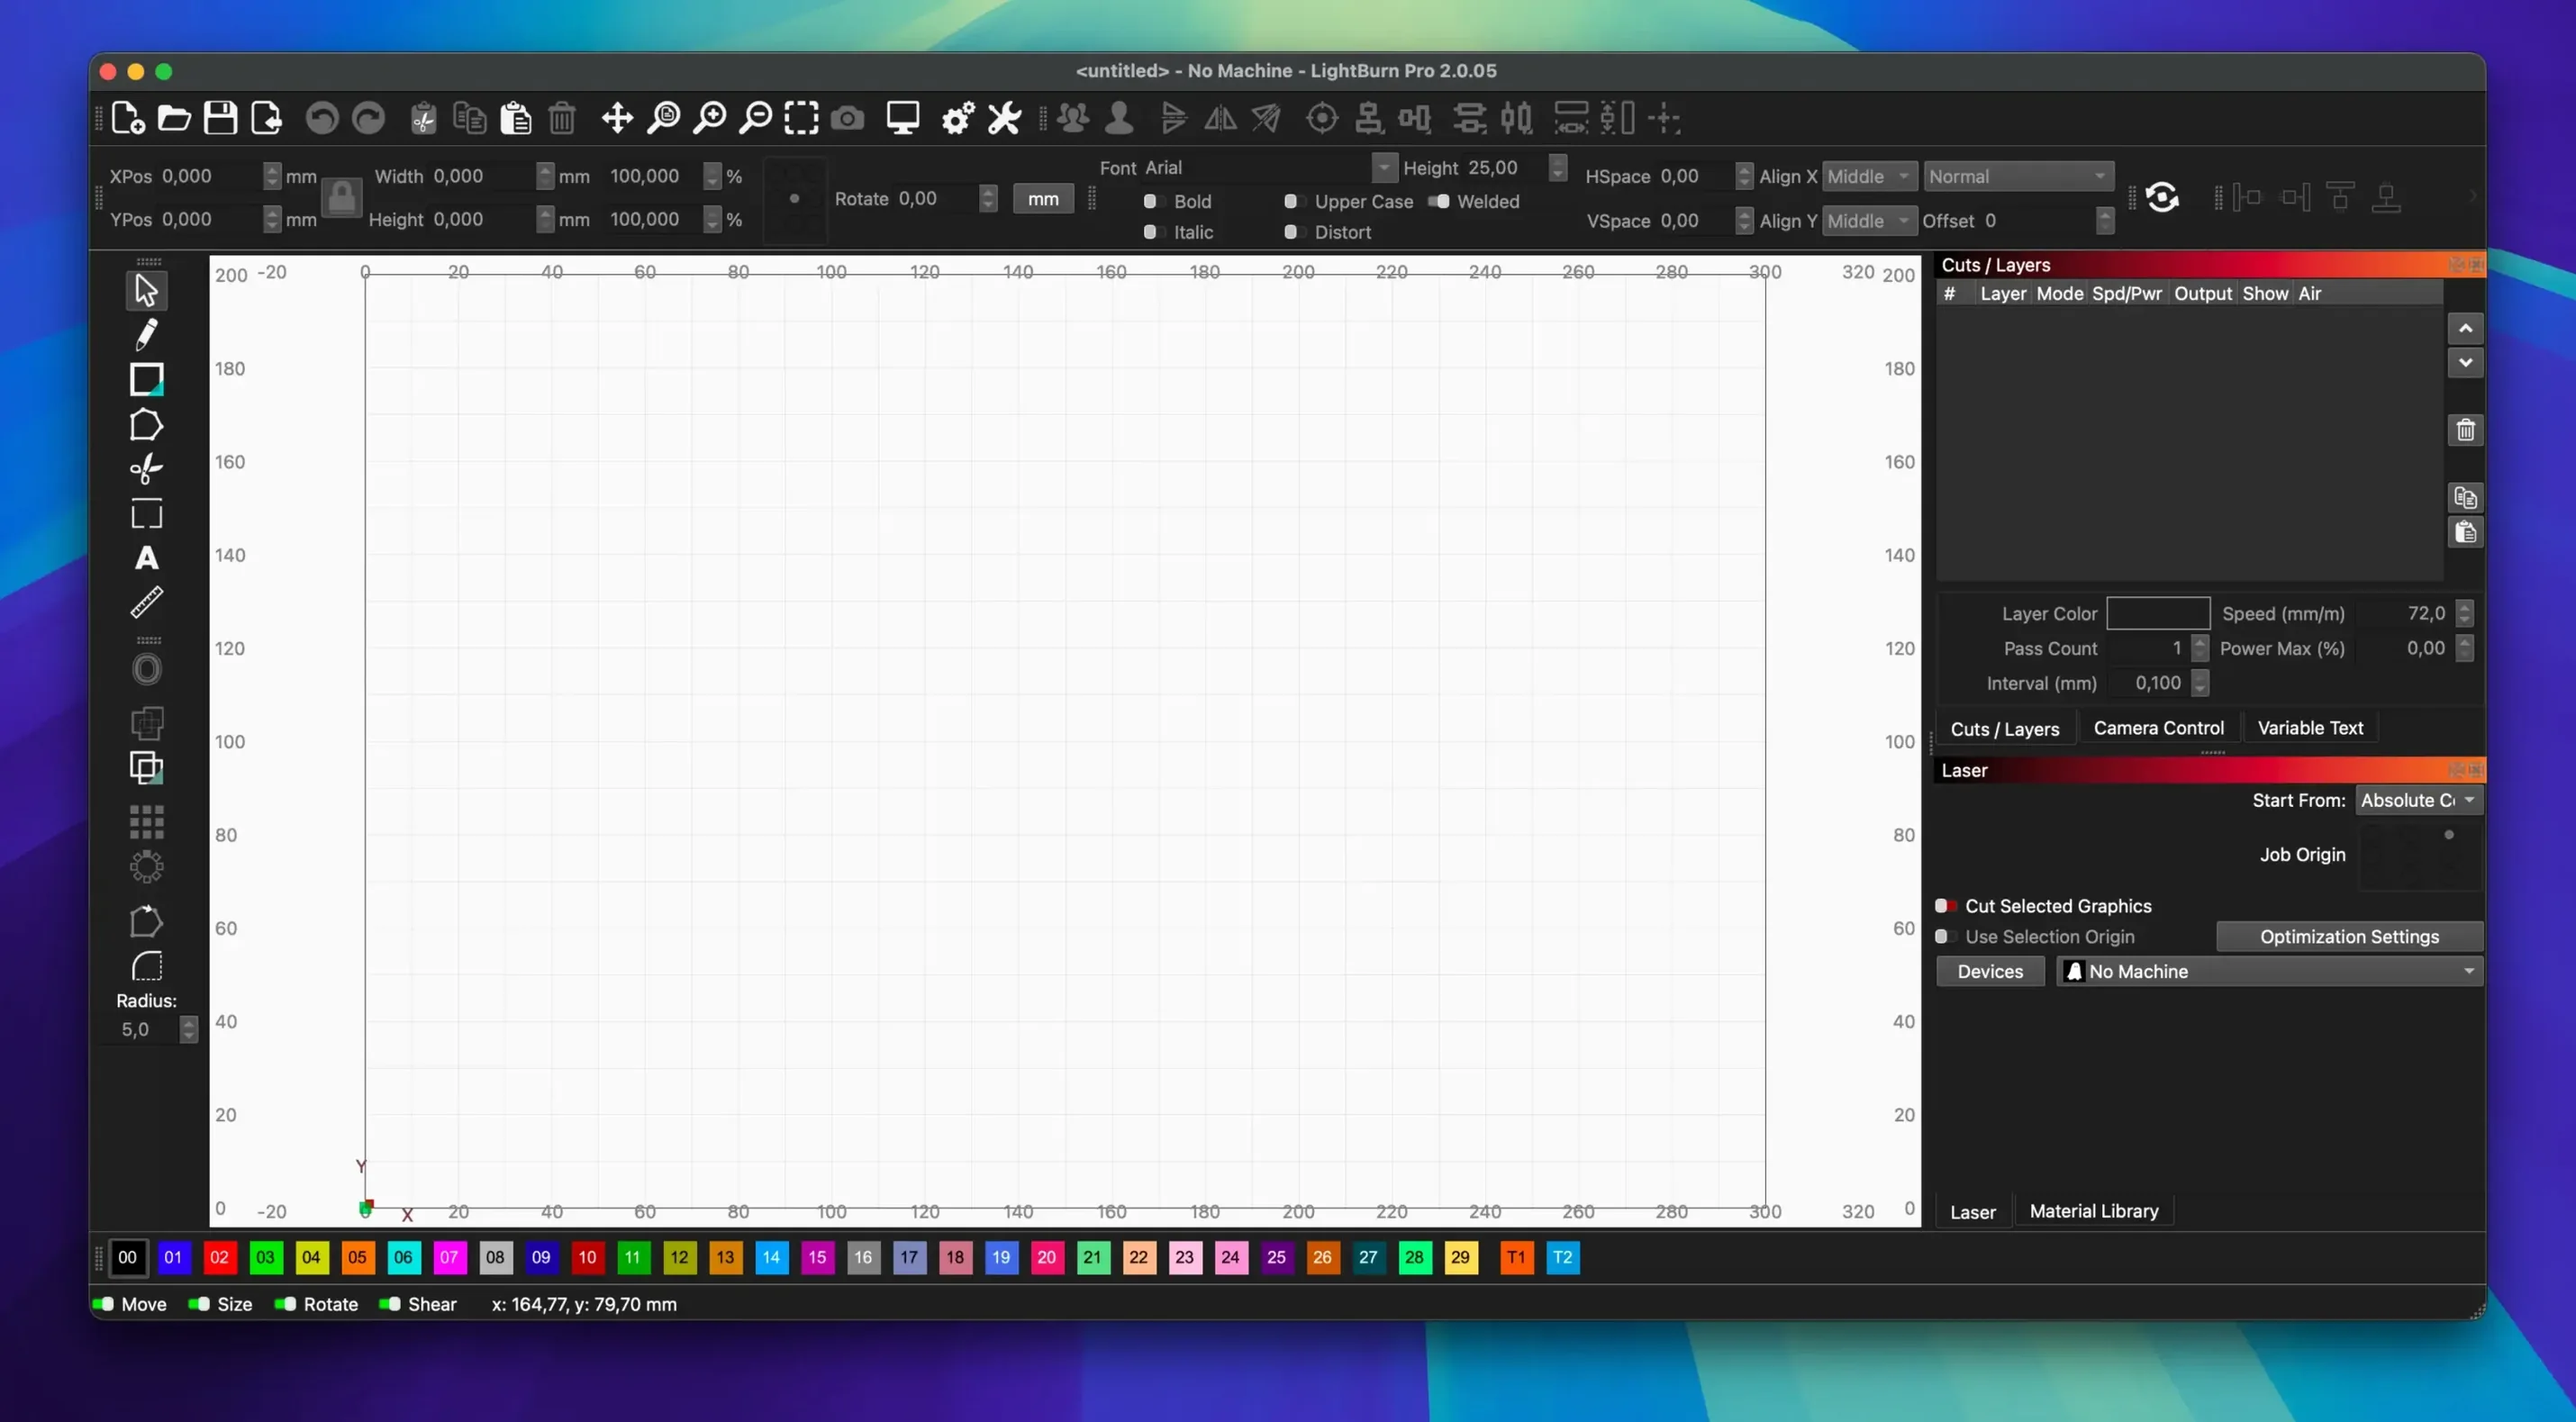
LightBurn works on any Mac running macOS 10.13 or later, but it is a 64-bit Intel application. That means on Apple Silicon Macs you need Rosetta, and it runs without issue. It is layout, editing, and control software for laser cutters — hobbyists and professionals both use it.
What LightBurn does with your laser
The software handles the full workflow from design to cut. You get control over power, speed, pass count, and cut order. Brightness, contrast, and dithering let you tune how images burn. It includes a material library with preset settings so you don’t have to guess initial parameters for common materials. For hardware, it connects directly to lasers and supports most GCode, DSP, and Galvo controllers. Rotary axes and cameras are also supported.
Interface and layout tools
The interface is modern and straightforward. You can arrange elements, edit paths, and manage layers. The cut order can be adjusted to minimize travel time. For repeat jobs, the pass count and power settings are saved per material. Everything is designed to get from file to finished cut in as few clicks as possible.
How LightBurn fits with other apps and macOS features
LightBurn imports directly from the standard design formats you likely already use: AI, SVG, DXF, PDF, PNG, and JPG. That means you can build a vector in Illustrator or Affinity, export it, and open it in LightBurn without conversion steps. For raster images, the built-in vectorization, masking, and edge enhancement tools let you clean up scans or photos before sending them to the laser.
On macOS, LightBurn lives in the Applications folder like any other app. Opening the DMG and dragging it in is the standard installation pattern for Mac software. Once installed, you can use Launchpad or the Finder to start it. Because it is a 64-bit Intel binary, Rosetta handles the translation layer on Apple Silicon Macs — you do not need to install anything extra; macOS manages that automatically.
The material library stores your settings per material type, so you can switch between plywood and acrylic without re-entering power and speed values. Presets are kept local and can be duplicated for custom materials. If you work with a rotary axis, LightBurn controls its movement from the same interface, no separate driver software required.
Check the material library against your supplies
After you drag LightBurn into Applications and launch it, take a minute to check that the material library matches the materials you actually use. The preset values are a starting point — adjust power and speed for your specific laser before running a full job. The brightness and contrast sliders are useful for test burns on scrap material; save those adjusted settings as a new preset once you find what works.
If you import an SVG or DXF and the shapes look wrong, check that the file uses standard units. LightBurn handles most vector files, but files saved with unusual coordinate systems may need a quick rescale. For PNG and JPG imports, use the vectorization and edge enhancement tools to clean up the image before cutting — doing this in LightBurn saves you from switching back to an image editor.
For rotary axis work, test the jogging direction in a short burn before committing to a long run. The 2.0.05 release fixed a rotary jogging direction issue in CCW mode, so if you use a rotary, verify that your preferred direction works correctly.
Dark Mode reduces glare in workshop lighting
LightBurn 2.0 added a Dark Mode, which is useful if your workshop lighting is uneven — it reduces glare on the screen. The same update introduced additional shape creation tools and an Edit Nodes toolbar, so you can adjust paths without digging through menus. The Camera Calibration option was also improved, which matters if you use the camera alignment feature to position material under the laser.
Version 2.0.05 fixed a crash that happened when importing SVG files with ungrouped DEF shapes. If you work with SVGs from design tools that export DEF elements, this fix prevents an unexpected close. The release also corrected window title bar placement when stored offsets were incorrect — a small thing, but it keeps the interface tidy if you move the window between monitors or after a session restart.
Rotary jogging direction fixed in CCW mode
For users on macOS 11 or later, LightBurn 2.0.05 is the current build. The important change for daily work is the repaired rotary jogging direction in CCW mode — if you have a rotary axis and use counter-clockwise jogging, the direction now matches what you expect. The SVG import crash fix means fewer interruptions when bringing in complex vector files from other design software. The title bar offset fix is a visual cleanup that prevents misplaced window elements after restoring a saved layout.
If you are on macOS 10.13 through 10.15, older versions of LightBurn are still available from the download page. The 2.0 line requires macOS 11 and later, so check your macOS version before upgrading.
- Fixes window title bar placement when stored offsets are incorrect.
- Fixes rotary jogging direction in CCW mode.
- Fixes a crash when importing SVG files with ungrouped DEF shapes.
- macOS 10.13 or later
- Intel 64-bit processor
- Rosetta 2 required on Apple Silicon Macs
Questions from the notes
Does LightBurn work on Apple Silicon Macs?
Yes, but Rosetta 2 is required because the app is 64-bit Intel. It runs normally once Rosetta is installed.
Install procedure
- Open the downloaded disk image.
- Drag the app into the Applications folder.
- After copying finishes, launch the app from Launchpad.
Reports from players
Sign in or create a tester account to file a report.
No reports filed yet.