
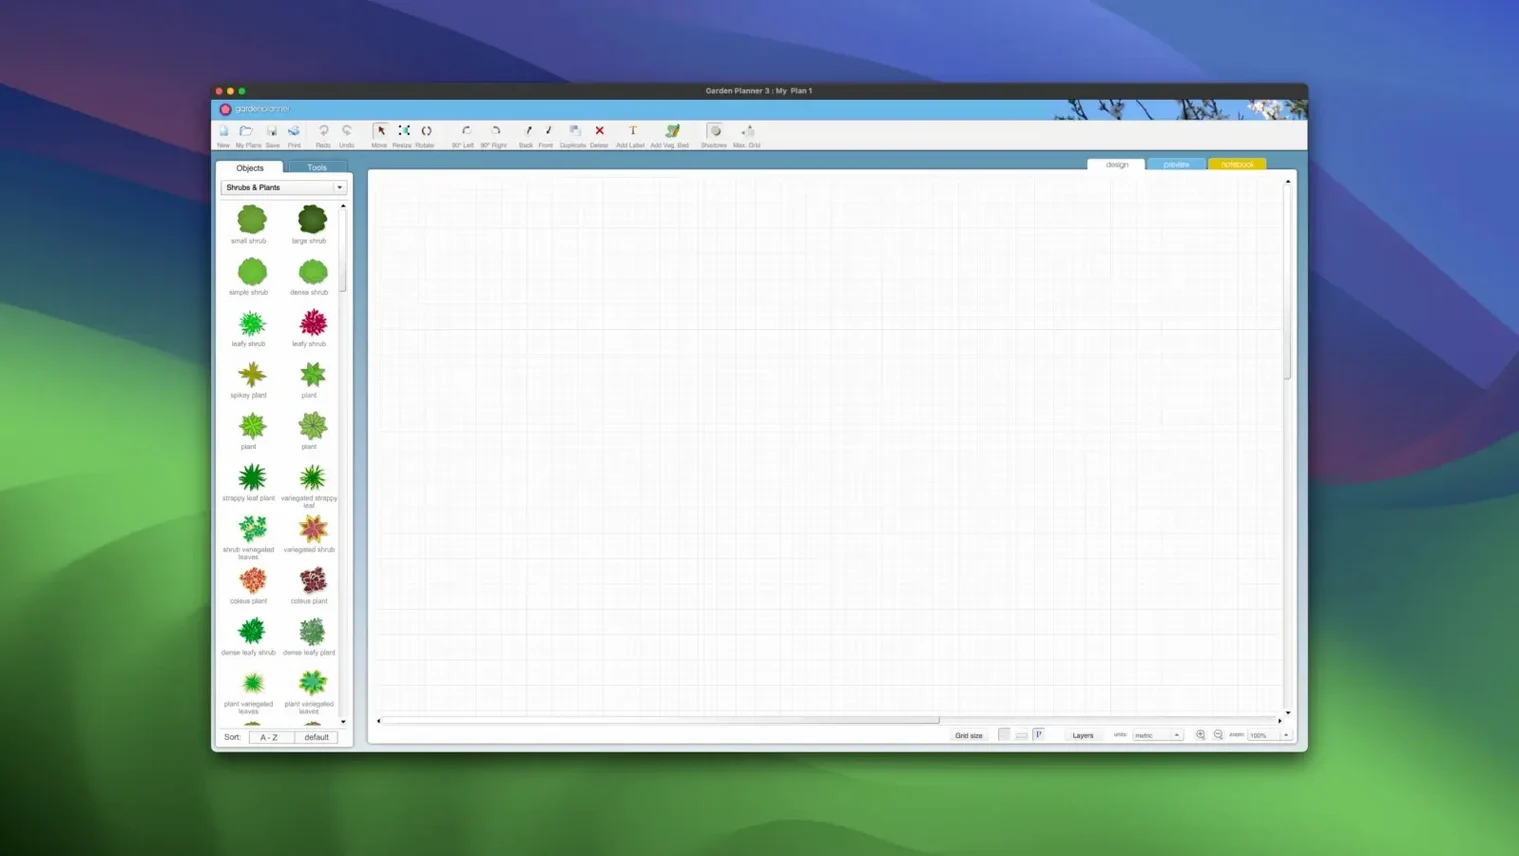
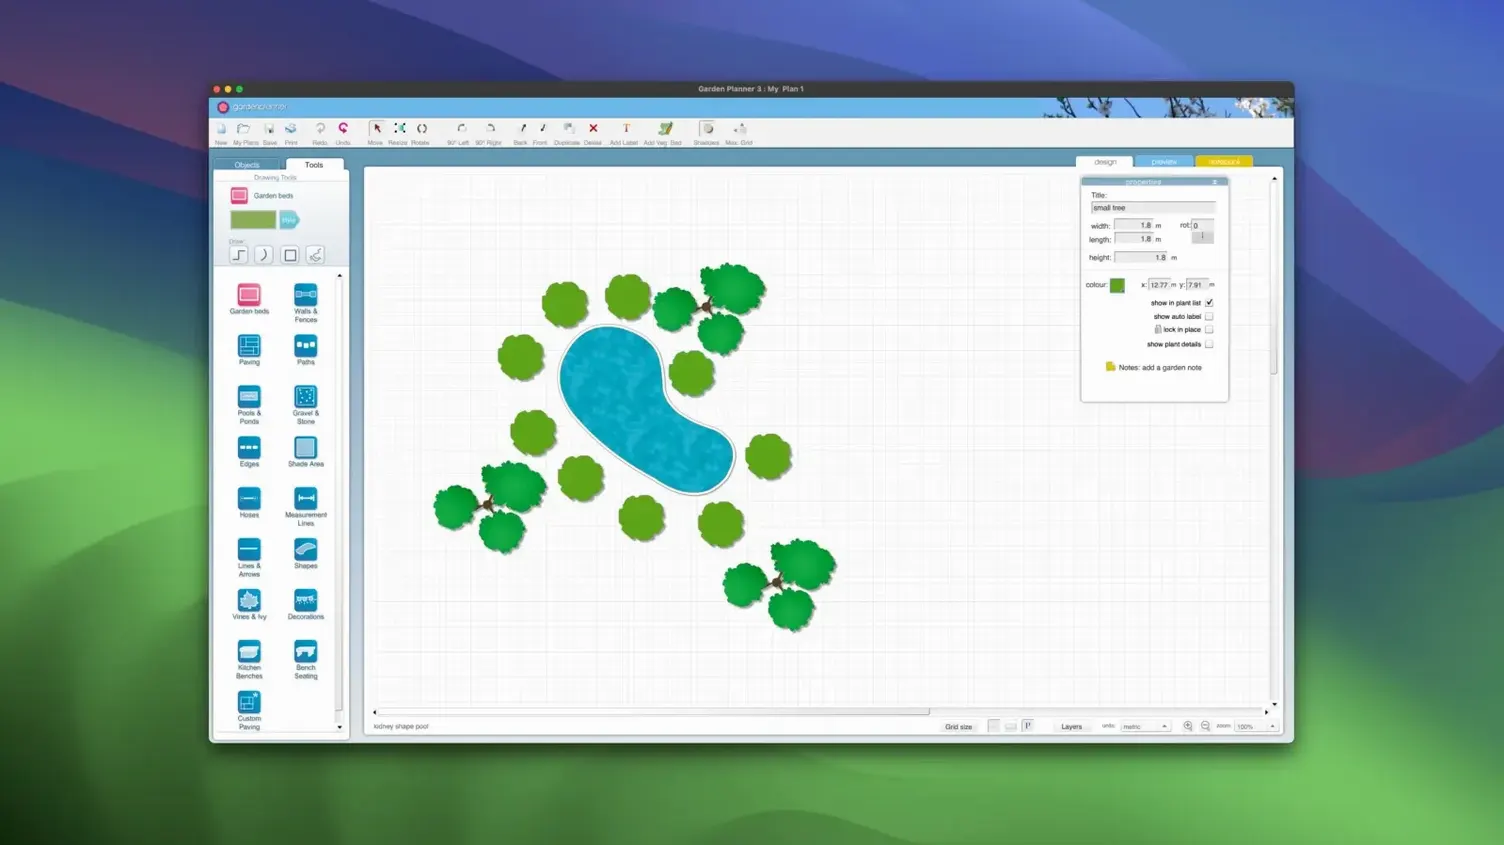
Garden Planner 3.8.86 for macOS brings a 1,200+ item library of plants and objects to your garden design work. The app is aimed at homeowners, landscapers, and anyone who wants to sketch out a yard before breaking ground. It runs on both Intel and Apple Silicon Macs, and the current version works from OS X 10.7 onward.
Design tools and output options
The drawing tools cover the essentials: paths, paving, walkways, walls, fences, pools, and ponds. You can add text descriptions to elements and save custom settings for library items, which speeds up repeated placements. When a plan is finished, the preview screen and high-quality printing handle paper output, or you can export the project as a JPEG or PNG. The object report—a list of what you placed—can be printed or saved as CSV or TXT for material estimates.
Who benefits from a 3D walkthrough
The built-in 3D view lets you walk through the garden as a finished scene. That helps clients see the layout before planting, and it helps you spot design problems early. Garden Planner is available for Mac and Windows, so sharing files with collaborators on either platform is straightforward. The 3.8 update added new path styles and general improvements, keeping the tool current without complicating the interface.
Garden Planner’s drag-and-drop approach looks simple, but beginners often make the same few mistakes. Here is what I see most often, along with settings worth checking before you place your first plant.
Ignore the canvas scale and trees look like bushes
The most common error is ignoring the scale. Garden Planner starts with a default grid, but if you drag in a 20-foot oak tree without adjusting the canvas scale first, the tree looks like a bush and the path widths throw off the entire plan. Set your plot dimensions early under the view or document settings — it saves redoing an hour of work.
Another mistake: placing plants and objects with the 2D view only. The library thumbnails look fine flat, but the 3D walkthrough reveals overlapping foliage and misplaced structures that are invisible from above. Switch to the 3D view periodically, not only at the end.
New users also forget the object report. They spend time counting plants manually for a shopping list, not realizing the report lists every item with its type and quantity. Run it before you close the file.
Set your own plant defaults before placing anything
Before you place anything, open the user-defined settings for library elements. The defaults work for general use, but if you garden in a specific climate or want consistent spacing, apply your own defaults to the plants you use most. It takes five minutes and saves clicking through properties every time.
The path and paving tools have a few line styles and widths. The 3.8 update added new path styles — switch from the basic straight line to a curved or stepping-stone style if the plan calls for it. That setting is on the drawing toolbar, not buried in a menu.
Rotate, scale, and annotate items without losing placement
- Rotation and scaling — You can rotate, duplicate, scale, and reshape any placed element. Select an object and try the rotation handle; it works in both 2D and 3D views.
- Text descriptions — Add a short note to any object. This is useful for tagging a plant with its sun requirement or a fence with its material, and that text stays attached if you export the project.
- CSV and TXT exports — The object report can be saved as CSV or TXT, not just printed. CSV imports into spreadsheet software for cost calculations or material ordering.
- Preview screen — Before printing, open the preview screen. It shows how the plan fits on the page and lets you adjust margins or orientation without wasting paper.
Start by mounting the disk image and setting the backyard scale
You open Garden Planner and mount the downloaded disk image — the installer runs the standard procedure, and you use the included activation code to unlock the full library. First thing, you set the canvas scale to match your backyard dimensions: 30 by 50 feet. You pull in the house outline from the building objects, then rotate it to match your property’s orientation.
Next, you lay out the main paths. You select the path drawing tool, pick a curved style from the new options in 3.8.86, and sketch the walkway from the back door to the garden bed. You add a fence along the north edge, scaling it to fit the property line. For the planting area, you open the library, filter by “perennial,” and drag in a row of lavender bushes. You set their spacing to 18 inches in the user-defined settings, then duplicate the row to fill the bed.
Halfway through, you switch to the 3D view and walk along the path. The lavender row looks sparse at the current scale, so you return to 2D, select the row, and scale it slightly larger. You add a small pond at the corner with the water-object tool. Before wrapping up, you run the object report, save it as CSV for the nursery order, and export a JPEG of the finished plan to share with a neighbor.
- New path styles added.
- Improvements and bug fixes included.
- macOS OS X 10.7 or later
- Intel or Apple Silicon
Questions from the notes
Can I export my garden design as an image?
Yes, Garden Planner exports projects as JPEG or PNG files.
Does Garden Planner have a 3D view?
Yes, it includes a 3D view for walking through your garden design.
What file formats can I save the object report in?
The object report can be printed or saved as CSV or TXT.
Install procedure
- Mount the downloaded disk image.
- Run the standard installation procedure.
- Use the included activation code to activate the app.
Reports from players
Sign in or create a tester account to file a report.
No reports filed yet.