If you've used Tone Empire's other plugins, EDYN fits the same mold: a focused tool that does one thing well. This one is a preamp emulation inspired by American console channels from the 1960s and 1970s. It's the kind of box you'd reach for when you want a track to sit differently in the mix without reaching for a full channel strip.
EDYN runs natively on Apple Silicon Macs
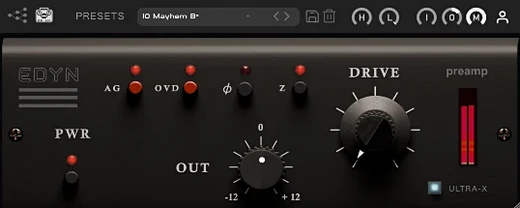
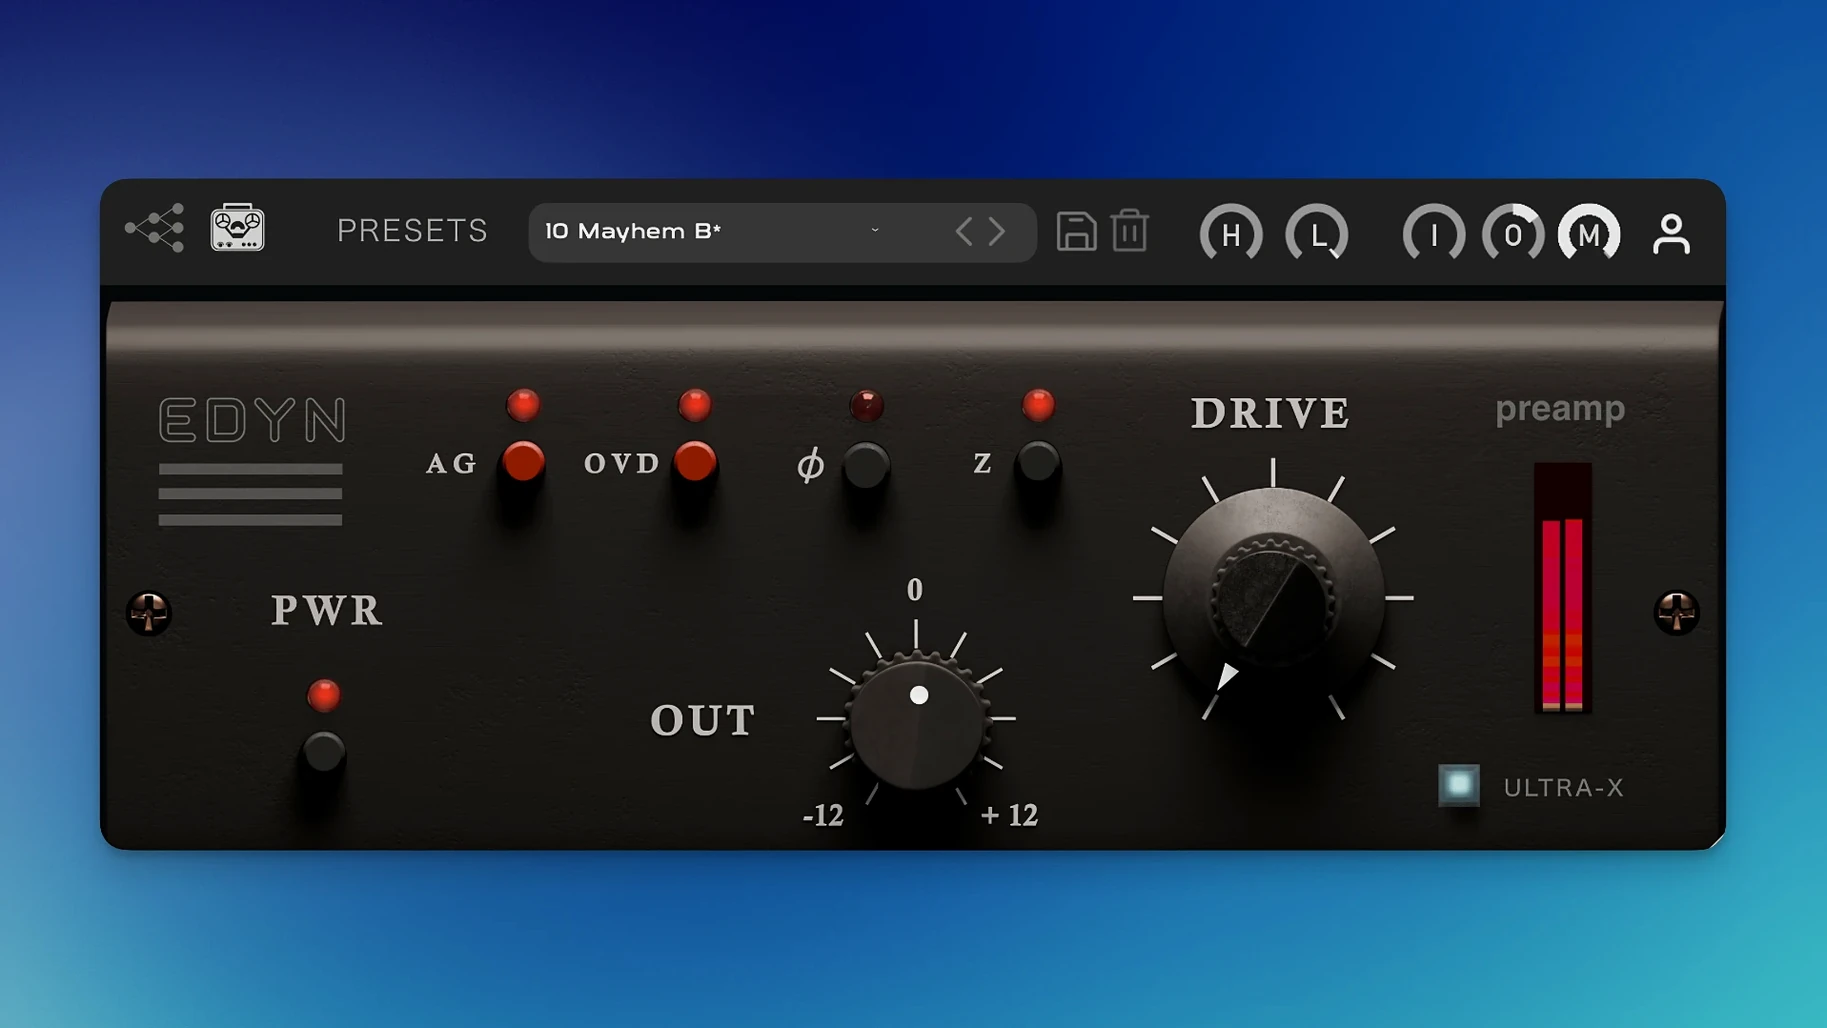
EDYN runs as a VST3, AU, or AAX plugin on both Intel and Apple Silicon Macs. It's native on Apple Silicon, so no Rosetta wrapper needed. The interface is English and scales on high-resolution displays, which helps if you're on a Retina screen. You get the usual preamp controls plus phase inversion, high-pass and low-pass filters, and an OVD overdrive mode. Input impedance switches between 50 and 200 ohms, which changes how the preamp reacts to different sources. Automatic gain compensation keeps levels stable when you push the drive.
Version 1.0.2 fixes and compatibility
The current release addresses several stability issues. Offline rendering on the master output is fixed, and Logic Pro users on macOS Sequoia get AU validation and multi-instance crash fixes. Pro Tools parameter automation now works as expected. The update also cuts CPU load on Apple Silicon, which matters if you run several instances. If you're tracking or mixing on a modern Mac, EDYN is a straightforward way to get that vintage console color without the hardware.
I've been running EDYN in sessions for a while now, and a few patterns keep coming up. Here's what I've learned, plus a concrete workflow you can try without guessing.
Check your DAW's plugin paths if EDYN doesn't appear
The most frequent issue people hit is the plugin not appearing in their DAW after installation. EDYN uses a standard installer, but some hosts scan specific folders. If it doesn't show up, check that your DAW's plugin paths include the standard VST3 or AU directories. Logic Pro users sometimes need to run a rescan from the plugin manager. On macOS Sequoia, the AU validation fixes in version 1.0.2 resolved a lot of that.
Another snag: the OVD overdrive mode can catch you off guard if you engage it without adjusting the Drive knob first. It's not a subtle effect. If you toggle it and the level jumps, back off the Drive control and let automatic gain compensation settle. That keeps the output from slamming your Master fader.
The input impedance switch (50 ohms vs 200 ohms) is another place where people expect a dramatic tonal shift. It's there, but it's subtle. At 50 ohms you get a slightly tighter low end and a hair less headroom. At 200 ohms the preamp breathes more. Try it with a DI'd bass or a close-miked snare — the difference is clearer there than on a pad or a room mic.
If you're running multiple instances in a dense session and hit performance issues, version 1.0.2 already reduced the CPU load on Apple Silicon. But if you're still seeing spikes, check that your buffer size is set appropriately for mixing rather than tracking. EDYN isn't heavy, but stacking eight or more instances with OVD engaged can add up.
A workflow: thickening a vocal from start to finish
Say you have a lead vocal that sounds clean but flat. Start by inserting EDYN on the vocal track. Set the input impedance to 200 ohms — that gives you a more open top end, which is usually what anemic vocals need. Keep the Drive knob at noon for now. The automatic gain compensation will keep your levels stable as you adjust.
Engage the high-pass filter around 80 Hz to clean up any rumble or proximity effect from the microphone. The low-pass filter can stay off unless the vocal has sibilance or harshness above 10 kHz. If it does, roll it off gently at 12 kHz or so.
Now push the Drive knob until the vocal gains a slight edge — you're looking for density, not distortion. The bright midrange emulation will start to bring out the presence region. If the vocal gets too aggressive, back off the Drive and compensate with the Input control. The idea is to drive the preamp enough that the transient response tightens, but not so much that the sustain gets mushy.
Use the Mix control to blend the processed signal with the dry one. For a lead vocal, I tend to start at 70% wet and adjust from there. The phase inversion button can help if you're layering multiple vocal takes and need to align polarity — solo the two tracks and flip phase on one; if the low end gets thinner, leave it inverted.
If the vocal still needs more character, engage OVD overdrive mode. Adjust the output to match your bypass level. That's it. You're done in five minutes without opening a compressor.
Use EDYN's independent filters as a simple EQ on drums
The high-pass and low-pass filters are independent, which means you can use them as a simple EQ rather than just a preamp tone shaper. On a drum bus, for example, set the high-pass to 40 Hz to tighten the sub bass and the low-pass to 16 kHz to tame cymbal wash. The preamp section adds the color, the filters shape the bandwidth.
The Mix control is worth automating. If you're working on an age of empire 2 torrent soundtrack or any game audio that needs dynamic character, automate the Mix knob to bring the preamp in and out during different sections. It's faster than duplicating tracks.
The interface scaling works on high-resolution displays, but it also helps if you're running EDYN on a smaller screen. You can resize it once and it stays put between sessions — no need to re-adjust every time you load a project.
EDYN added weight to a rock track's drums and bass
I started a mix last week with a client's rock track — drums, bass, two electric guitars, lead vocal, backing vocals. The raw tracks were clean, recorded through an audio interface with decent preamps, but they lacked the weight of a vintage console. I dropped EDYN on the drum bus first. The kick and snare immediately felt more glued. The bright midrange brought out the stick attack on the snare without needing EQ.
Next was the bass. I used the same 50 ohm setting but kept the Drive lower — around 20%. The low end got deeper without getting woolly. I flipped the phase on the bass DI track and the amp track to check alignment. They were already in phase, so I left it alone.
The lead vocal needed more presence. I switched to 200 ohms, pushed Drive to 50%, engaged the high-pass at 100 Hz, and blended the Mix knob around 60%. That got the vocal sitting on top of the guitars without pushing the fader. I bypassed the plugin to check — the difference was clear. The vocal had the density I wanted, and the automatic gain compensation meant I didn't have to re-balance the fader.
They sat behind the lead without fighting for space. I automated the Mix knob on the backing vocal bus to bring them up during the chorus and pull them back in the verses. Quick, clean, and the session stayed responsive with six instances running.
- Fixed offline rendering on the master output.
- Fixed AU validation in Logic Pro on macOS Sequoia.
- Fixed crashes with multiple instances in Logic Pro.
- Fixed parameter automation in Pro Tools.
- Optimized Apple Silicon performance and reduced CPU load.
- Improved high-resolution display support with a scalable interface.
- macOS 10.14 or later
- Intel or Apple Silicon
Install procedure
- Install and activation instructions are included with the package.
Reports from players
Sign in or create a tester account to file a report.
No reports filed yet.