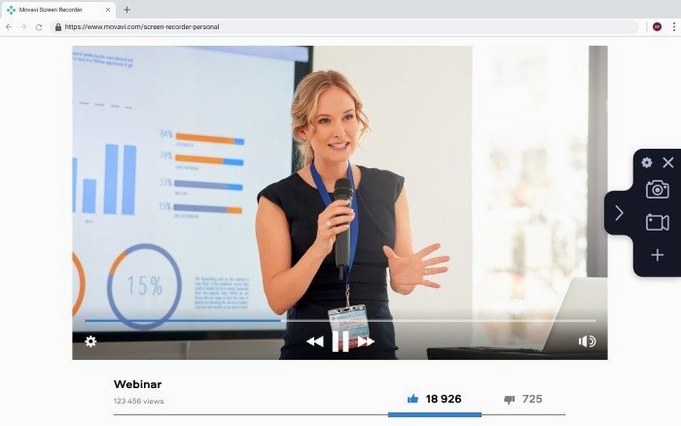
Movavi Screen Recorder 23.1.1 is a utility for capturing video, audio, webcam, and screenshots on macOS. Before you install, know this: it requires macOS 10.13 or later and runs on Intel Macs only. Apple Silicon users will need Rosetta or a different tool.
| Detail | Value |
|---|---|
| Version | 23.1.1 |
| Category | Utilities |
| macOS | 10.13 or later |
| Architecture | Intel |
| Languages | English |
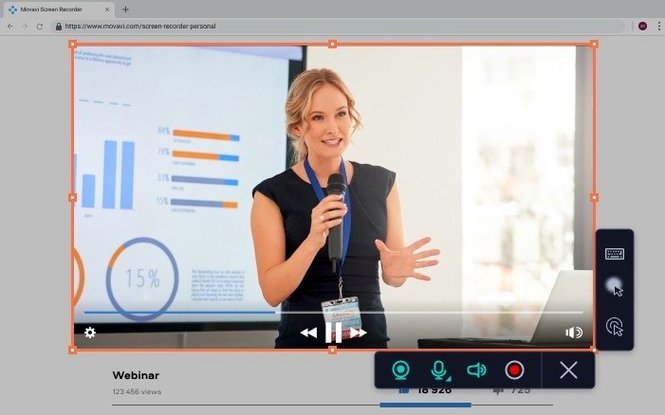
If your Mac meets that bar, the app covers the basics well. You can schedule recordings by date and time, set a duration limit, and capture system sound along with microphone input. Webcam overlay and cursor click effects are there for tutorials or walkthroughs. Recording can be saved as a video file or an animated GIF. Before saving screenshots, you can edit them in-app. Version 23.1.1 ships with minor fixes, so expect the same feature set as before, just a bit more stable.
Tutorial creators gain webcam overlay and cursor effects
Movavi Screen Recorder fits a specific set of workflows better than a general-purpose recording tool does. Tutorial creators benefit from the webcam overlay and cursor effects without needing a separate compositor. App demo makers can limit recordings to a window region, avoiding desktop clutter. The scheduler is useful for anyone who needs to capture a live stream or a timed event when they are not at the keyboard. Mac users on 10.13 through 11.x (High Sierra, Mojave, Catalina, Big Sur) who cannot run the latest macOS-native recording tools find a stable option here. It is also a straightforward choice for making animated GIFs of short UI interactions, because the export step skips the video-editing middleman.
Check default hotkeys to avoid conflicts before first capture
Once Movavi Screen Recorder 23.1.1 is running, go through these checks before your first real capture.
- Open the app and confirm the hotkeys are not conflicting with other apps. The default shortcuts for start/stop and pause often overlap with media players or system functions. Remap them in Preferences if needed.
- Record a fifteen-second test with both system sound and microphone enabled. Play it back and adjust audio gain levels if one track drowns out the other.
- Try the scheduler with a short task first. Set it to start one minute from now and capture for thirty seconds. If the recording appears in the output folder, the scheduler is working.
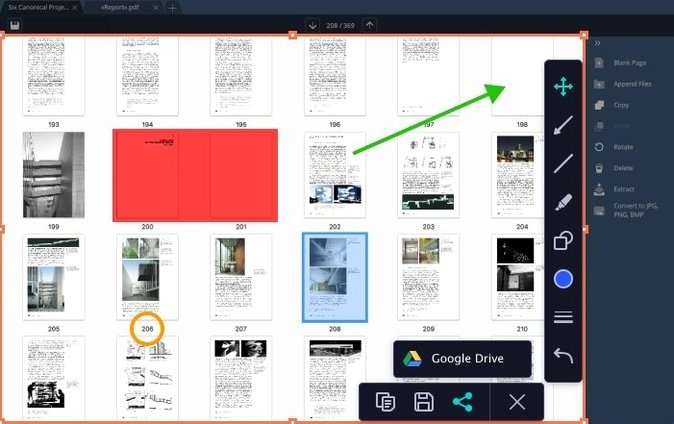
- If you plan to upload directly to YouTube or Google Drive, link your account in the app settings. Test the upload with a small file so you are not surprised by upload failures during a deadline.
- Take a screenshot and use the built-in editor to crop or annotate it. This avoids opening a separate image tool for quick captures.
Workflow: recording a software walkthrough with keyboard cues
This walkthrough assumes you are creating a short tutorial for a macOS application and want to show keystrokes on screen.
- Set up the capture area. Open Movavi Screen Recorder and choose the application window for your tutorial. Enable webcam overlay if you want a face inset, and position it in a corner that does not block important UI elements.
- Configure input sources. Turn on system sound so clicks and app sounds are recorded. Enable microphone input for your voiceover. In the same panel, turn on the keyboard display option so typed keys appear as on-screen labels.
- Adjust overlay settings. Enable cursor click effects. Choose a highlight color that contrasts with the app background. Disable any other on-screen markers that you will not use.
- Record. Hit the record hotkey (or click the Record button). Perform the task you are demonstrating. If you make a mistake, pause with the pause hotkey, reset the scene, and resume.
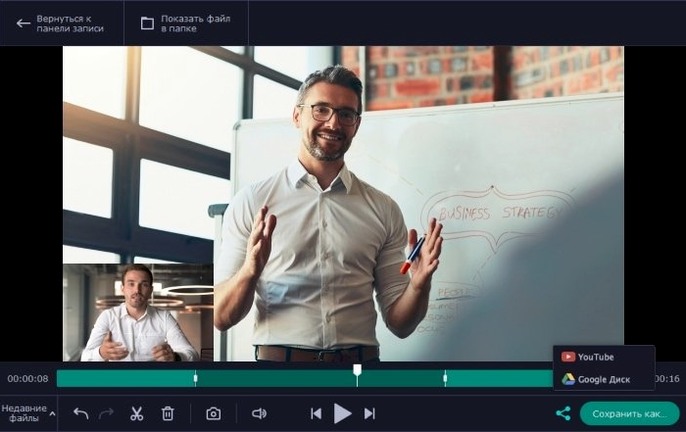
- Trim. After stopping, the app shows a preview. Use the trim controls to cut out the pause at the beginning and any dead air at the end. Do not re-encode the whole file if you only need to remove the edges.
- Export. Save as MP4 or GIF depending on your delivery method. For YouTube or Google Drive uploads, use the built-in export-and-upload option rather than downloading and re-uploading manually.
The keyboard cue overlay and cursor effects are the two features that differentiate this workflow from plain system-level recording. They mean you do not need a separate keycap-display app or a video editor with motion-tracked callouts.
Exports MP4 files importable into iMovie and DaVinci Resolve
Movavi Screen Recorder works alongside common macOS tools without forcing you into a single-pipeline workflow. You can record a session in Movavi and then import the file directly into iMovie or DaVinci Resolve for advanced editing. The exported MP4 files are standard H.264, so they also open in QuickTime Player and Preview without conversion.
The scheduler integrates well with macOS's built-in power management. If you schedule a recording while the Mac would normally go to sleep, the app will not wake the system on its own. You need to keep the machine awake using System Preferences > Power & Sleep settings or a third-party wake utility.
For users who rely on Movavi's full suite, this recorder shares the same file format and export presets as Movavi Video Editor and Movavi Video Converter. A clip captured here can be dropped into those apps without re-encoding. The Google Drive and YouTube upload options bypass the need for a separate upload client or web browser drag-and-drop.
If you already use a tool like OBS Studio for complex multi-camera setups, Movavi Screen Recorder serves as a simpler alternative for single-window captures or quick GIF exports. It does not replace OBS's streaming features, but for a straight-to-file recording with minimal configuration, it gets the job done without the overhead.
- Minor improvements and bug fixes.
- macOS 10.13 or later
- Intel architecture
Install procedure
- Mount the disk image and launch Open Gatekeeper friendly.
- Press Enter in the Terminal window to bypass Gatekeeper.
- Complete the standard installation steps.
- The app is ready to use.
Reports from players
Sign in or create a tester account to file a report.
No reports filed yet.