The immersive metadata viewer is the first thing you notice in Compressor 5.3 — it lets you inspect 180° Apple Projected Media profiles and anaglyph previews before encoding. That’s a useful checkpoint when you’re working with stereoscopic video or immersive sources that skip WAV files.
1. Set up a batch
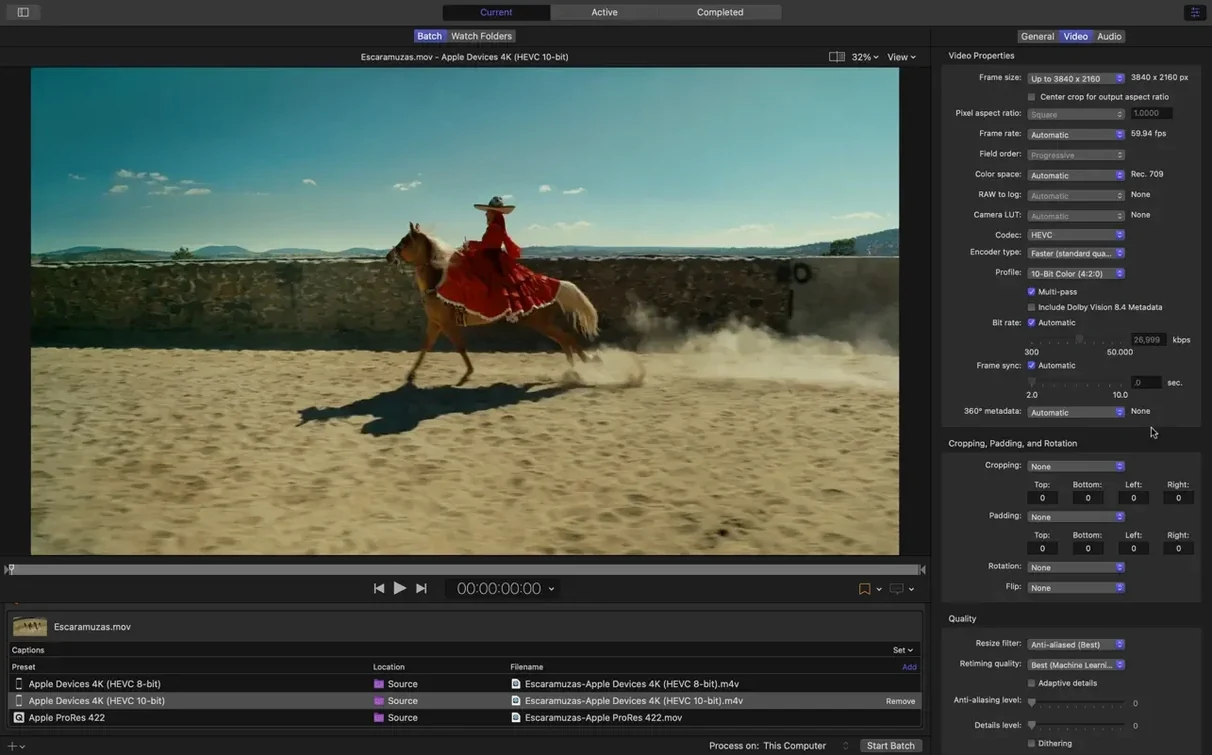
Drag source files into the batch area. Compressor accepts most common formats and will transcode them into whatever output you need — H.264, HEVC, ProRes, or Apple Device presets with the new 5.1 AAC option.
2. Choose a preset or build your own
The built-in presets cover Apple devices, broadcast, and web. If you need something custom, adjust video codec, frame size, data rate limits (HEVC limits work on Apple silicon), and audio channels.
3. Distribute the job
Compressor can send encoding tasks to multiple CPU cores on your Mac, or across a network using distributed encoding. That keeps export times manageable even with large batches.
4. Send to Final Cut Pro or export directly
The integration with Final Cut Pro and Motion means you can send a project straight to Compressor for fine-tuned encoding, then export the final file or upload it directly.
Compressor uses hardware encoders for H.264 and HEVC, so exports on Apple silicon or recent Intel Macs are fast. The interface is available in English, German, Spanish, Simplified Chinese, French, and Japanese.
Switch to HEVC for Apple device targets
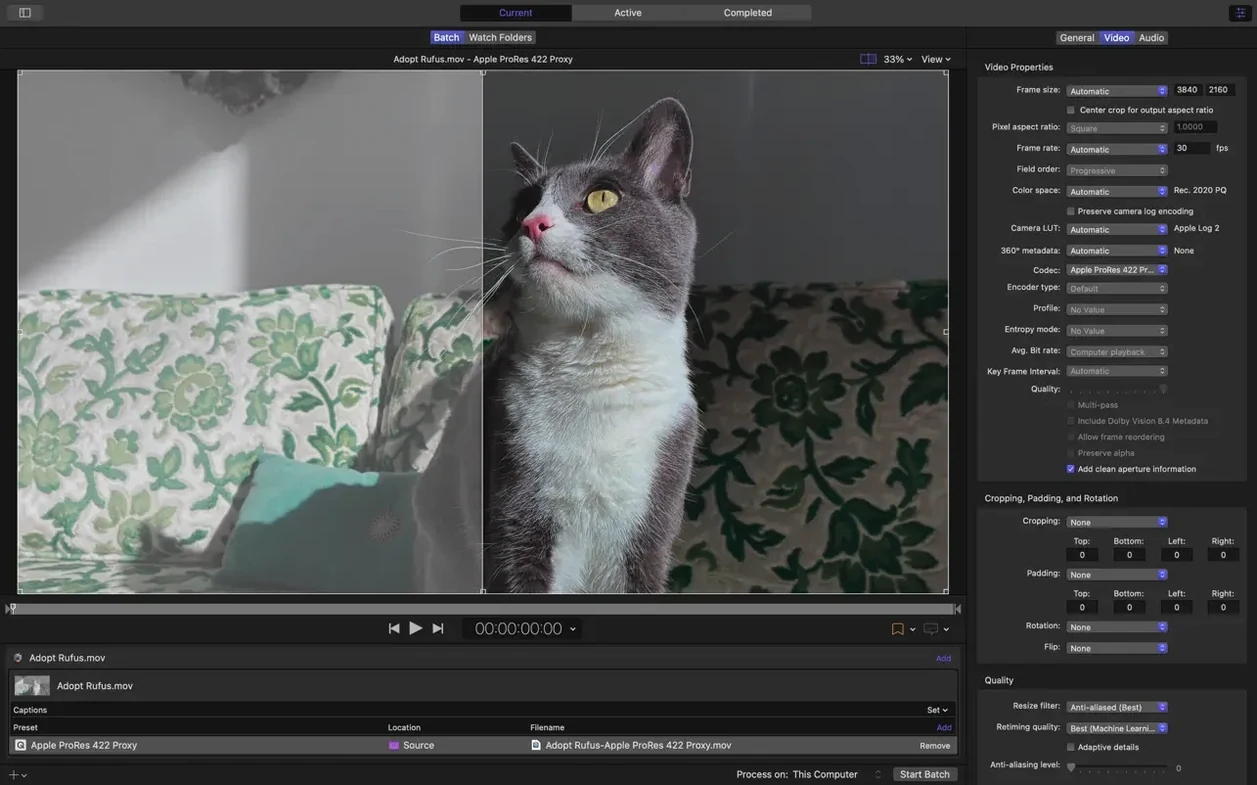
Before running your first job, open the Encoding Settings panel and check a few defaults. The most common change I make is switching the video codec from the generic H.264 setting to HEVC when the target is an Apple device — it produces smaller files at the same quality. If you're outputting for broadcast, set the codec to ProRes and choose the appropriate flavor (422, 422 HQ, 4444) from the dropdown.
Under the Audio tab, confirm the channel configuration. The new 5.1 AAC option is there for surround mixes, but if your source is stereo, leaving it at 2.0 saves time and avoids pointless upmixing. For data rate limits, Apple silicon users should check the HEVC cap under the Video tab — Compressor 5.3 respects those limits automatically, but setting a custom ceiling gives you control over file size.
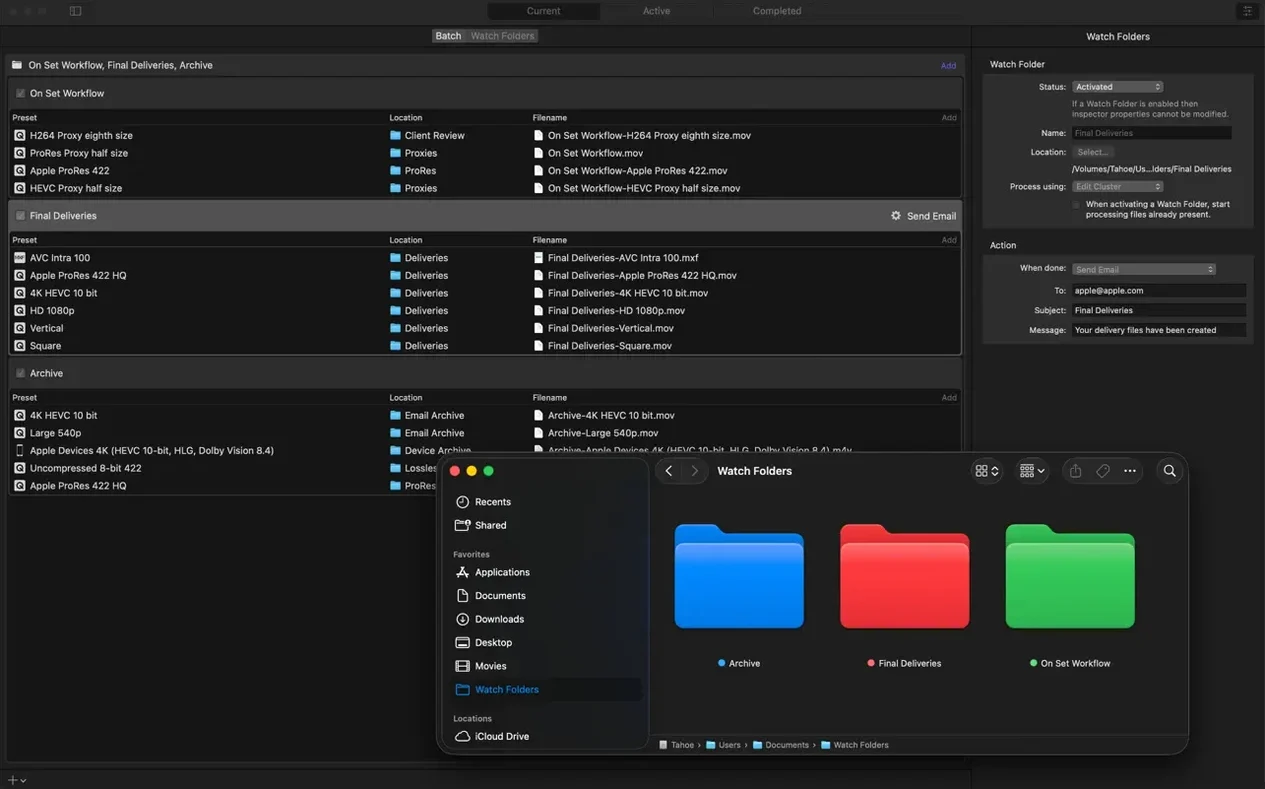
One more thing: the post-encode actions panel. It's near the bottom of the settings sidebar. Set a post-encode action to copy or move completed files to a watched folder, or run a script that notifies your team. It saves you from babysitting the queue.
Workflow: transcoding a stereoscopic 180° source for Apple Immersive output
This workflow uses the features added in 5.3 — the immersive metadata viewer, the 180° Apple Projected Media Profile, and the anaglyph preview.
- Add your source. Drag the stereoscopic video file (left-eye and right-eye streams, or a side-by-side file) into the batch area. Compressor reads most common wrapping formats.
- Select the Apple Immersive preset. From the preset menu, choose the new 180° Apple Projected Media Profile. This automatically sets the correct projection mapping and metadata flags.
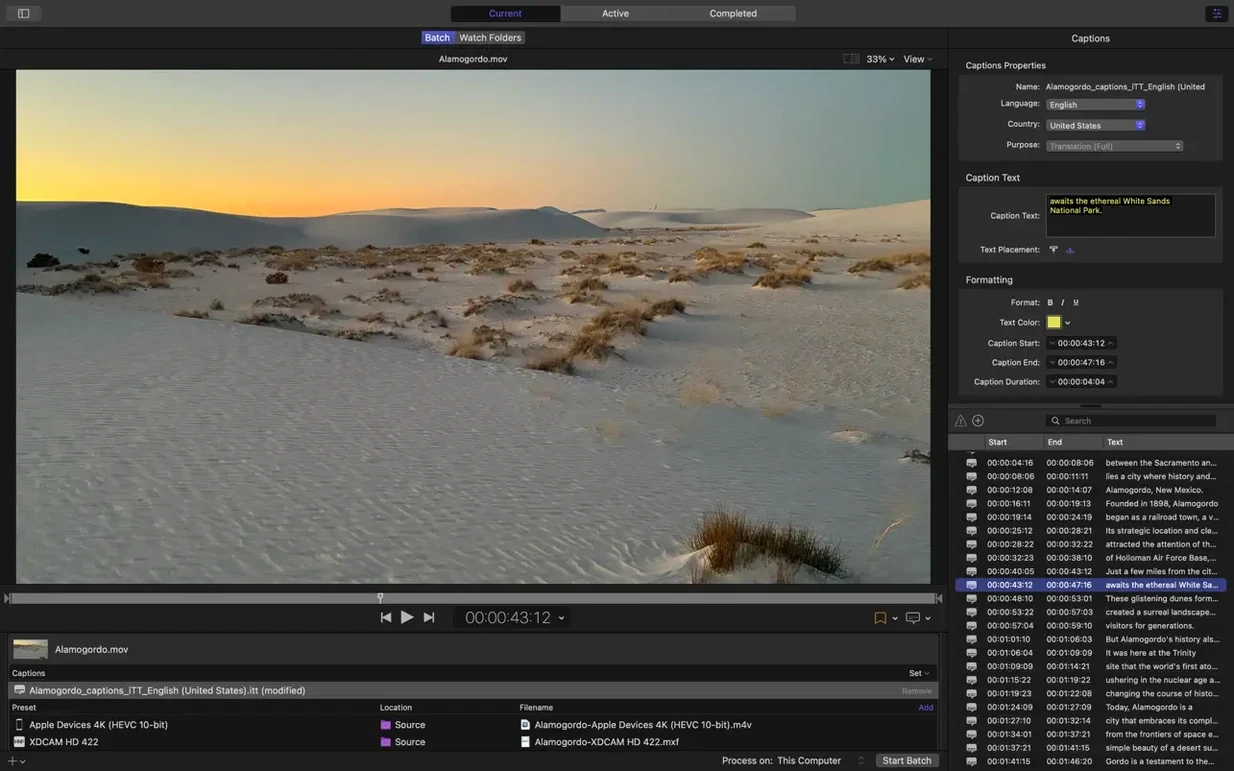
- Check the metadata viewer. Click the immersive metadata viewer button (it appears in the preview panel when an immersive preset is active). Verify that the source's spatial audio metadata is present and correct. If the source lacks WAV files, Compressor 5.3 can still transcode it — the viewer will show you what metadata the app inferred from the source.
- Preview the anaglyph. Enable the anaglyph preview option. This overlays a red-cyan composite so you can check left-right alignment and parallax before encoding. Adjust left-right offset in the inspector if the alignment looks off.
- Set audio. In the inspector, confirm the audio track uses the 5.1 AAC option if the source contains surround sound. For immersive audio, Compressor expects the appropriate channel layout — the inspector shows you what it found.
- Submit the job. Click Submit to queue the job. Distributed encoding works here too, so if you have multiple cores or network render nodes, the job splits automatically.
The result is a file ready for upload or direct playback on Apple devices that support immersive projection.
Re-wrap unsupported source files
Source doesn't appear in the batch area. Compressor skips files it can't decode. Check if the file uses an unsupported codec or container. Re-wrap the source in a compatible format (QuickTime with ProRes or H.264 is a safe bet) and try again.
HEVC export fails on Apple silicon. This usually means the data rate limit you set is too high for the hardware encoder. Open the Video tab in the inspector and lower the data rate until it falls within the HEVC limit for your Mac's chip. Compressor 5.3 enforces this limit, but a custom value that exceeds it will cause the job to fail.
Post-encode action doesn't run. The action runs after the job finishes, but only if the job completes successfully. Check the job log for errors. If the log shows a file-write permission error, adjust the destination folder's permissions or choose a different folder.
Preview looks wrong for 360° or 180° sources. Make sure you've selected the correct projection preset before previewing. The anaglyph preview only works with stereoscopic sources — if you're previewing a monoscopic file, the anaglyph option is grayed out.
Interface language is stuck in Japanese. Compressor uses the system language setting. If your macOS language is set to Japanese, the interface follows. Change the system language in macOS Settings, or reinstall Compressor with a different locale selected during the drag-and-drop install.
Scenario: a post-production supervisor at a small studio
You're the post-production supervisor at a small Montréal studio that delivers branded content for a retail client. The client wants a 180° immersive video for their product launch, plus a standard 16:9 version for social media. You have one Mac workstation and a tight deadline.
You drag the source files — a stereoscopic 180° ProRes master and a standard flat ProRes master — into Compressor's batch area. For the immersive file, you select the 180° Apple Projected Media Profile, check the metadata viewer to confirm the spatial audio is intact, and set the audio to 5.1 AAC. For the flat file, you pick the Apple Device preset and adjust the frame size to 1920×1080. Both jobs go into the same queue.
Because Compressor uses hardware encoders, the workstation handles both jobs without slowing down your editing machine — you run Compressor on a separate Mac mini that's dedicated to encoding. You set a post-encode action to copy finished files to a shared network folder. By the time you've finished the edit review, both files are ready for delivery.
- Adds an immersive metadata viewer before encoding.
- Adds support for 180° Apple Projected Media Profile output.
- Adds an anaglyph preview option for stereoscopic video.
- Adds a 5.1 AAC option to Apple Device export settings.
- Adds support for HEVC data rate limits on Apple silicon devices.
- Adds support for transcoding immersive sources without WAV files to Apple Immersive outputs.
- macOS 15.6 or later
- Apple silicon or 64-bit Intel Mac
- 8 GB memory
- 1.2 GB available disk space
Install procedure
- Mount the downloaded disk image.
- Drag the app to the Applications folder alias.
- Open the app after copying finishes, or launch it from Launchpad.
Reports from players
Sign in or create a tester account to file a report.
No reports filed yet.