Session: Skate Sim Build 22539382 — Mac build
Games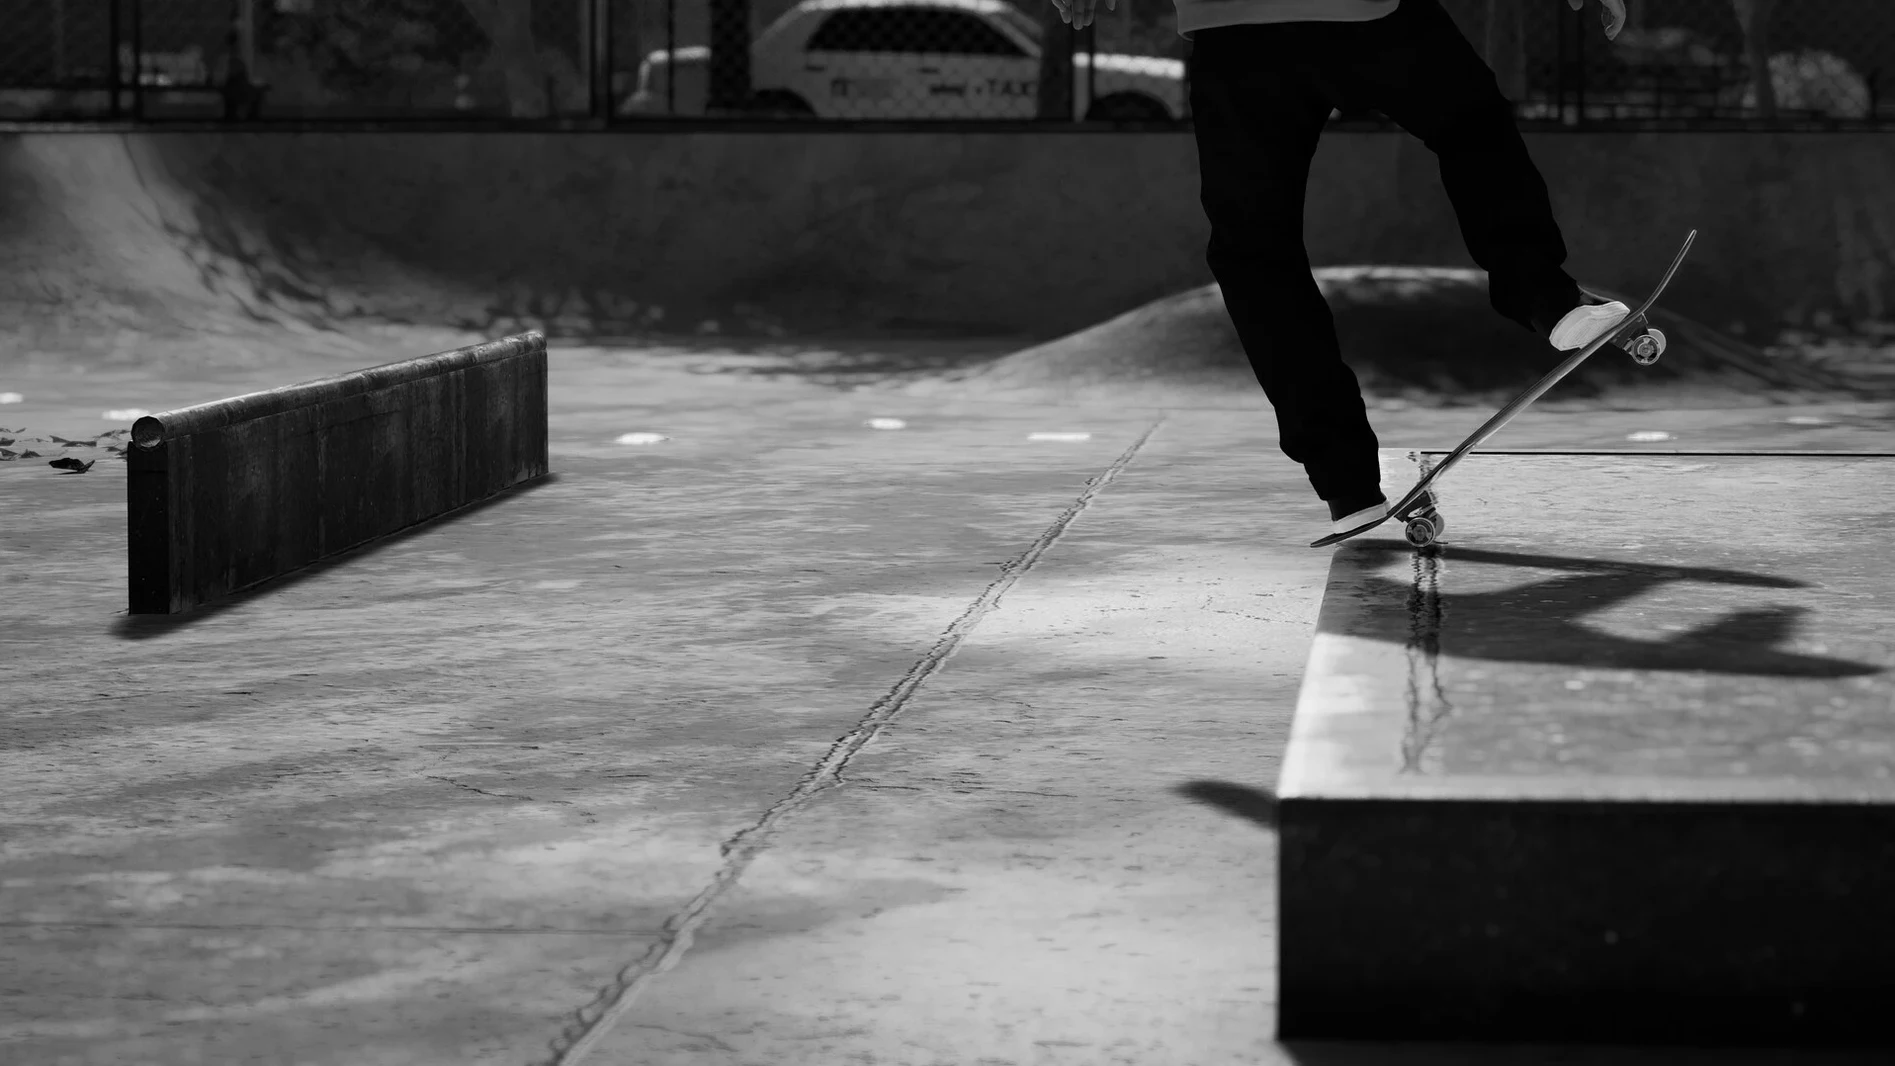
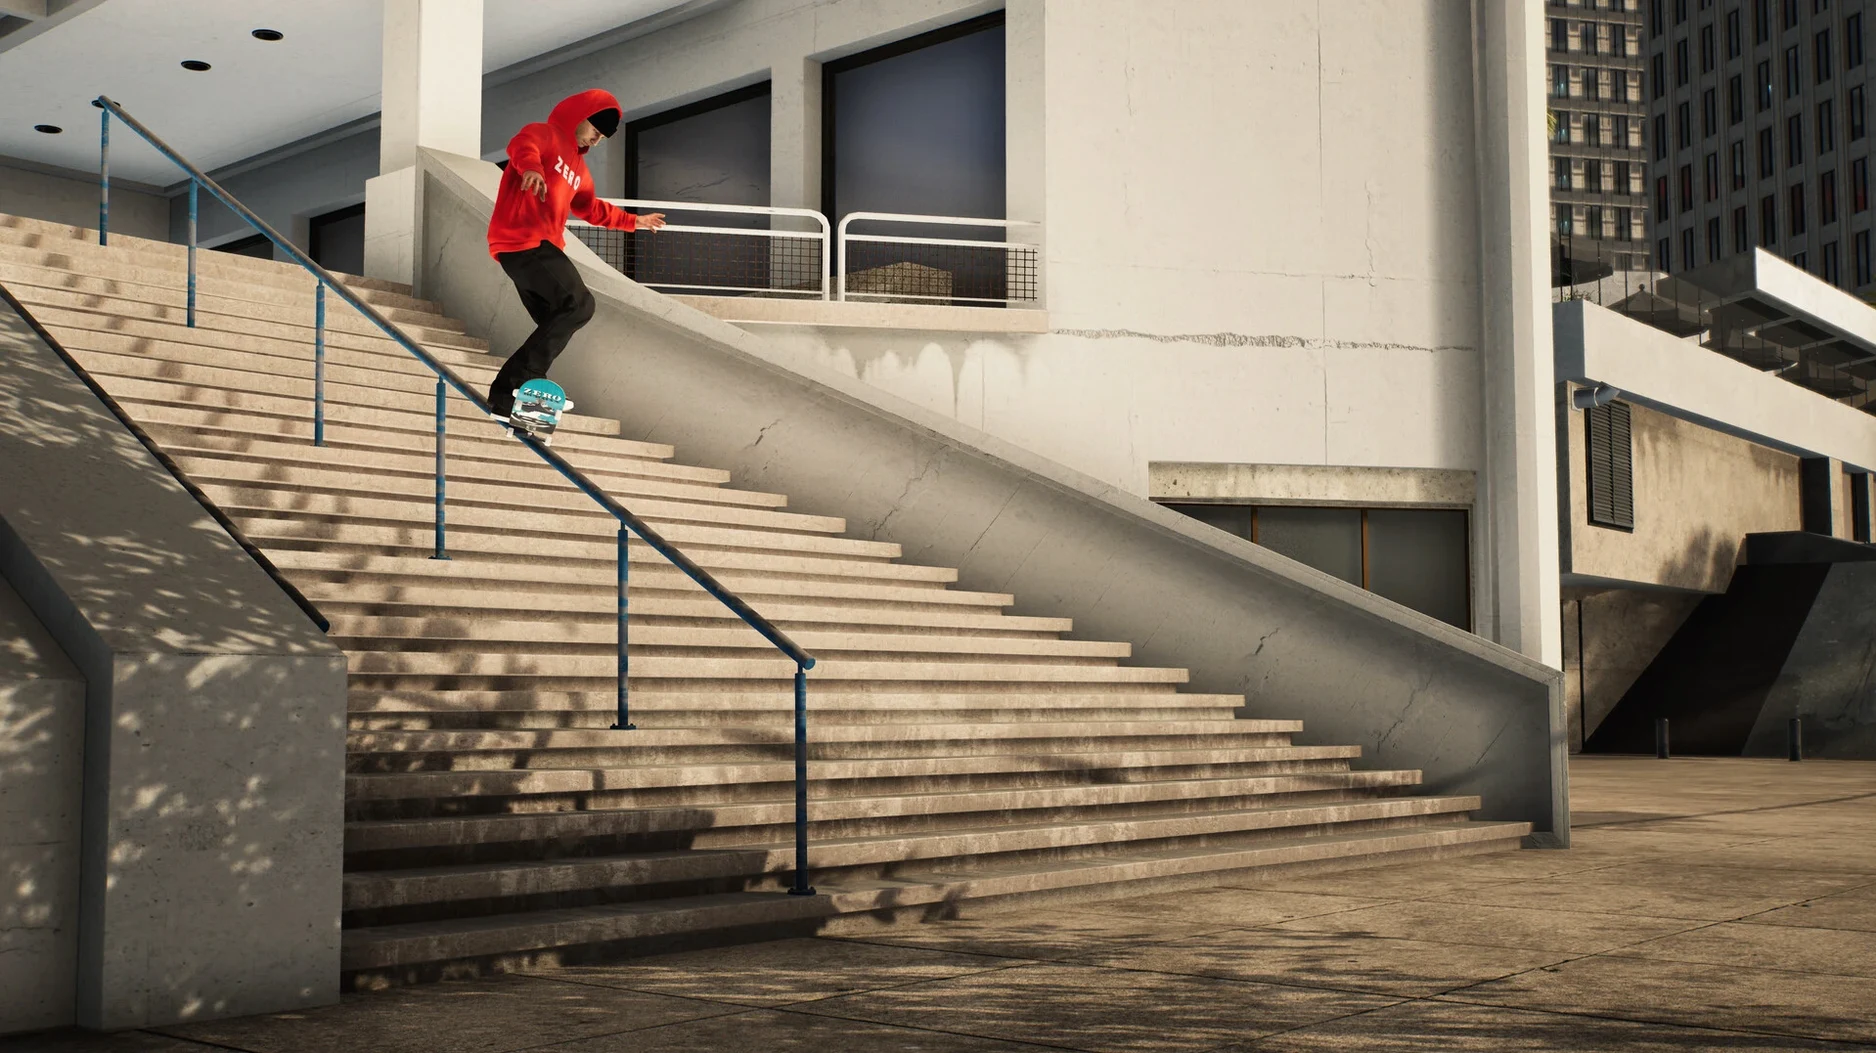
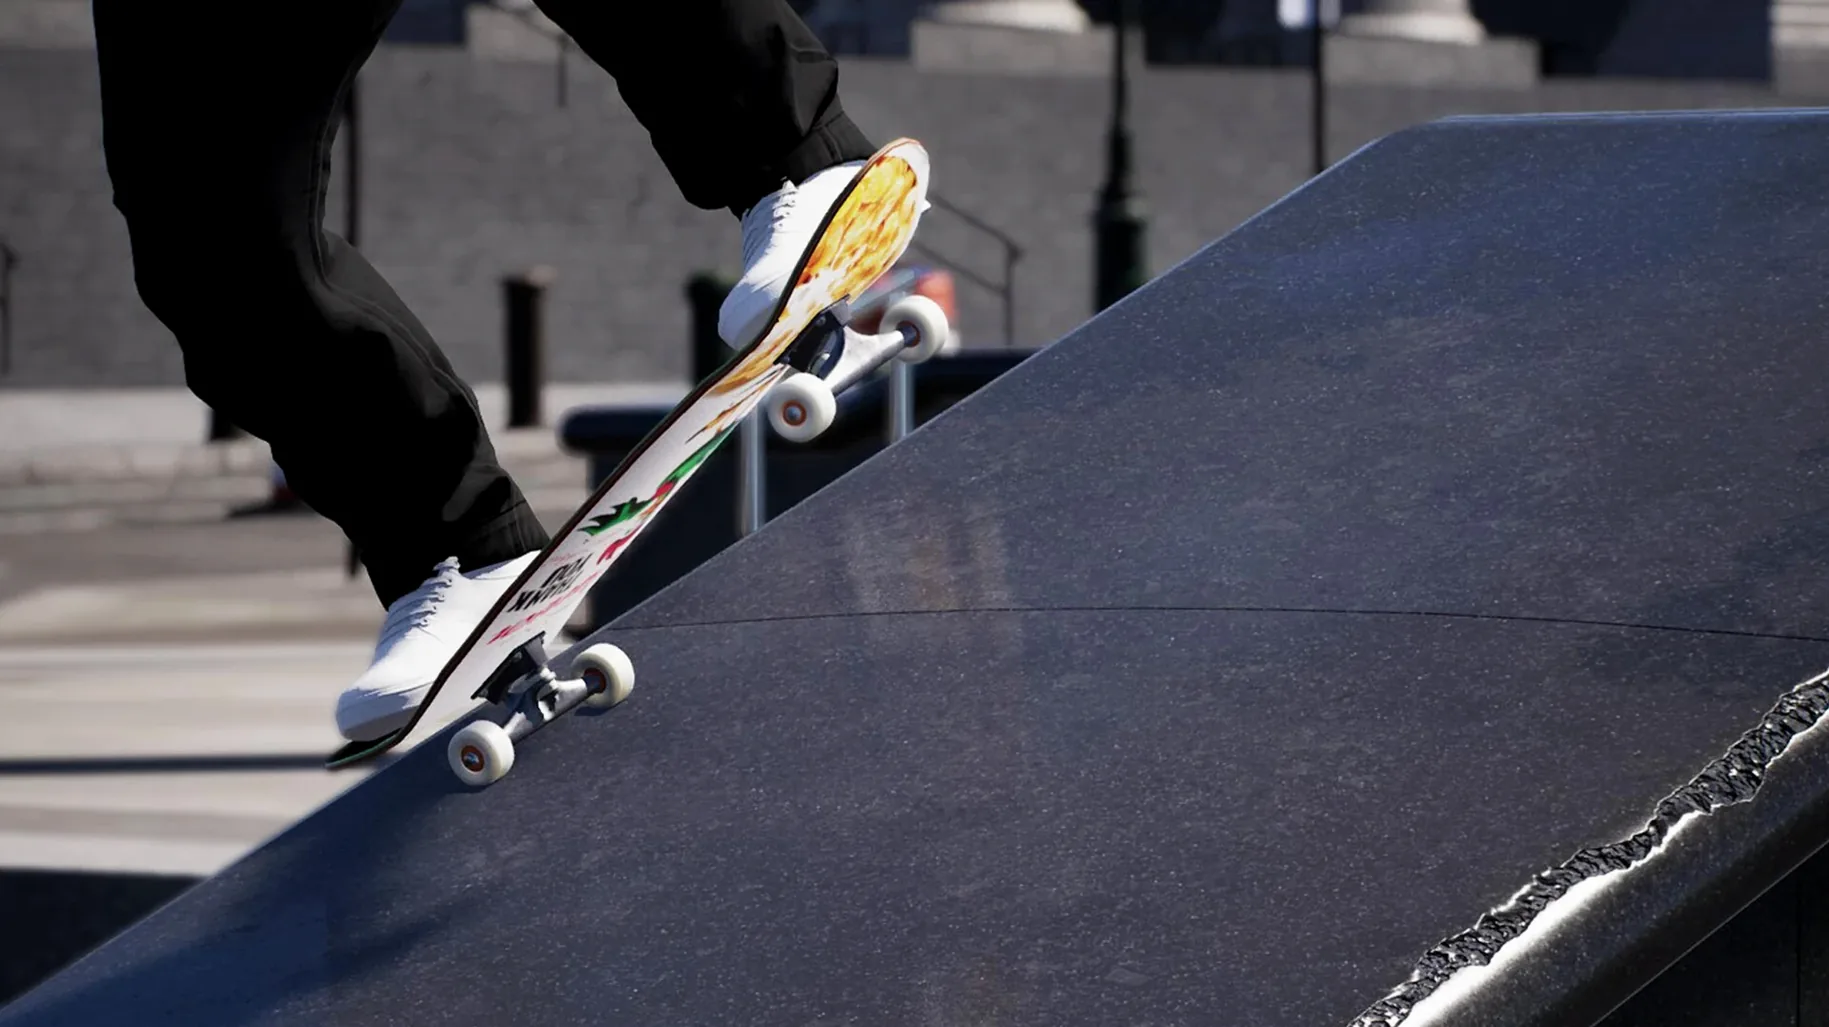
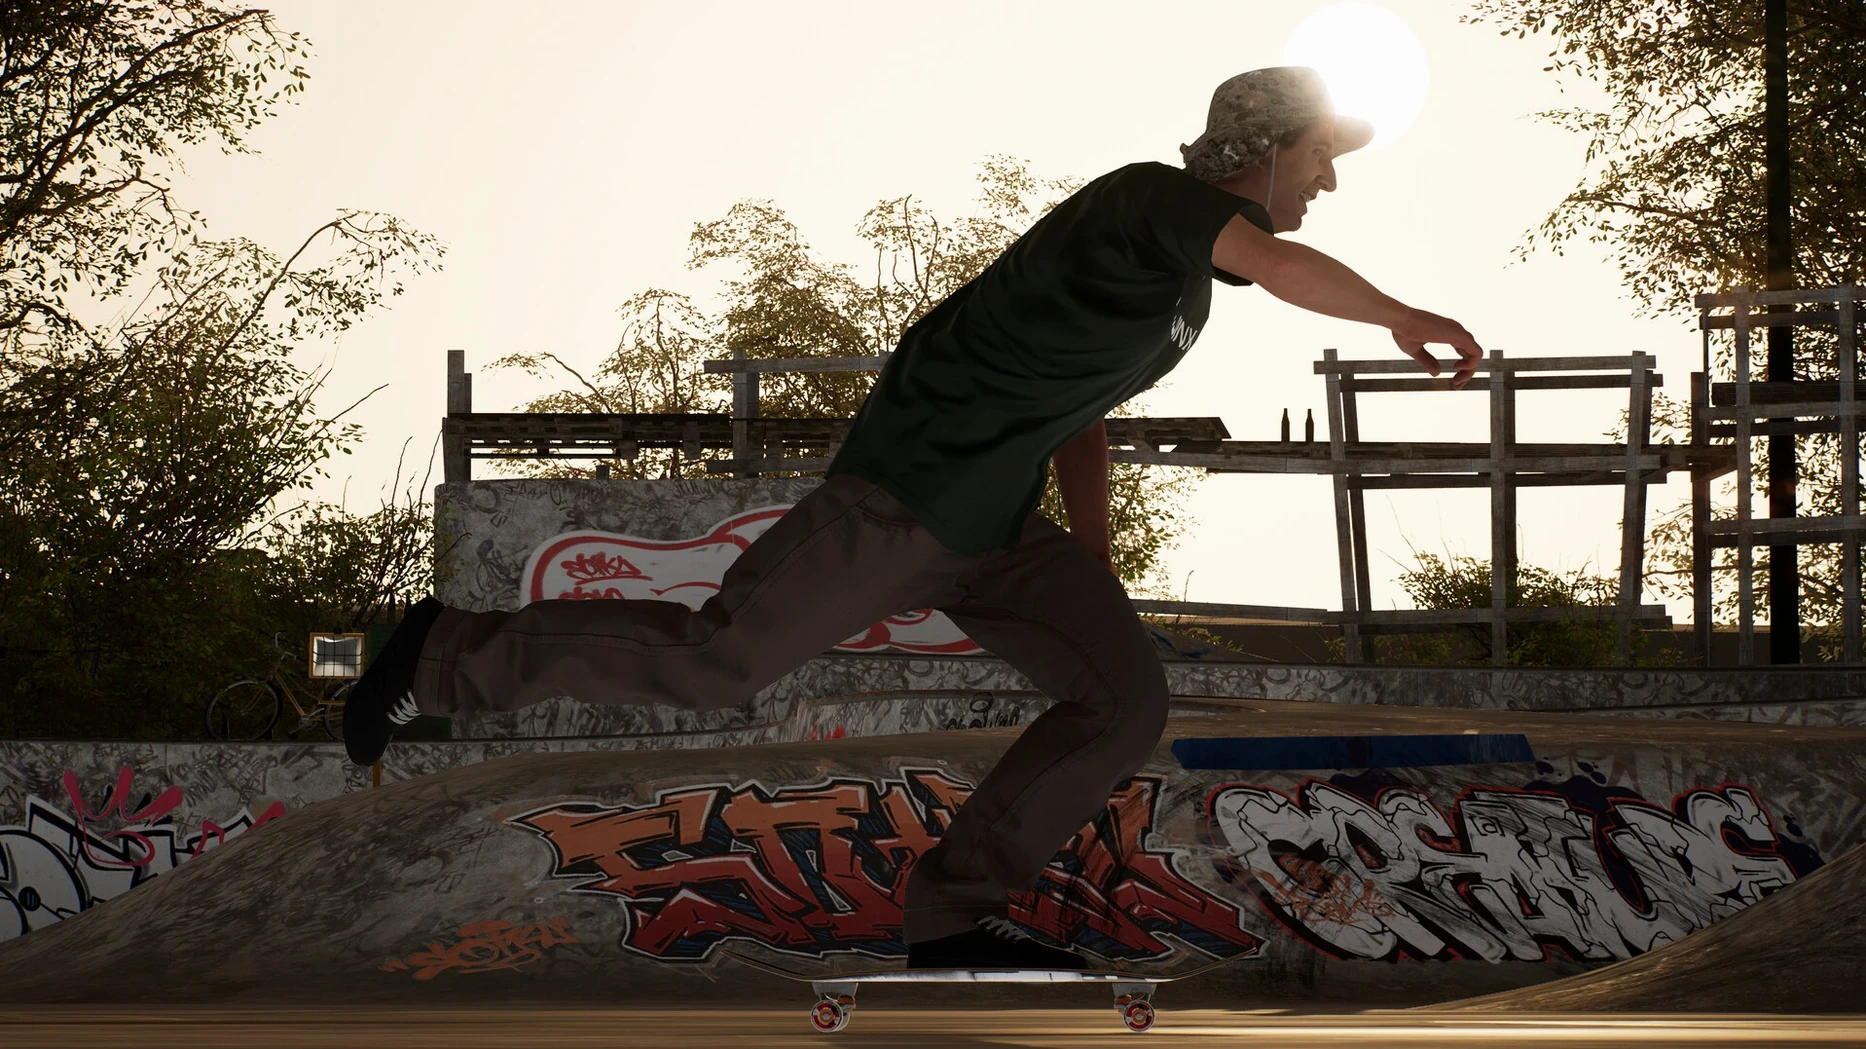
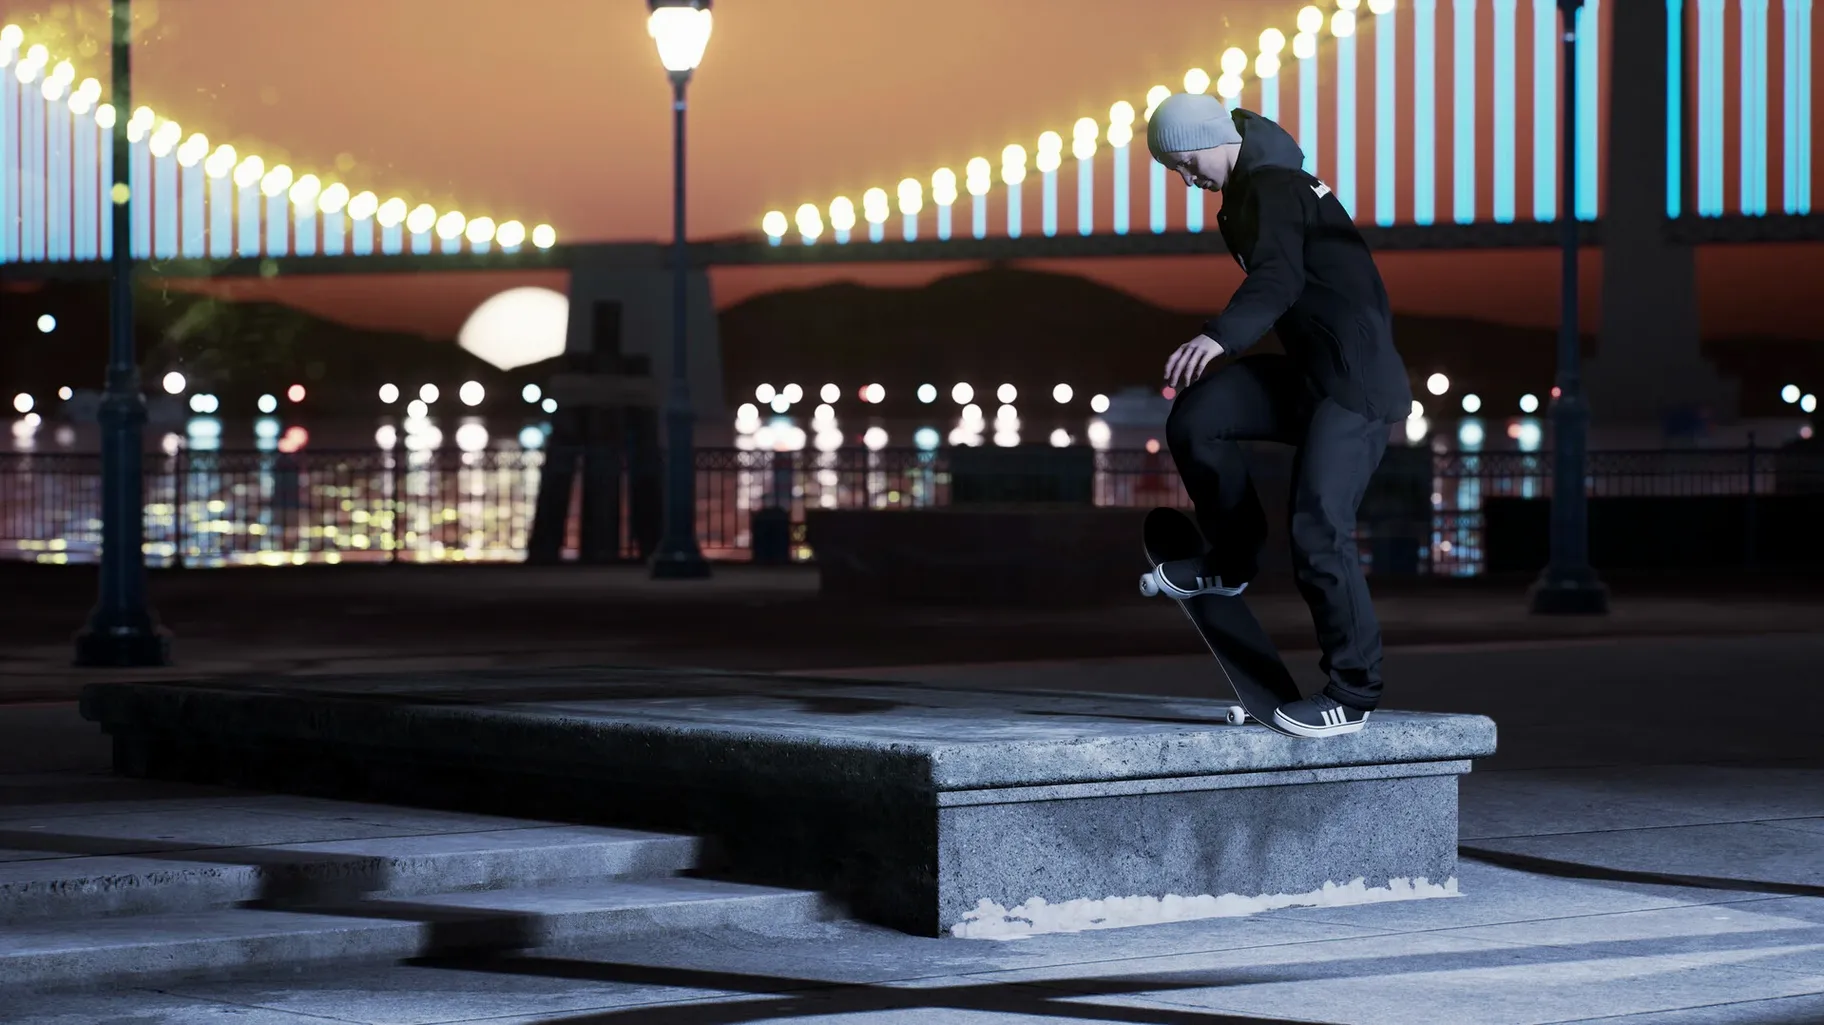
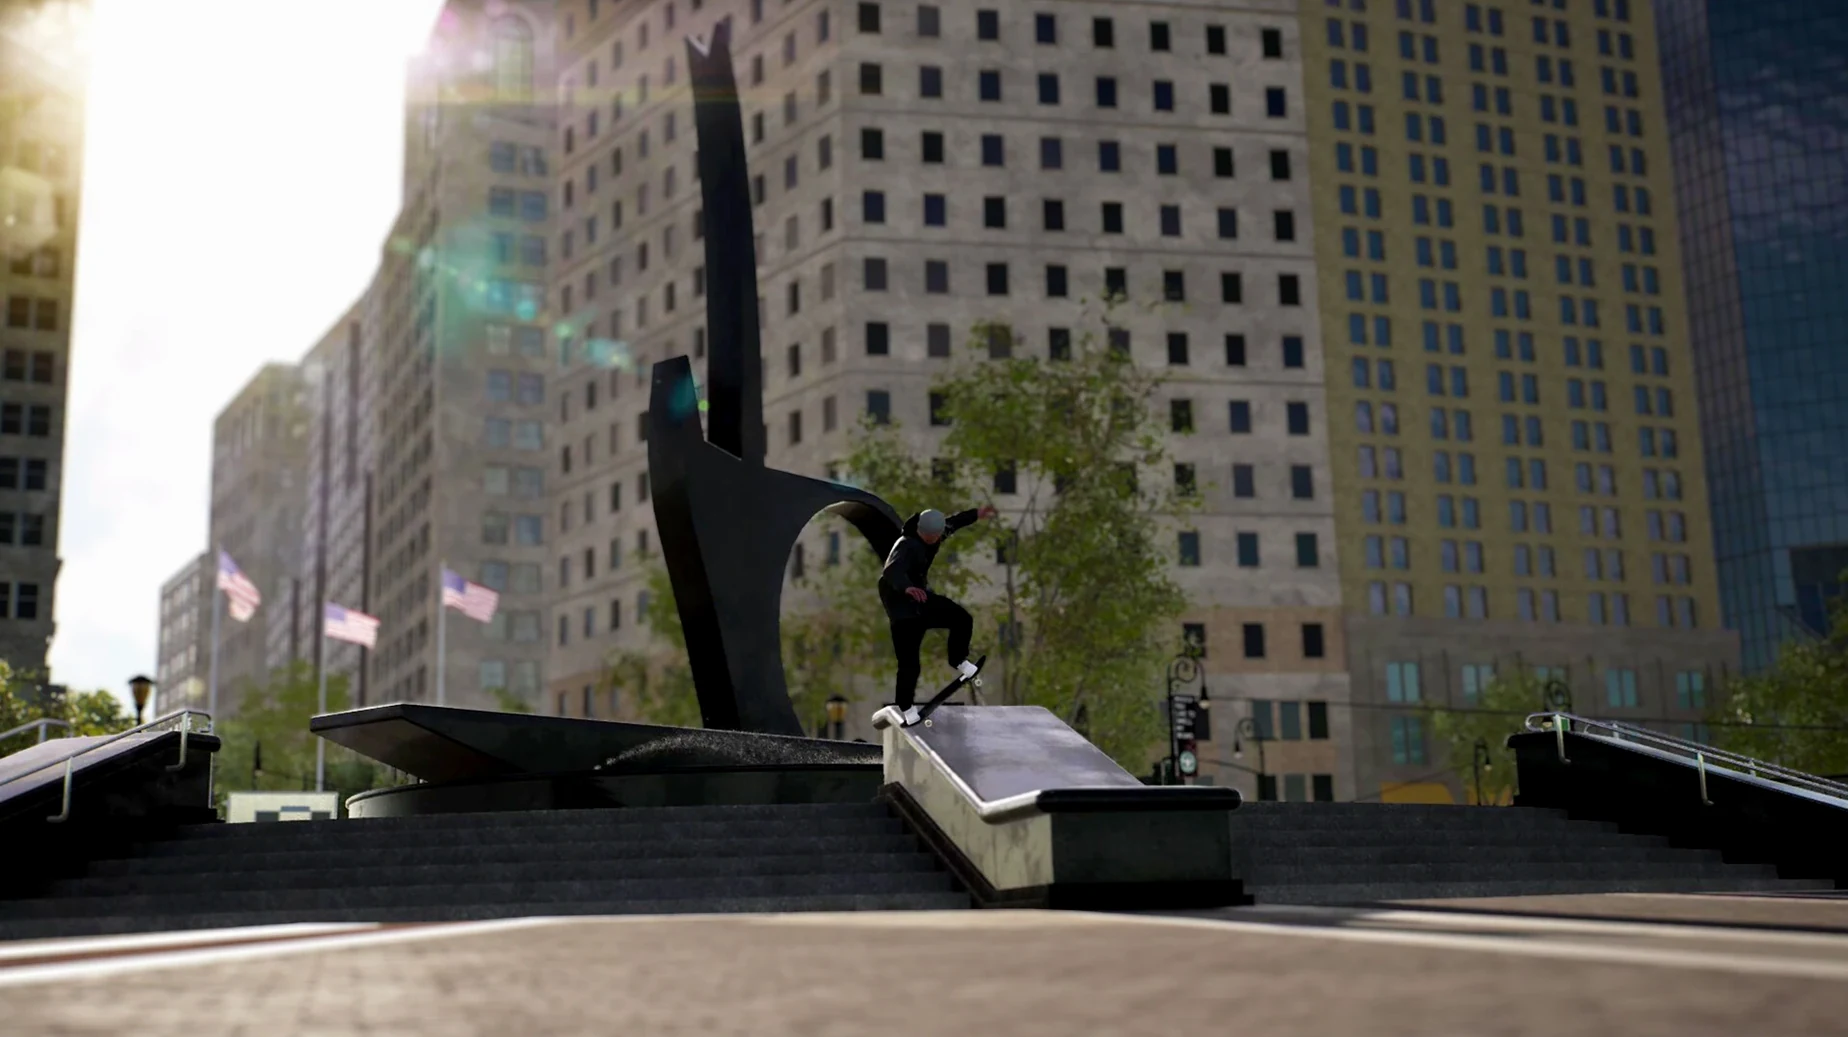
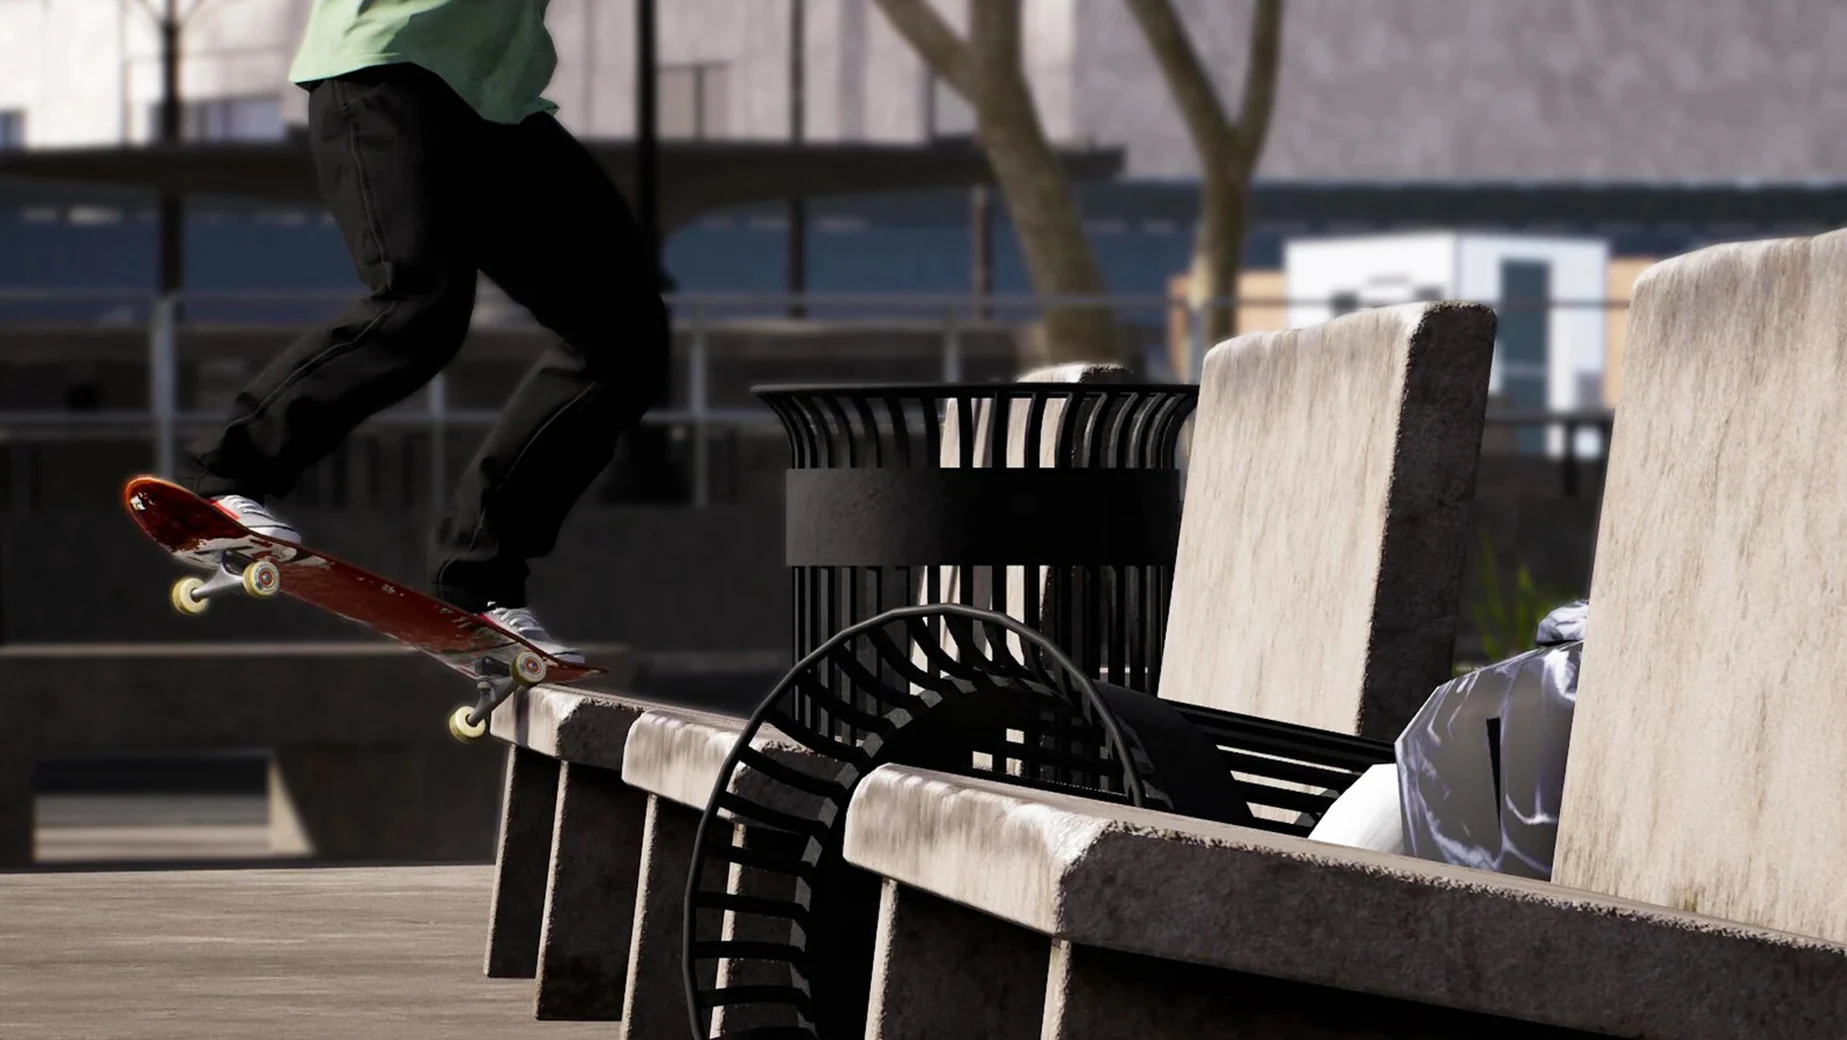
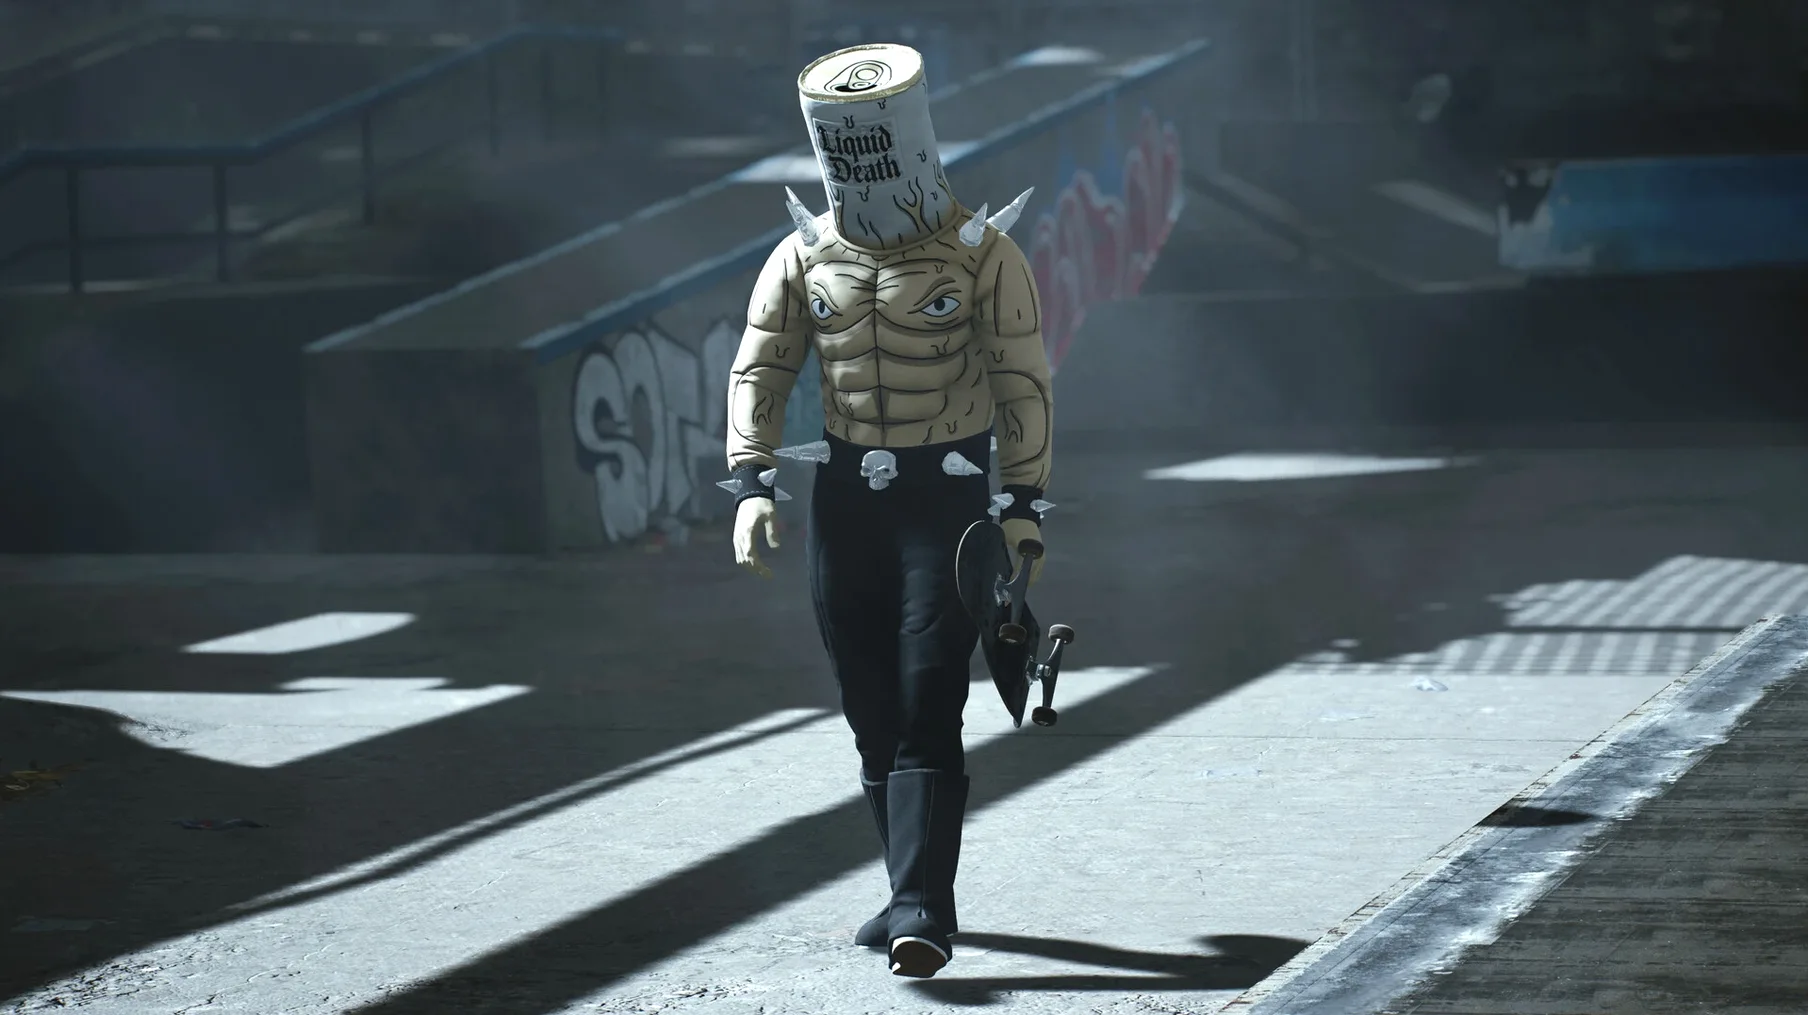
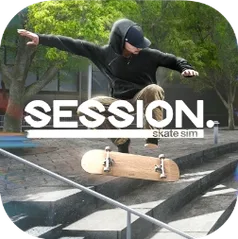
Anyone who wants a skateboarding game that treats each trick as a sequence of foot placements, not a button press, is the audience for Session: Skate Sim. The dual stick controls assign one stick to each foot, so popping an ollie means actually pulling the board up with your back foot, then leveling it with your front. There’s a tutorial that walks you through the basics, and four difficulty levels let you scale the precision required.
Minute to minute you’re skating real spots like Black Hubbas, Brooklyn Banks, and FDR Park, exploring lines, bailing, trying again. You can build a board from over 250 parts, then record your best line in the built-in video editor. The game expects a gamepad — keyboard control is not provided, so plug one in before you start.
The tested setup ran on macOS Tahoe on a Mac mini M4, and the app is ARM architecture. If the game errors at launch, mount the disk image and run the Fix file from it, then launch from Applications. Language switching happens inside the game settings. That’s it: find a spot, commit to a line, and see if you land it.
Your first session: what to expect
You mount the disk image, drag the app to Applications, and launch it. The game asks for a gamepad before anything else — if yours isn’t connected, it won’t respond. Plug it in, restart the app. The tutorial is worth running even if you’ve played skateboarding games before, because the dual-stick mapping is not intuitive. Left stick controls your front foot, right stick controls your back foot. Pushing requires a specific rhythm: tilt the back stick, then release. It takes a few minutes of standing still in the tutorial plaza before the motions click.
After the tutorial, pick a spot. FDR Park is a good first location — flat ground and low rails, nothing that punishes a mistimed pop. You start by finding a line: push twice, set your feet, ollie onto a ledge, then experiment with a 50-50 or a boardslide. With four difficulty levels, start at the easiest setting. The game won’t let you land impossible angles, but it also won’t demand perfect timing on every trick. You’ll spend the first session bailing more than landing, and that’s normal.
Keep the Fix file handy for launch crashes
- Keep the Fix file handy. If the game crashes at launch, mount the disk image again and run the Fix file. It’s a small helper that resolves a permissions issue on the first boot. After that, the app launches normally from Applications.
- Map your controls before you start skating. The game doesn’t show a diagram of the default button layout. Spend five minutes in the settings screen assigning each action — push, ollie, grab, spin — to a button you can reach without looking. You’ll save yourself a lot of frustration later.
- Change the language early. The default is English, but the settings menu is straightforward. If you prefer another language, do it before you start the tutorial, because the tutorial text is not skippable.
- Start with a simple board. The customization system has over 250 parts, but stick to a standard setup at first. A wider deck with softer wheels makes early landings easier to control. You can switch to a pro setup once you’re comfortable.
Hold the back foot stick, then snap and follow through
The most common error is treating the sticks like buttons. You don’t flick them once — you hold the back foot stick down, then snap it up, then follow through with the front foot stick. Beginners flick both sticks at the same time and wonder why the board doesn’t leave the ground. The tutorial shows the sequence, but it’s easy to skip the timing part.
Another mistake is picking a hard difficulty level too early. The simulation physics are built for realism, not arcade fun. On the hardest setting, a slight off-angle in your landing sends you to the pavement. Stick to the easiest difficulty for at least a few hours. You’ll still feel the weight of the board, but you won’t bail on every trick.
Beginners also ignore the video editor. It’s not a gimmick — watching your replay from a different camera angle shows you exactly where your foot placement was wrong. If you’re stuck on a specific trick, film it, then rewind and look at your feet in slow motion. The built-in camera settings let you change field of view and time of day, so you can find the angle that exposes the problem.
Finally, people forget that keyboard control is not provided. You need a gamepad with two analog sticks. A controller with digital triggers only won’t work well — you need the analog range for push strength and foot placement. If your pad doesn’t register both sticks as separate axes, the game will feel unresponsive. Check your controller’s mapping in the system settings before you launch Session.
- macOS ? (Apple Silicon required)
- Architecture: ARM
- Gamepad required (keyboard control not provided)
Install procedure
- Mount the downloaded disk image and drag the app into the Applications folder alias.
- After copying finishes, launch the app from Launchpad.
- If the game shows an error at launch, run the Fix file from the disk image.
- Use a gamepad to play; keyboard control is not provided.
- Change the language in the game settings.
Reports from players
Sign in or create a tester account to file a report.
No reports filed yet.