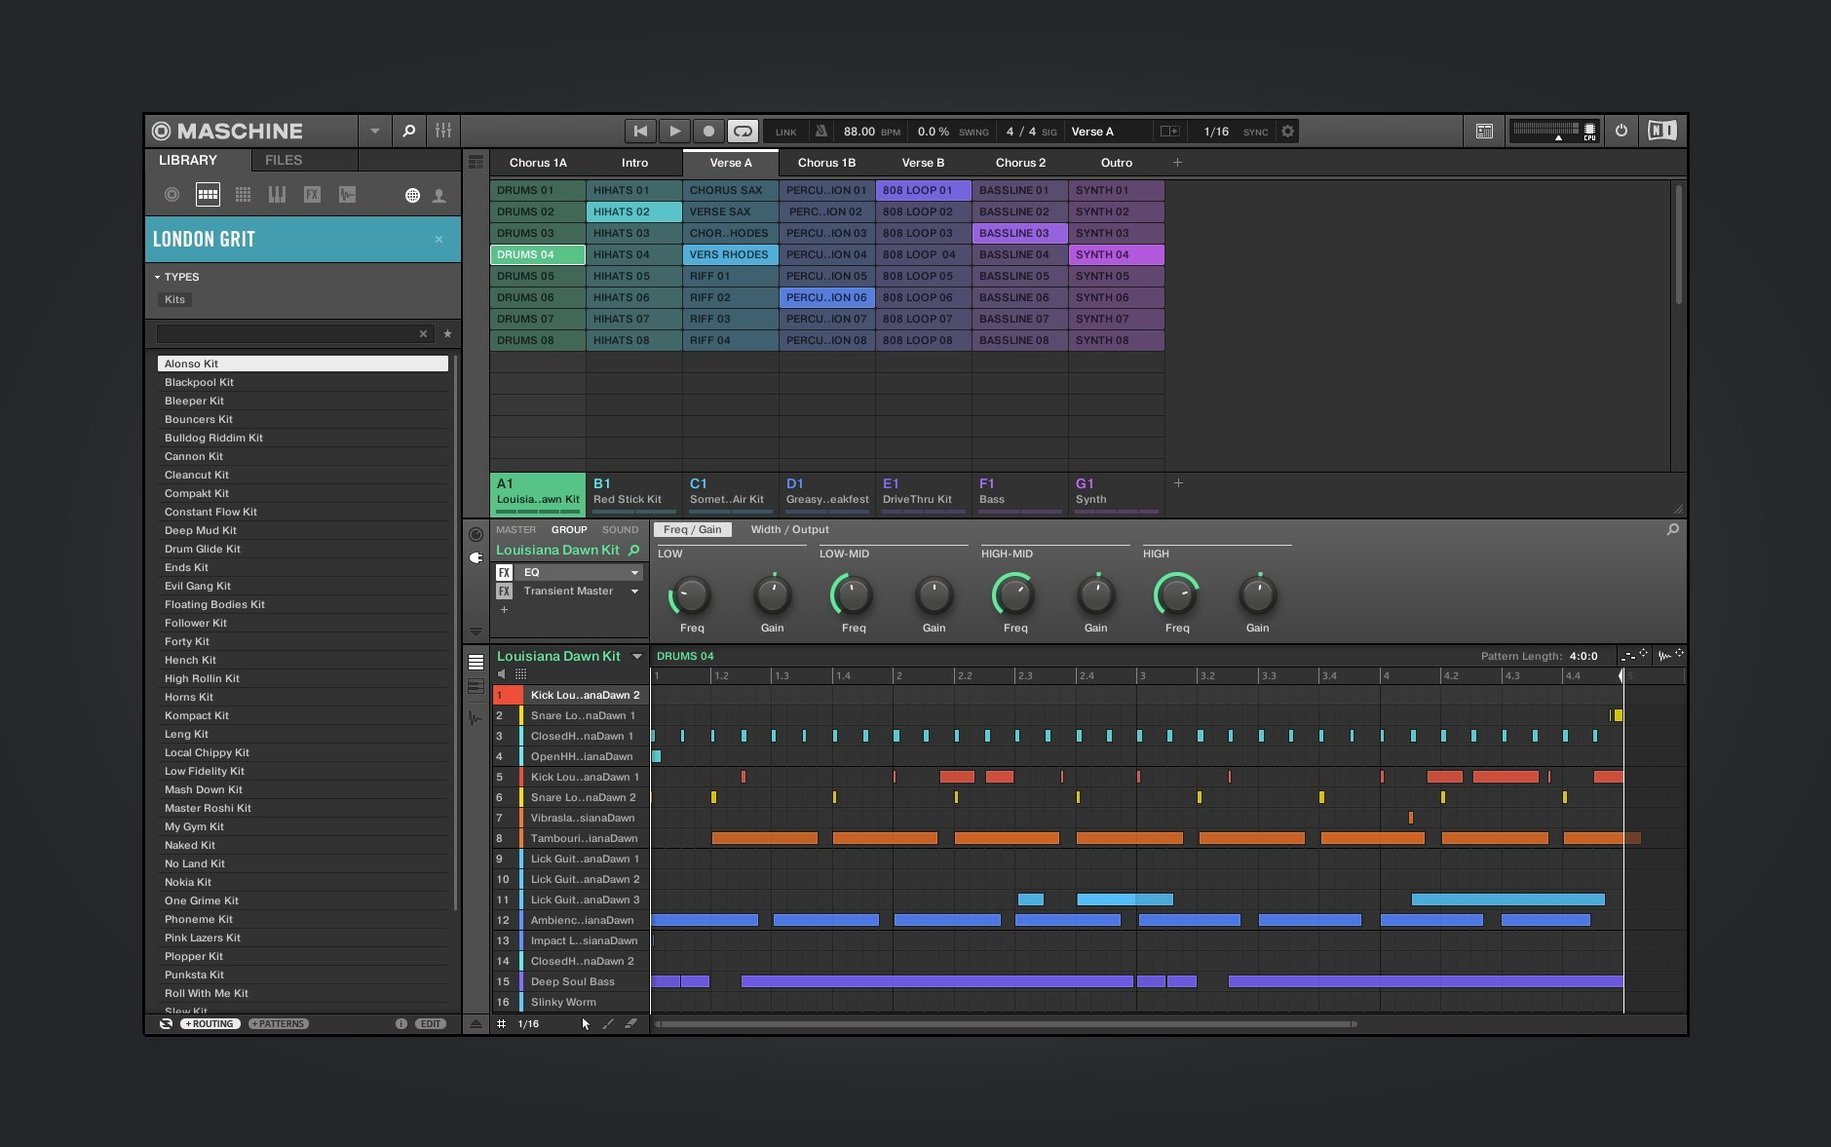
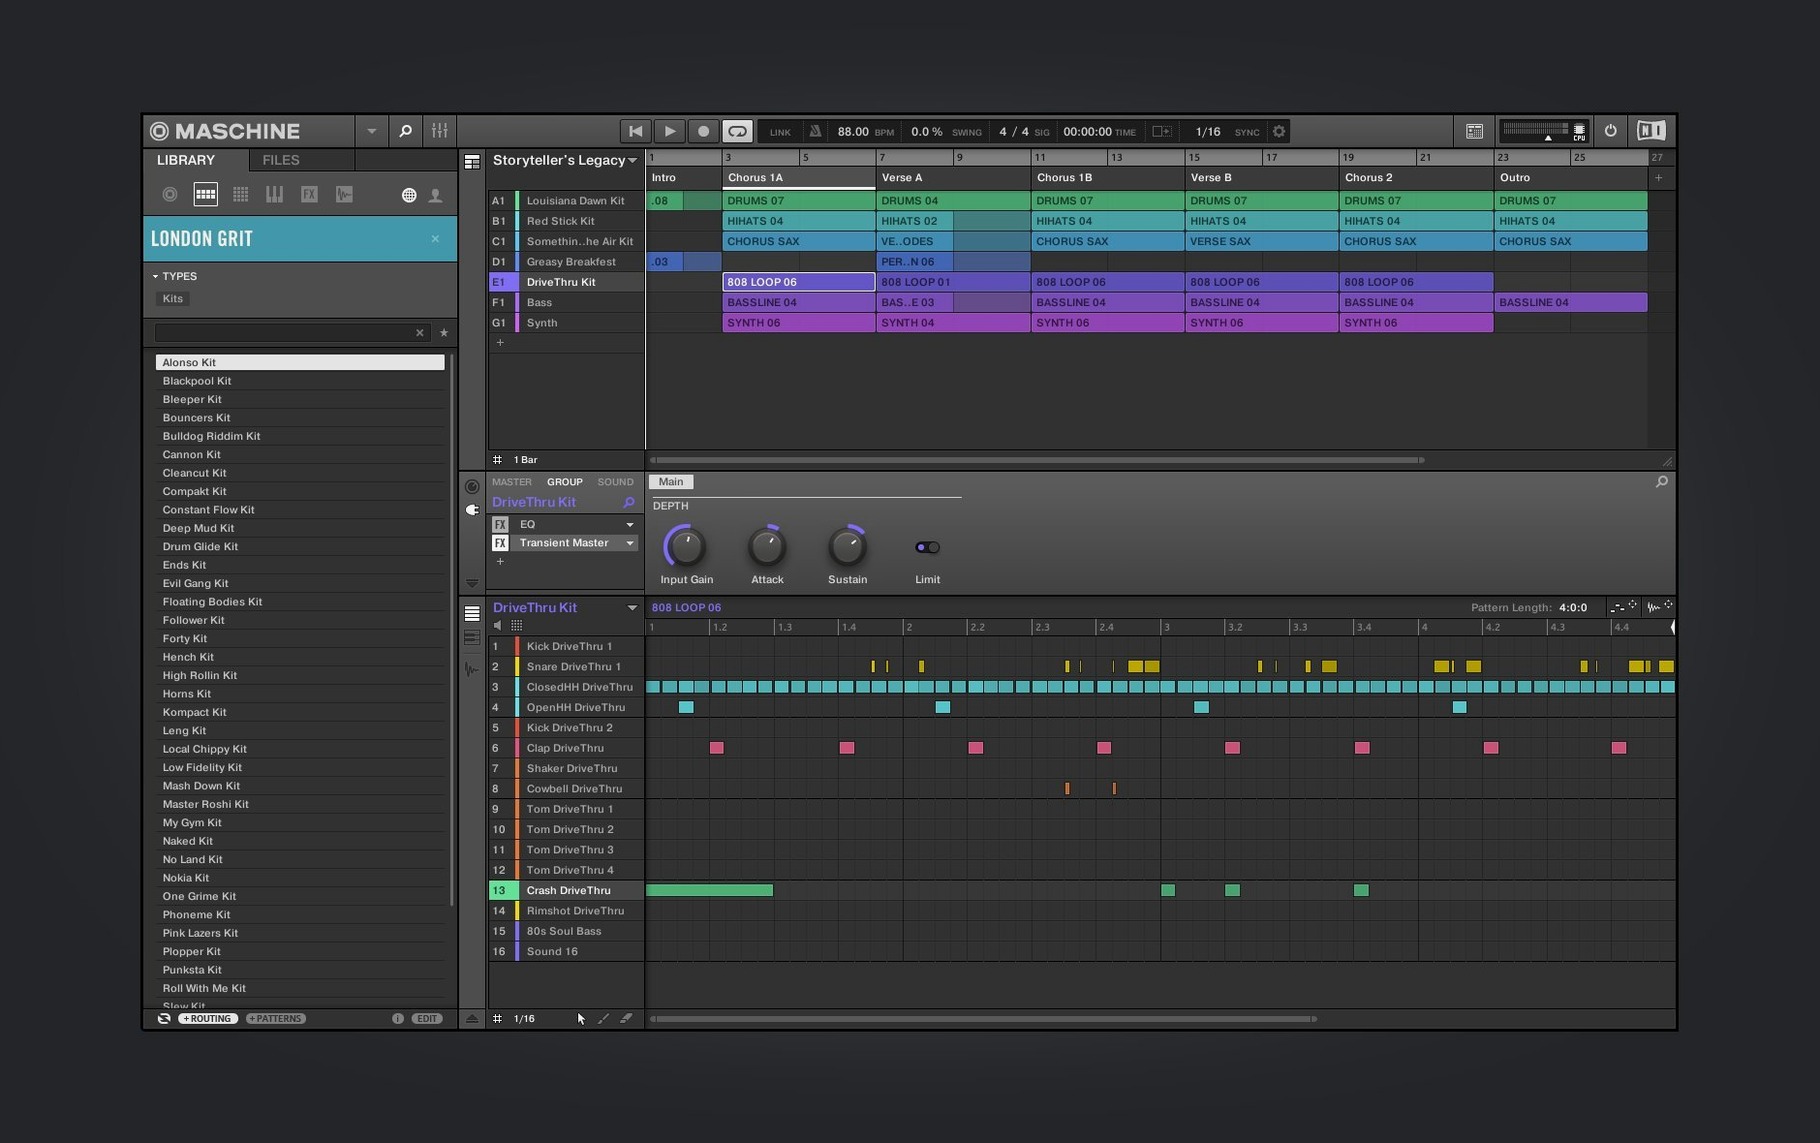
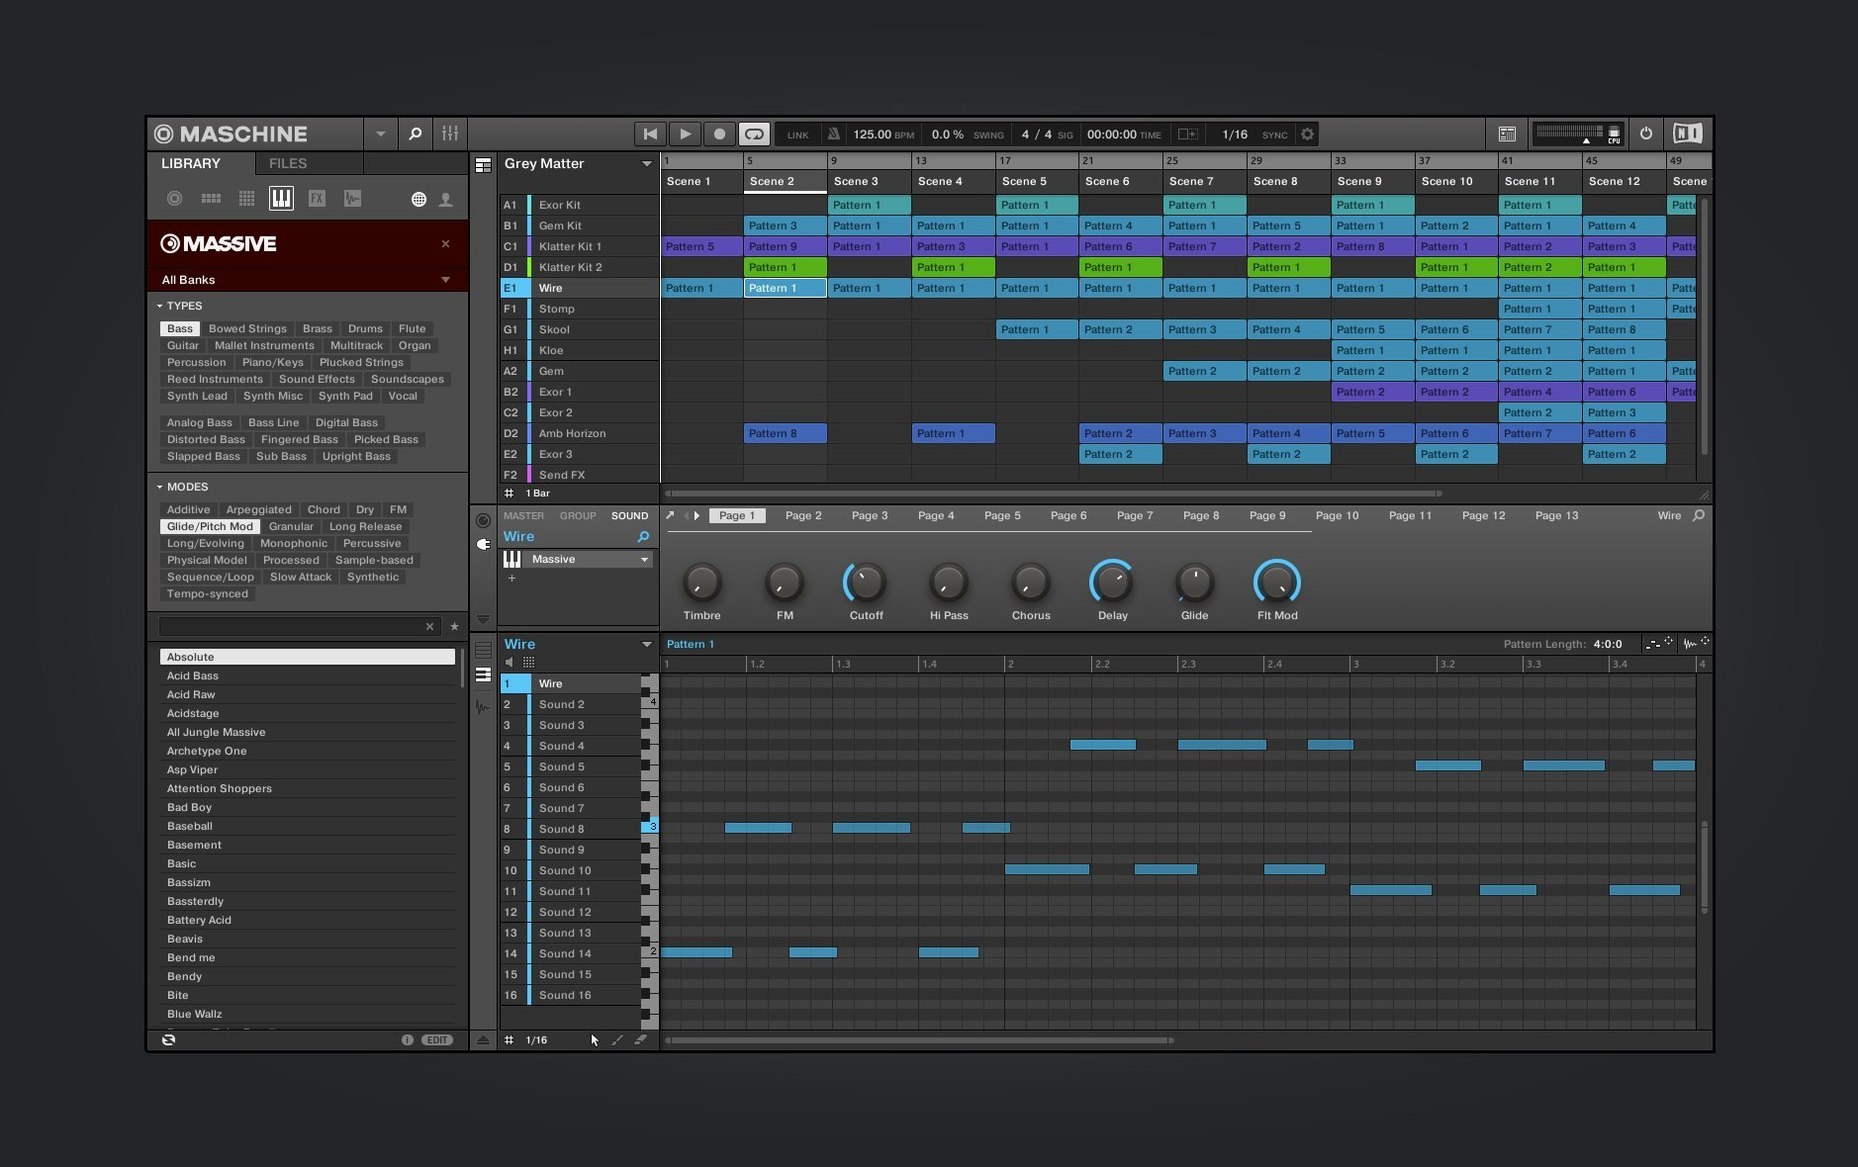
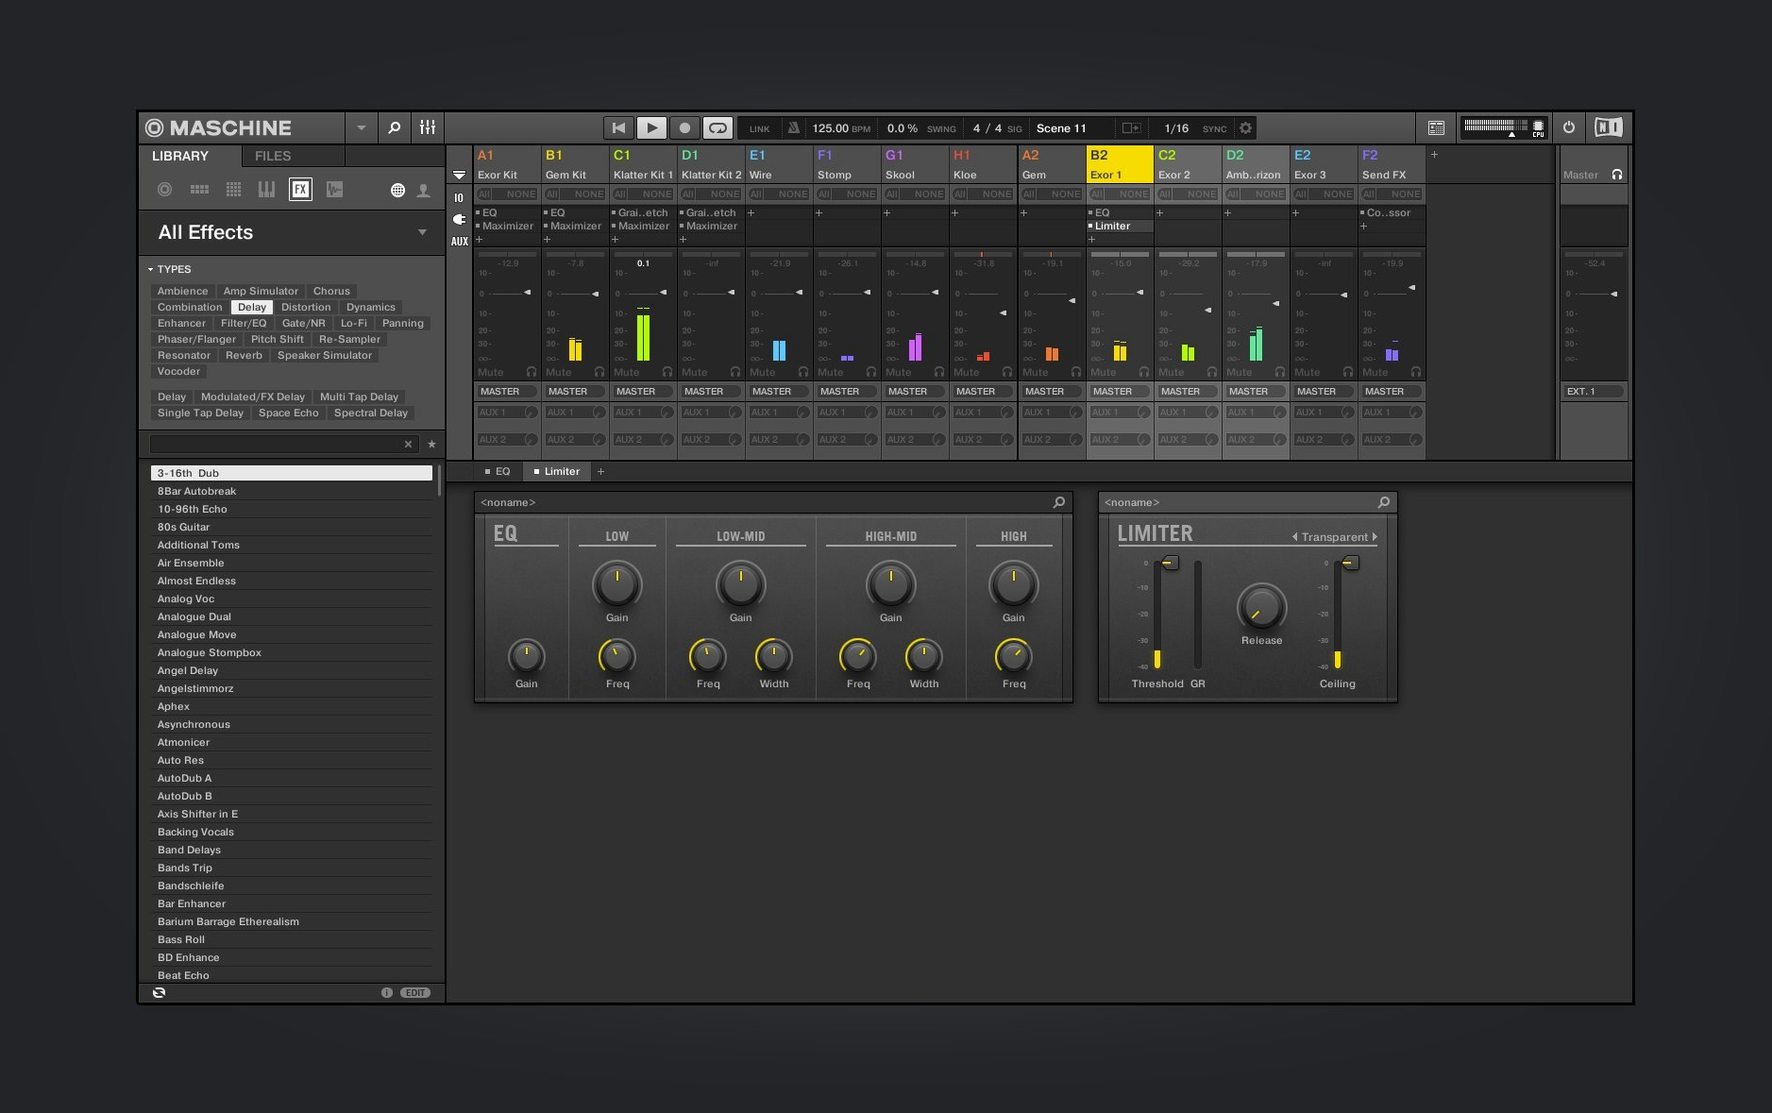
If you've used Native Instruments' Maschine hardware, the software side has always been the brain. Version 3.6.0 keeps that relationship intact, with a pattern-based sequencer and a high-performance sampler at the core. The workflow still revolves around building patterns in the integrated drum sequencer, then arranging them in the mixer.
| Detail | Value |
|---|---|
| Developer | Native Instruments |
| Version | 3.6.0 |
| Interface language | English |
| macOS requirement | macOS 13 or later |
| Architecture | Intel and Apple Silicon |
A realistic session might start with a drum loop you've sampled. Load it into the sampler, slice it across the pads, and the loop slicing functions map each hit to a pad. From there, the pattern-based sequencer lets you trigger those slices in a new order, and the mixer gives you per-pad volume and panning. It's a direct path from raw audio to a finished beat, without leaving the Maschine environment.
Welcome screen links to demo projects and tutorials
The welcome screen in 3.6.0 is worth a look even if you know the software. It links to demo projects and tutorial videos, which can show you a routing or a sound-design trick you hadn't tried. The demo projects in particular are useful as reference templates — you can open one, see how the groups and effects are chained, then strip it down for your own use.
The redesigned Audio, Poly Synth, and Drum Synth modules in 3.6.0 aren't just visual. Their parameter layouts make more sense when you're adjusting an envelope or a filter in real time. If you had trouble finding the right knob in earlier versions, try those modules again — the controls are grouped more clearly.
NKS Connect support, starting with the AKAI MPK mini IV, means you can map hardware controls directly to Maschine parameters without extra MIDI mapping software. If you own that controller, plug it in and look for NKS Mode in the controller's settings. It saves setup time and keeps your hands off the mouse during a session.
Common setup mistakes with Maschine
Working inside the wrong view
Maschine has separate views for the sequencer, the sampler, and the mixer. Beginners often try to adjust volume or panning inside the sequencer view and wonder why nothing changes. The mixer view in 3.6.0 is clearer than before, but you still need to be in it to adjust levels. If a sound is too loud or too quiet, switch to Mixer view first.
Ignoring pattern length
Each pattern has a length setting, and it defaults to one bar. If you program a four-bar drum fill and your pattern is set to one bar, you'll only hear the first bar. New users sometimes think the sequencer is broken — it's not. Check the pattern length at the top of the sequencer and extend it to match your bars.
Saving without a master group
Maschine lets you build a project with sounds scattered across individual pads. That works, but if you later want to process the whole drum bus with one compressor, you'll have to route everything manually. A better habit from the start: group your sounds into a master drum group and a master instrument group. It costs nothing during setup and saves time in mixing.
Workflow: sampling a loop and rebuilding it
- Find a short loop you want to use — a drum break or a percussive phrase. It can be an audio file on disk or a recording you made.
- Open the Sampler view and load the loop into a Sound slot. Maschine will detect the tempo and suggest a slice grid.
- Adjust the slice points if needed. The loop slicing functions let you drag slice markers to hit the right transients. For a clean break, aim for the start of each snare or kick.
- Assign the slices to pads. Each slice becomes a pad you can trigger individually.
- Switch to the sequencer view. Each pad now has its own row. Program a new pattern by placing hits on the grid — you can reorder the slices, leave some out, or repeat them.
- Add effects. The built-in effects and mixer let you compress the whole group or add reverb to a single pad.
- Record or export the pattern as audio if you want to use it in another project. Maschine's export functions are under the File menu.
This workflow turns a static loop into a playable instrument. It works for drum loops, vocal phrases, or any rhythmic audio.
What you need to know before installing Maschine
Runs natively on Apple Silicon without Rosetta
Yes. The software supports both Intel x86 and Apple Silicon (ARM) 64-bit architectures on macOS 13 and later. It runs natively on M1, M2, and M3 machines without Rosetta translation.
Do I need Maschine hardware to use the software?
No. The software runs standalone on your computer. The hardware controllers like Maschine MK3 or the AKAI MPK mini IV add tactile control, but you can build, sequence, and mix entirely with mouse and keyboard. The software includes a virtual pad layout you click or use with a MIDI controller.
Standard Maschine software includes sampler, sequencer, and effects
Yes. It includes the sampler, drum sequencer, loop slicer, mixer, effects, and the complete pattern-based sequencer.
Maschine works as a plug-in in any VST, AU, or AAX host
Yes. Maschine can run as a plug-in in any VST, AU, or AAX host. That lets you sequence inside Logic, Ableton Live, Cubase, or Pro Tools while keeping Maschine's pattern workflow. The plug-in version has the same features as the standalone app.
Start with one sound and explore demo projects first
- Open the welcome screen once. Look at the demo projects and tutorial links. They're not marketing — they show actual routing and sound design examples.
- Start with one sound. Layer more later. Maschine can handle many sounds at once, but building a simple beat first lets you learn the sequencer and mixer views without clutter.
- Name your patterns and groups early. The default names are generic numbers, and a project with twenty unnamed patterns becomes hard to navigate. Renaming takes seconds and saves time later.
- Use the built-in effects before reaching for external plug-ins. Maschine's compressor, reverb, and delay work well and keep your project inside one window.
- Save a template project with your preferred routing — master groups, a basic drum bus, and a reverb send. That way each new session starts with a consistent setup, not from scratch.
- Redesigned UI for Audio, Poly Synth, and Drum Synth modules.
- Continued Mixer view redesign work.
- Added NKS Connect support, starting with AKAI MPK mini IV.
- Added NKS Mode integration for compatible NKS Connect controllers.
- macOS 13 or later
- Intel or Apple Silicon
Questions from the notes
Does Maschine 3.6.0 run on Apple Silicon Macs?
Yes, the software runs on both Intel and Apple Silicon Macs, as long as you're on macOS 13 or later.
Install procedure
- Mount the downloaded disk image.
- Run the standard installation process.
Reports from players
Sign in or create a tester account to file a report.
No reports filed yet.