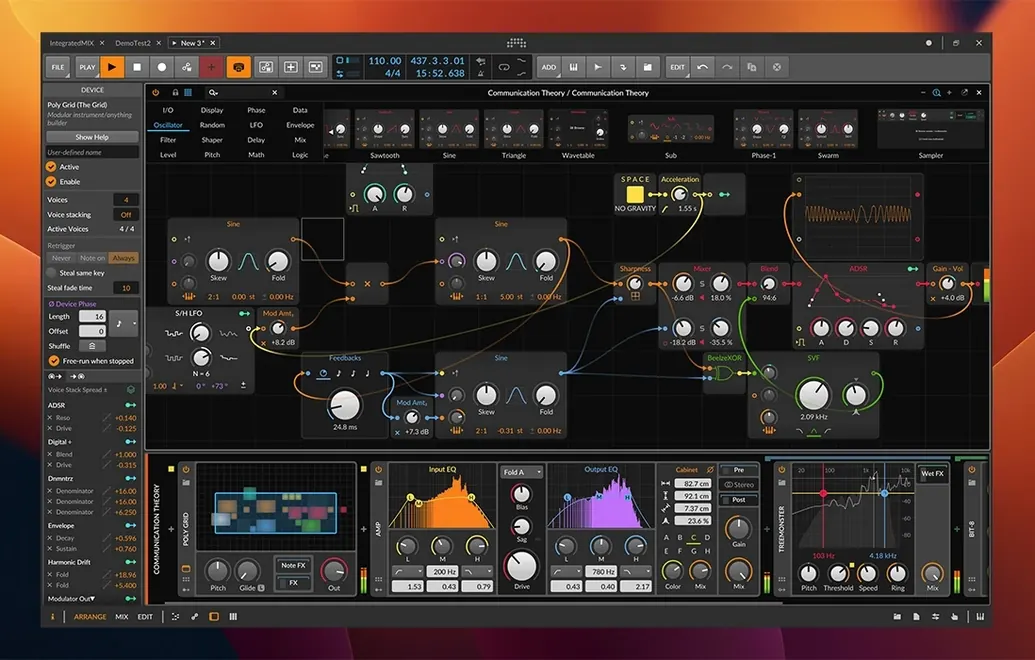
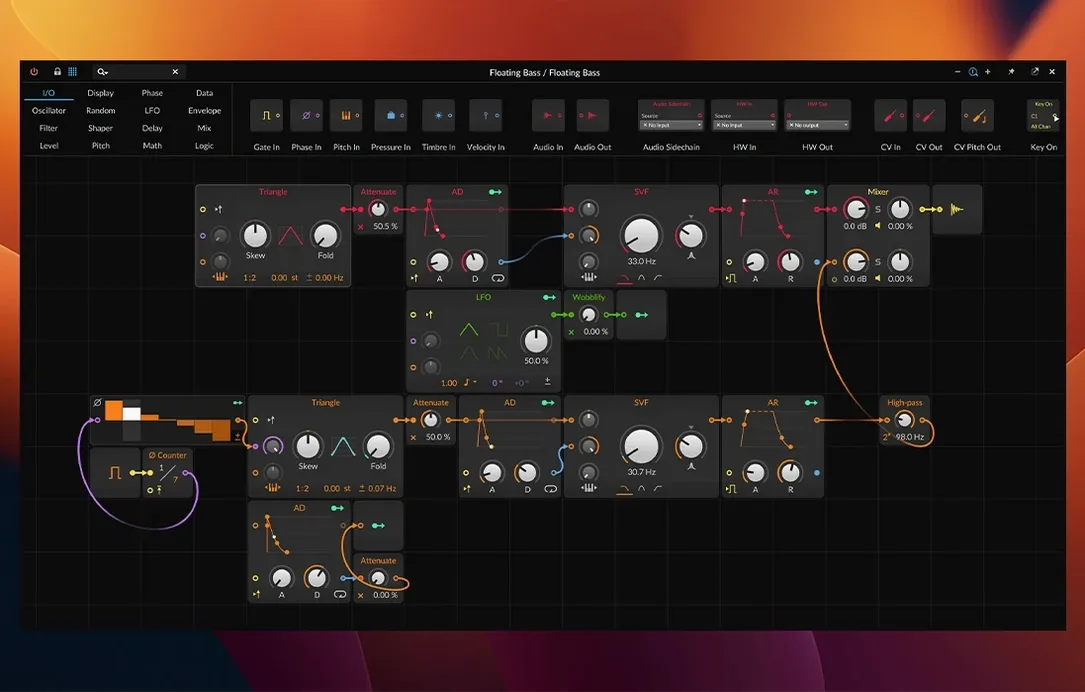
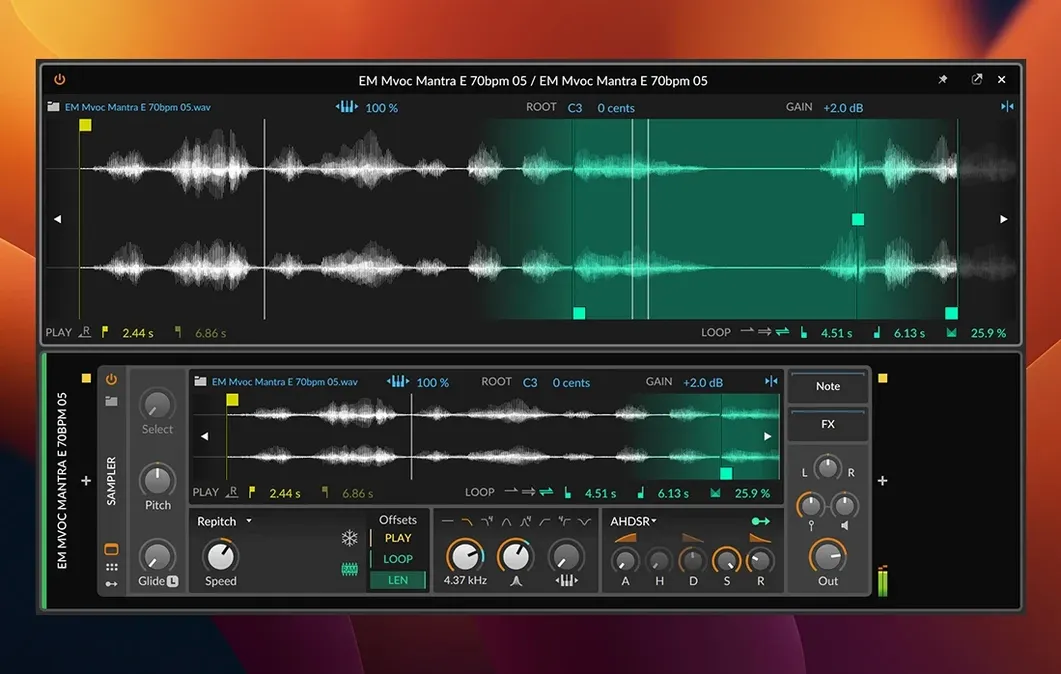
Bitwig Studio 6.1 introduces automatic tempo and pitch detection, a radically updated Sampler with slicing, and two new play modes: Spectral and Fragments. The interface remains customizable and modular, with three workspaces you can spread across separate monitors. It records, edits, and performs MIDI and audio with a Detail Editor for nondestructive clip editing, and supports per-note Velocity, Gain, Pan, Timbre, and Pressure. MIDI controllers like the ROLI Seaboard and LinnStrument work out of the box, and plugins include CV/Gate and Clock support. Sync and Ableton Link are built in.
- macOS 12 Monterey or later; runs on both Intel and Apple Silicon Macs.
- Interface languages: English.
- Sampler in 6.1 adds Spectral play mode and slicing.
- Automatic tempo and pitch detection are new in 6.1.
- Three workspaces can be used together on separate monitors.
- Includes plugins with CV/Gate and Clock support.
The 6.1 update makes tempo and pitch detection automatic, which cuts down manual work when importing loops or samples. The revamped Sampler with slicing and Spectral mode expands sound design options. If your Mac runs macOS 12 or newer, Bitwig Studio 6.1 will run.
What a first session might look like
You're a sound designer who spends most of your time layering textures for video game ambience. You open Bitwig Studio 6.1, drop a field recording into the Arrange workspace, and Bitwig automatically detects the tempo and pitch. The recording wasn't made to a click, so the analysis saves you from tapping out a tempo manually. You switch to the Sampler, select a section of the recording, and use the new slicing tool to split it into hits. You then audition each slice, mapping the ones you like to different keys. The Spectral play mode lets you isolate frequency bands from the original recording and play them across the keyboard. You build a simple instrument out of the slices and bands, then layer them with a synth pad from the built-in devices. No external sample library needed.
Confirm your audio interface and connect a MIDI controller
Once Bitwig Studio 6.1 is installed and activated, spend the first session checking two things. First, confirm your audio interface is recognized. Open the audio settings and select your interface from the device list. Second, connect a MIDI controller. The LinnStrument and ROLI Seaboard work without extra configuration. If you're using a controller that sends MPE, enable MPE in the project settings before you start playing. Then, open the Sampler and load a short audio file. Try the slicing tool: it splits the file at transients, and you can drag the slice markers to adjust. The Spectral play mode lets you hold a chord while moving through the frequency content. These are the new features in 6.1, so they're worth touching before anything else.
Use the Detail Editor for nondestructive clip editing
- Ignoring the Detail Editor. New users often try to edit clips by chopping them up on the timeline. The Detail Editor lets you nondestructively adjust individual notes or audio events inside a clip. It's faster and reversible.
- Overlooking modulation. Bitwig's modulation system is flexible, but it's easy to assume you need to route cables like a modular synth. You can modulate almost any parameter without cables by right-clicking and selecting a modulator. Start with a simple LFO on a filter cutoff to see how it works.
- Skipping the mix workspace. The Arrange workspace is where most people stay, but the Mix workspace shows faders, sends, and routing in one view. If you're mixing tracks, switch to Mix to see everything at once.
- Using only one monitor. If you have a second display, drag the Edit workspace to it. That gives you the Detail Editor and clip properties on one screen, while the Arrange workspace stays on the main display. It saves constant tab-switching.
- Not checking sync. If you're working with other musicians over Ableton Link or sending MIDI clock to hardware, test the sync before you start recording. Bitwig supports both Sync and Ableton Link, but the settings are in different menus. Make sure both devices are on the same tempo source.
Workflow: slicing a loop and turning it into a playable instrument
- Drag a drum loop or melodic phrase onto the Arrange workspace. Bitwig's automatic tempo detection will align the clip's tempo to the project. If the detection is off, you can adjust the clip's tempo manually in the Inspector panel.
- Right-click the clip and select Open in Sampler. The Sampler loads the audio and shows the waveform in the Detail Editor.
- Enable slicing mode. Bitwig 6.1's Sampler detects transients and places slice markers. Drag the markers if you want different split points. Each slice maps to a separate key on the keyboard.
- Switch between the two play modes: Spectral and Fragments. Spectral mode lets you play the frequency content of the audio across the keyboard. Fragments mode splits the audio into small grains that you can trigger separately. Try both to see which fits the material.
- Route the Sampler's output to a new track. Add a built-in device like the Delay or Reverb from the device browser. Modulate the effect's dry/wet with an LFO. The modulation is applied in real time, and you can adjust it while the loop plays.
- Record some MIDI notes into the Arrange workspace. Play the sliced loop as an instrument, not as a linear clip. You can then edit the individual notes in the Detail Editor to change velocity, gain, or timbre per note.
Set audio buffer size to 256 samples in Preferences
Open the Preferences and set the audio buffer size. Lower values reduce latency for live playing but increase CPU load. Start with 256 samples and adjust down if your system handles it. In the Audio settings, enable the option to always show the Clip Launcher if you plan to perform live. It gives you a grid of clips you can trigger instantly. In the Project settings, turn on MPE if you use a controller that sends polyphonic aftertouch. If you import a lot of loops, check that automatic tempo detection is enabled in the Clip settings. You can also set the default time-stretching algorithm to one of the eight available. For drum loops, use the Beats mode; for pitched material, use the Texture or Spectral mode. These defaults affect every new clip you import, so setting them once saves time later.
- Radically updated Sampler with slicing.
- New Spectral and Fragments play modes.
- Automatic tempo detection added.
- Automatic pitch detection added.
- macOS 12 Monterey or later
- Intel or Apple Silicon Mac
Install procedure
- Use the included installation and activation instructions.
Reports from players
Sign in or create a tester account to file a report.
No reports filed yet.