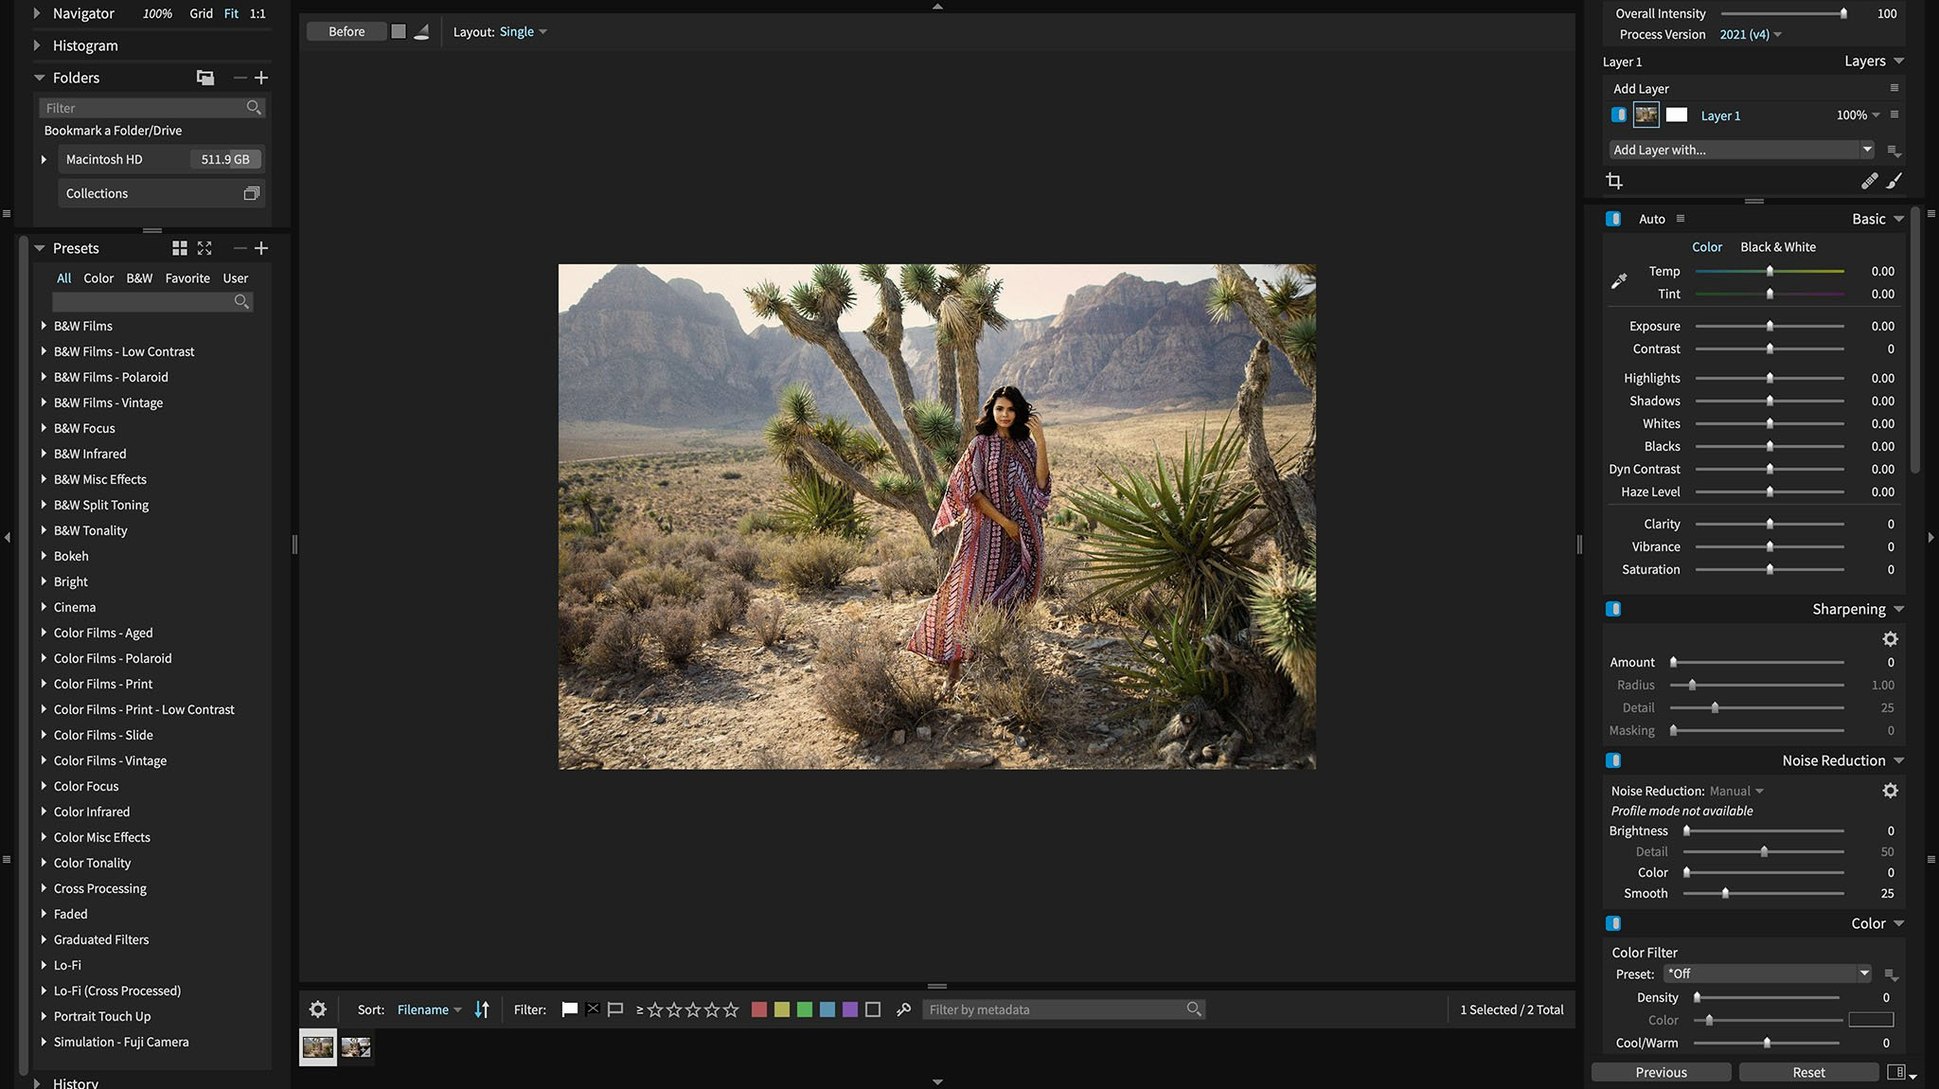
RAW files from a modern camera don't always open cleanly. Exposure X7 fixes that. It works as a standalone editor or as a plugin inside Photoshop and Lightroom, so you can keep your existing workflow and jump into masking or retouching when needed.
| Detail | Value |
|---|---|
| Version | 7.3.0 |
| Kind | Photo editor and plugin |
| Standalone / Plugin | Both |
| Languages | English, German, French |
Version 7.3.0 keeps the non-destructive RAW pipeline, GPU optimization, and automatic adjustments. The 3D color masking and portrait retouching tools handle the detailed work, while over 500 presets speed up the repetitive parts. Keywords, collections, and smart collections keep files organized without leaving the app. The latest update also adds support for new Panasonic and Sony cameras, opens HEIC files from current iPhones, and fixes a corrupt rendering issue with Sony A7 IV lossless compressed RAW files.
Edits are saved separately so originals stay untouched
Does it overwrite my originals? No. Exposure X7 works non-destructively, so your original RAW or JPEG file stays untouched. Edits are stored separately, either in the file's sidecar or in the catalog. You can always revert to the original state later.
Can I use it alongside Lightroom without changing my catalog? Yes. When used as a plugin, Exposure X7 reads the image from Lightroom, lets you edit, and sends the result back as a TIFF or PSD. Your Lightroom catalog stays intact, and the edited version appears as a stacked image next to the original.
Does it run on Apple Silicon Macs? Yes. Version 7.3.0 supports both Intel 64-bit and Apple Silicon natively through Rosetta 2. No extra configuration is needed during setup.
Do I need Photoshop to use it? No. You can install Exposure X7 as a standalone application and never open a plugin. The organizational features — keywords, collections, smart collections — all work without Photoshop or Lightroom present.
How many presets are actually useful? Over 500 are included, and they cover portrait, landscape, black and white, film simulation, and stylized looks. You can also create custom presets and save them to your own groups, so you are not stuck scrolling through the full list.
Setting up the catalog first prevents lost images
- Skipping the catalog setup. Exposure X7 can manage files through a catalog or a folder browser. Users who jump straight into editing without setting up keywords or collections often lose track of images later. Spend five minutes creating a few collections at the start.
- Applying presets without adjusting exposure first. A preset designed for a bright outdoor shot will look harsh on a dark indoor image. The automatic adjustment button handles this in one click, but many beginners forget to use it before browsing presets.
- Using 3D color masking on every selection. The 3D color mask is powerful, but it's overkill for simple subject-background separation. Beginners reach for it instead of the basic brush or gradient mask, which work faster and produce cleaner edges on flat areas.
- Not checking the plugin output format. When you send an image back to Lightroom after editing in Exposure X7, the default output is a TIFF. That creates larger file sizes than needed. If you plan to keep the image as a web upload only, changing the output format to JPEG before sending it back saves disk space.
GPU optimization helps thumbnails load quickly for portrait sorting
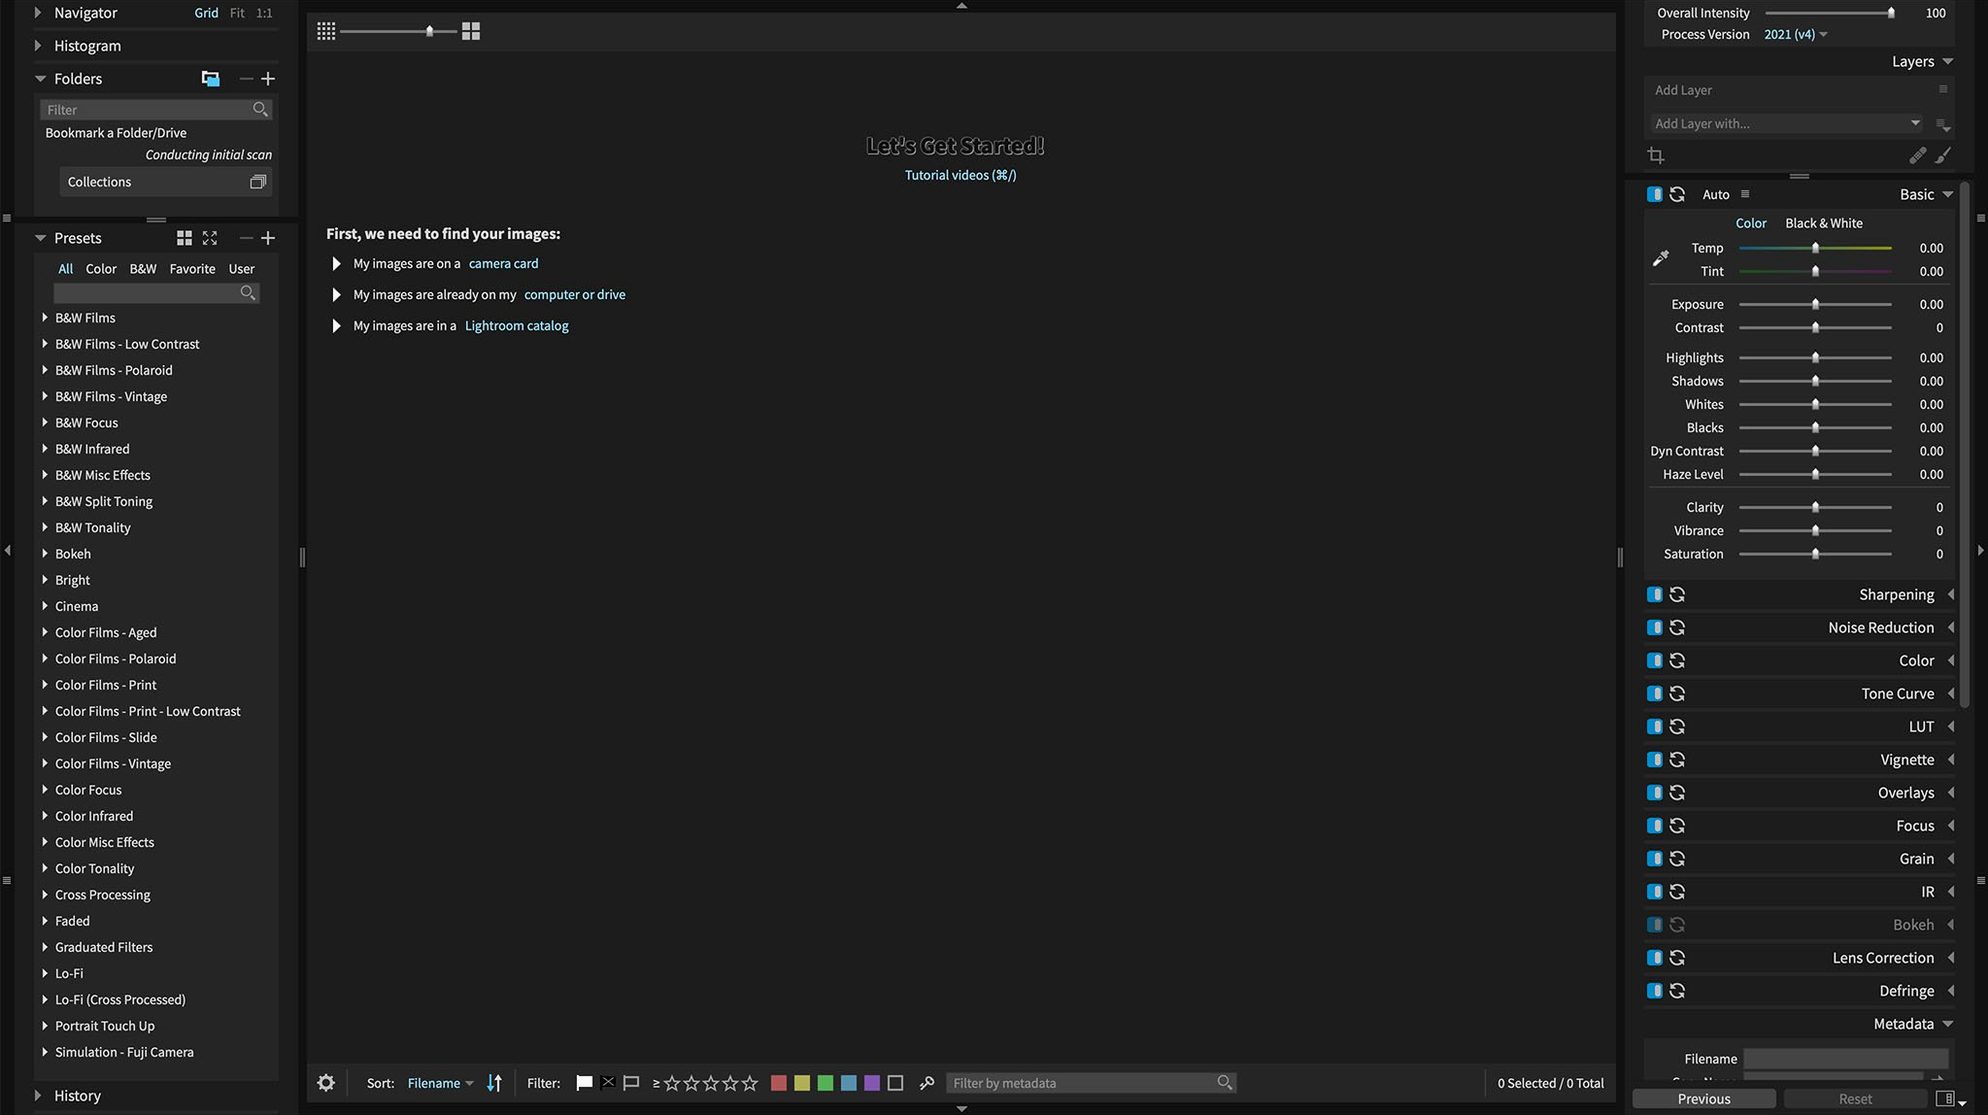
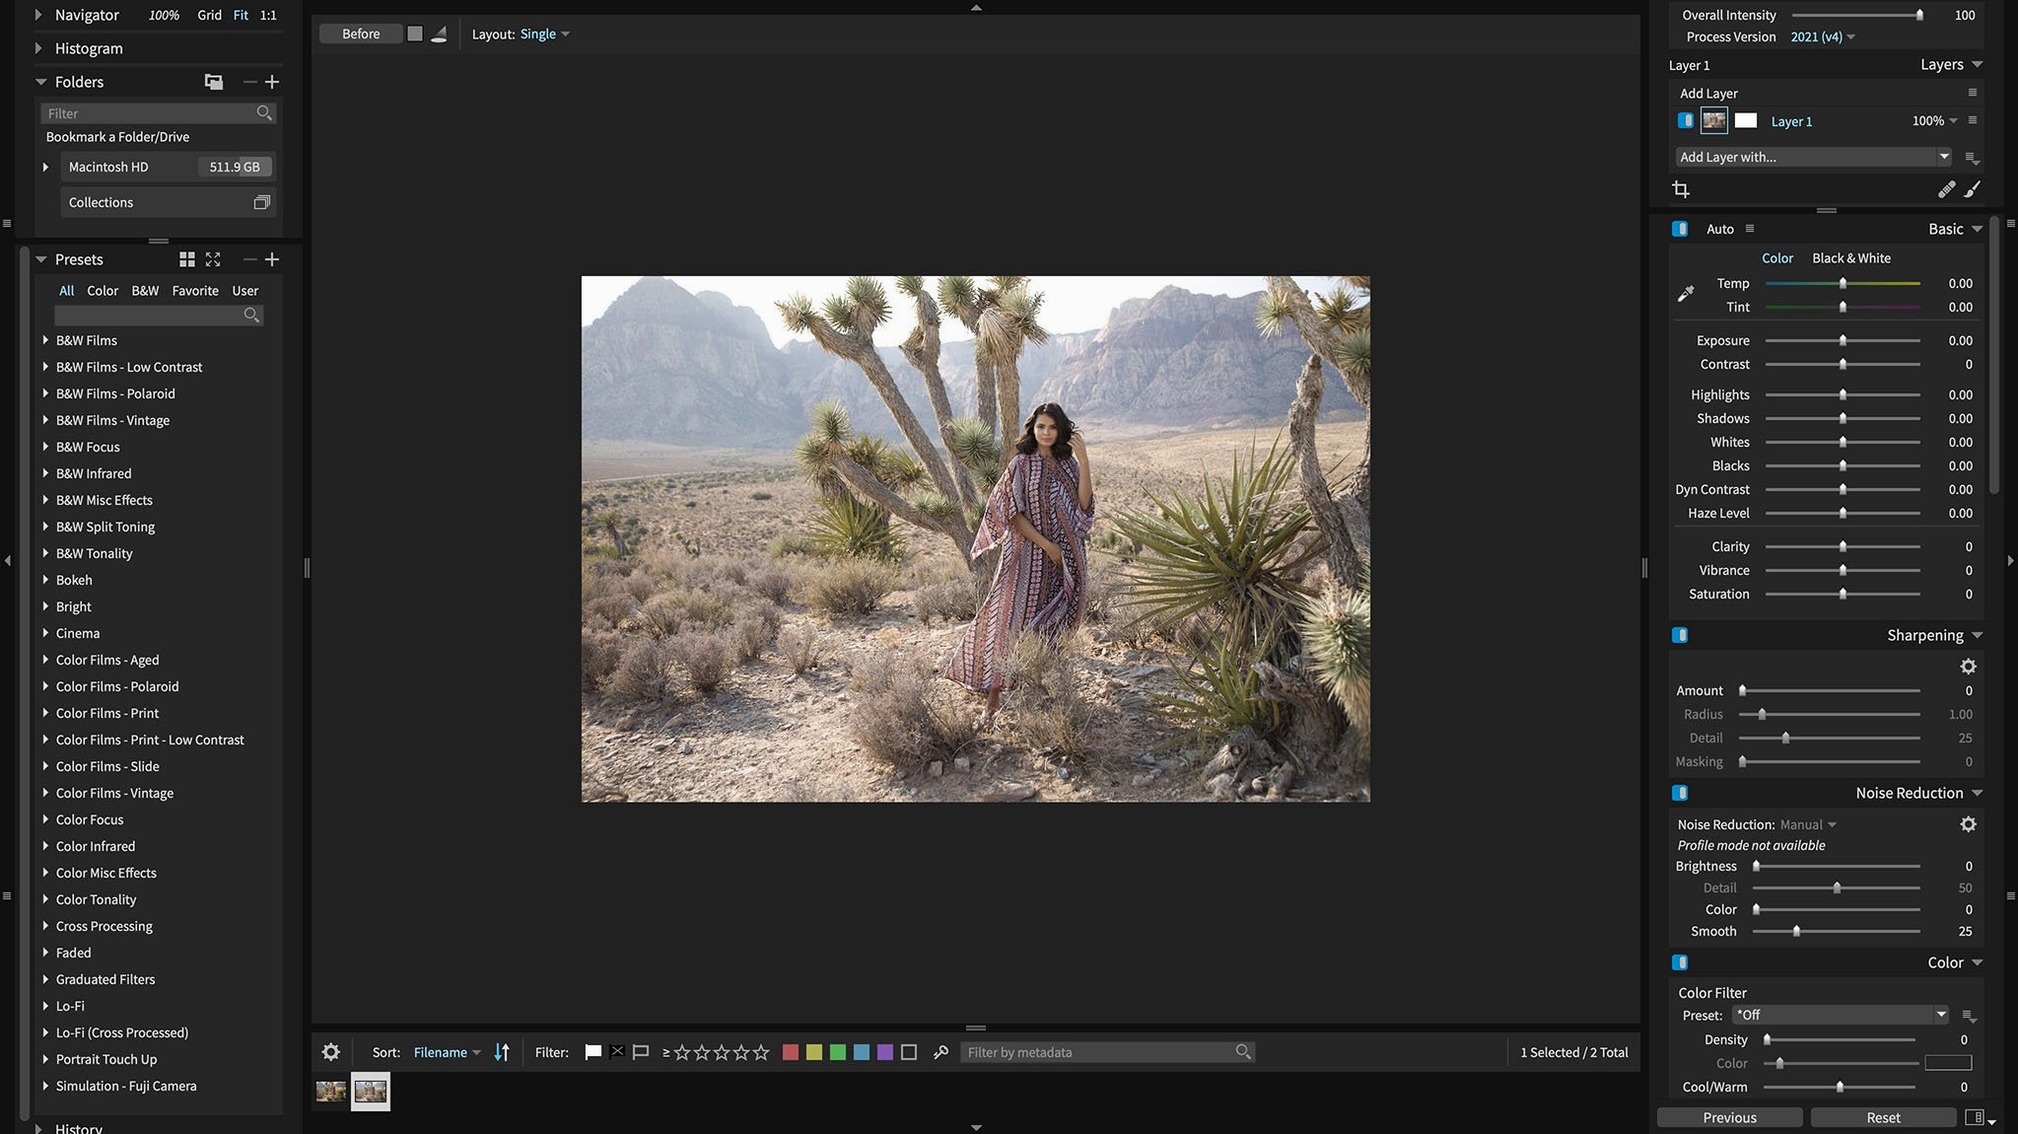
You open Exposure X7 standalone. The catalog view shows the last folder you imported. Today you are sorting through a batch of portrait shots from an outdoor session shot in RAW. The thumbnails load quickly, partly because the GPU optimization renders previews on the fly without generating full-sized JPEGs beforehand.
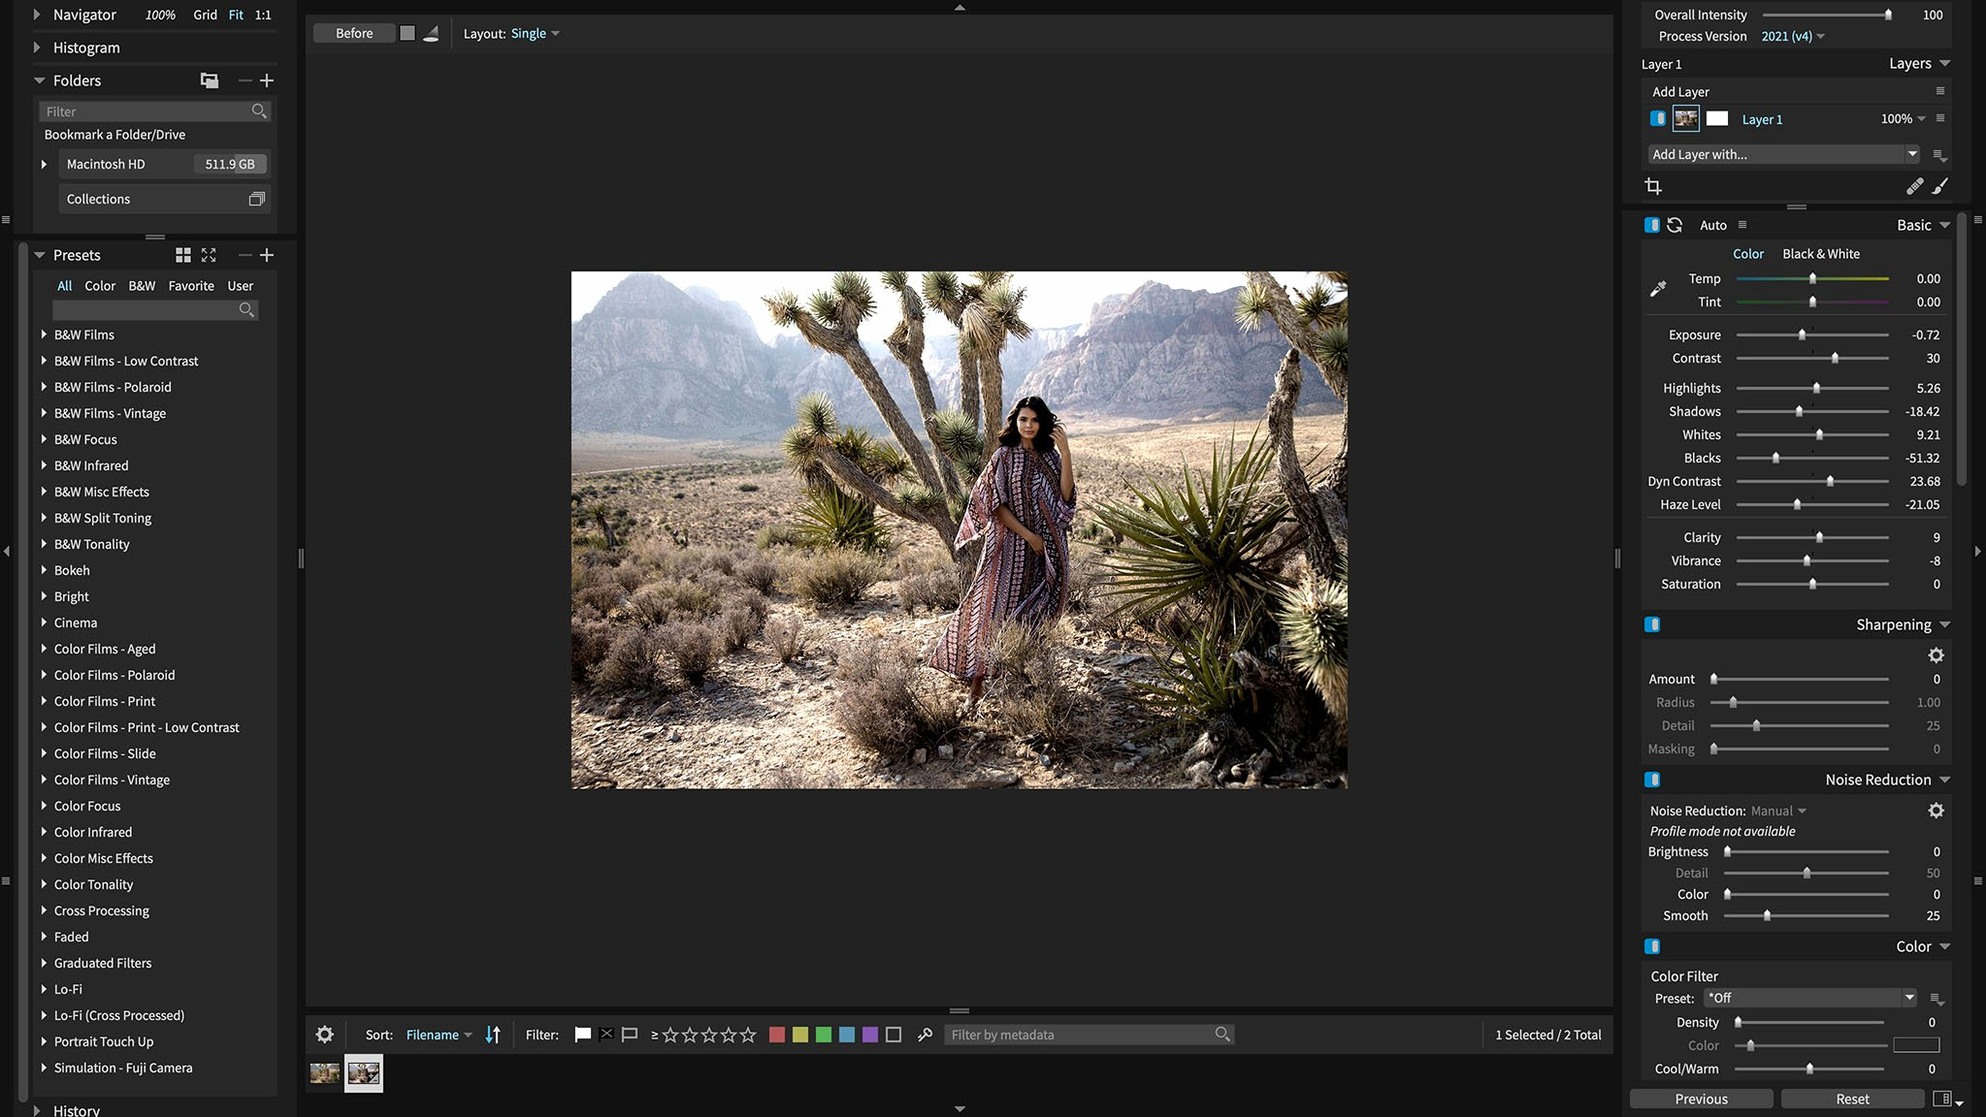
You click the first image. The automatic adjustment button is in the toolbar, so you click it. It lifts the shadows and drops the highlights in a balanced way. From there, you open the portrait retouching panel. You set a rough skin softening, then use a brush mask to apply it only to the face and not the jacket. The brush mask preview in grayscale confirms where the effect lands.
You want a slightly cooler white balance on the background. You switch to the 3D color mask tool, sample the sky that bleeds into the background foliage, and shift the temperature. The mask selects only the cool-toned areas, so the subject's warm skin stays unaffected.
A few images need a stylized look. You scroll through the presets panel without applying anything — just hovering over each preset shows a live preview.
You finalize by adding a keyword — "portrait" — to all the selected images, then drop them into a collection named "Outdoor session." Exporting is one step: you choose TIFF, set the resolution to 300 dpi, and let it batch-process the folder while you move to the next batch.
Processing Sony A7 IV lossless compressed RAW files with accurate renders
Version 7.3.0 specifically fixed a corrupt rendering issue with lossless compressed RAW files from the Sony A7 IV. If you own that camera, you can now rely on the render being accurate. Here is a full workflow from import to export.
- Import the Sony A7 IV lossless compressed RAW file into Exposure X7. The file opens in the editor without the previous corruption artifact that showed as blocky noise in the highlights.
- Click the one-click automatic adjustment to balance exposure, contrast, and white balance. This is a good starting point for most outdoor and studio shots.
- Apply a black and white film preset from the film simulation group. The crash when applying black and white film presets was fixed in 7.3.0, so the preset applies immediately without an error.
- Use the 3D color mask to isolate the sky and lower its blue luminance. The mask picks only the sky and leaves the foreground unaffected.
- Add a portrait retouching mask if a person is in the frame. The retouching panel includes skin smoothing and eye enhancement controls. Apply them with a soft brush mask to avoid overprocessing.
- Tag the image with keywords such as "Sony A7 IV," "black and white," and "landscape." Assign it to a smart collection that automatically gathers all images tagged "black and white" for future access.
- Export as a 16-bit TIFF at the original resolution, or as a JPEG for web sharing. The export dialog respects your previous settings, so you don't need to reconfigure each time.
The result is a clean black and white image with accurate RAW data, no corruption, and all adjustments stored as non-destructive layers. The same workflow works for Panasonic Lumix G95D, Lumix S5 IIX, and Sony Cyber-shot DSC-RX100M7 files, which were also added in version 7.3.0.
- Expanded camera support for Panasonic Lumix G95D, Panasonic Lumix S5 IIX, and Sony Cyber-shot DSC-RX100M7.
- Added support for opening HEIC photos from current iPhone models.
- Refreshed Chinese, German, French, and Japanese translations.
- Fixed corrupt rendering of Sony A7 IV lossless compressed raw files.
- Fixed a crash when applying black and white film presets.
- Fixed a crash when opening the Quick Export menu after reordering export presets.
- macOS 10.13 or later
- 64-bit processor
- Intel or Apple Silicon
Questions from the notes
Can Exposure X7 work as a plugin for Adobe software?
Yes, it includes plugin support for Adobe Photoshop and Lightroom, so you can use it inside those apps or as a standalone editor.
Install procedure
- Mount the disk image and run the Gatekeeper-friendly opener.
- Press Enter in Terminal to bypass Gatekeeper.
- Run the installer and complete the standard installation.
- The app is ready to use.
Reports from players
Sign in or create a tester account to file a report.
No reports filed yet.