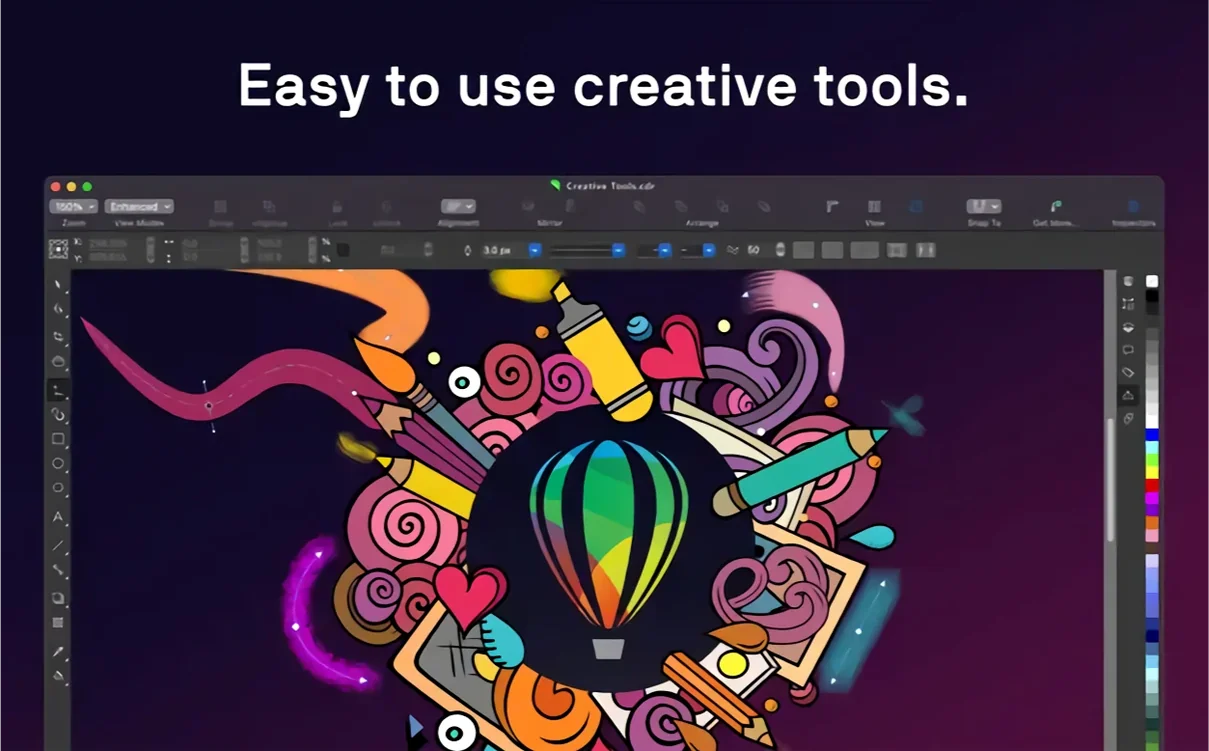
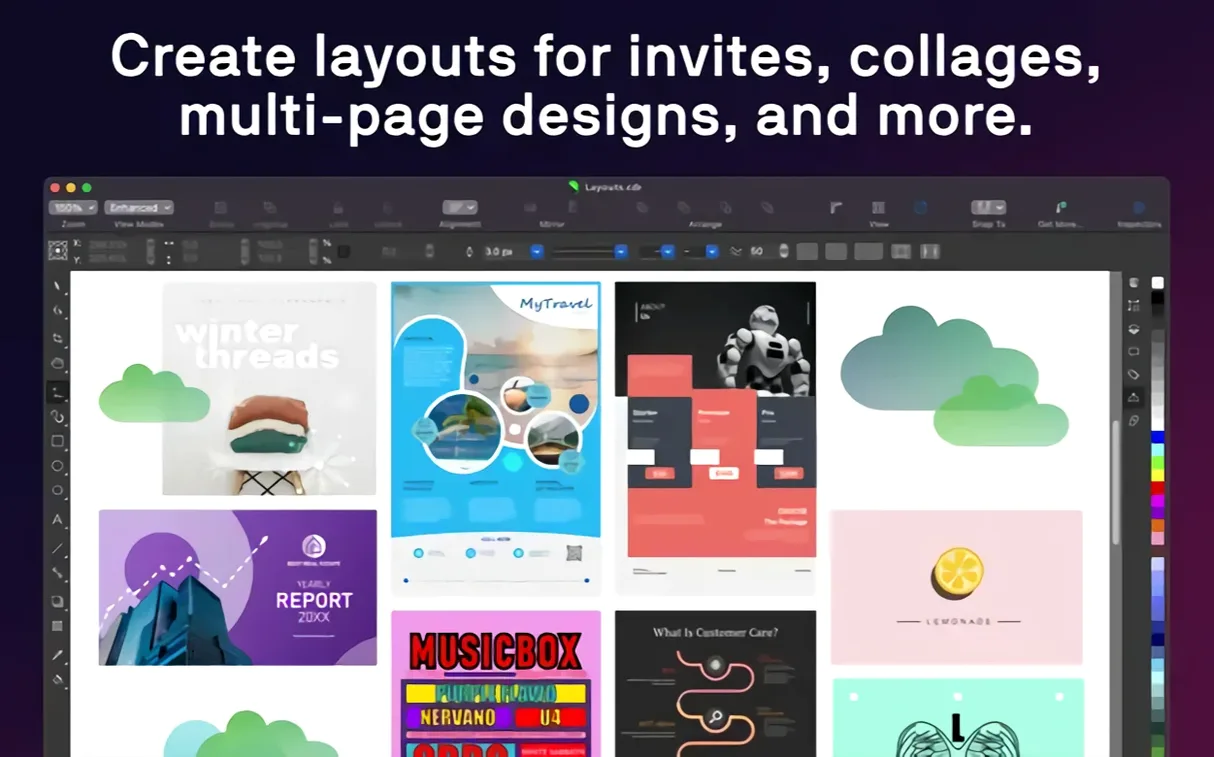
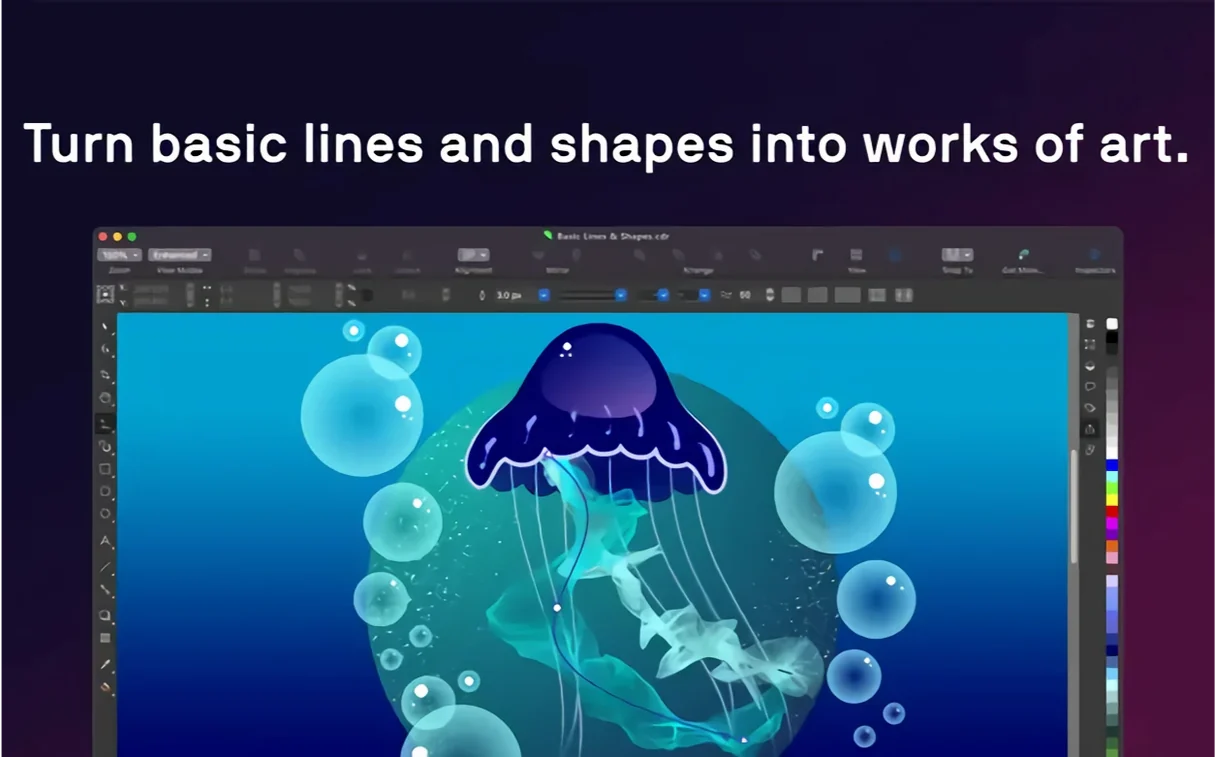
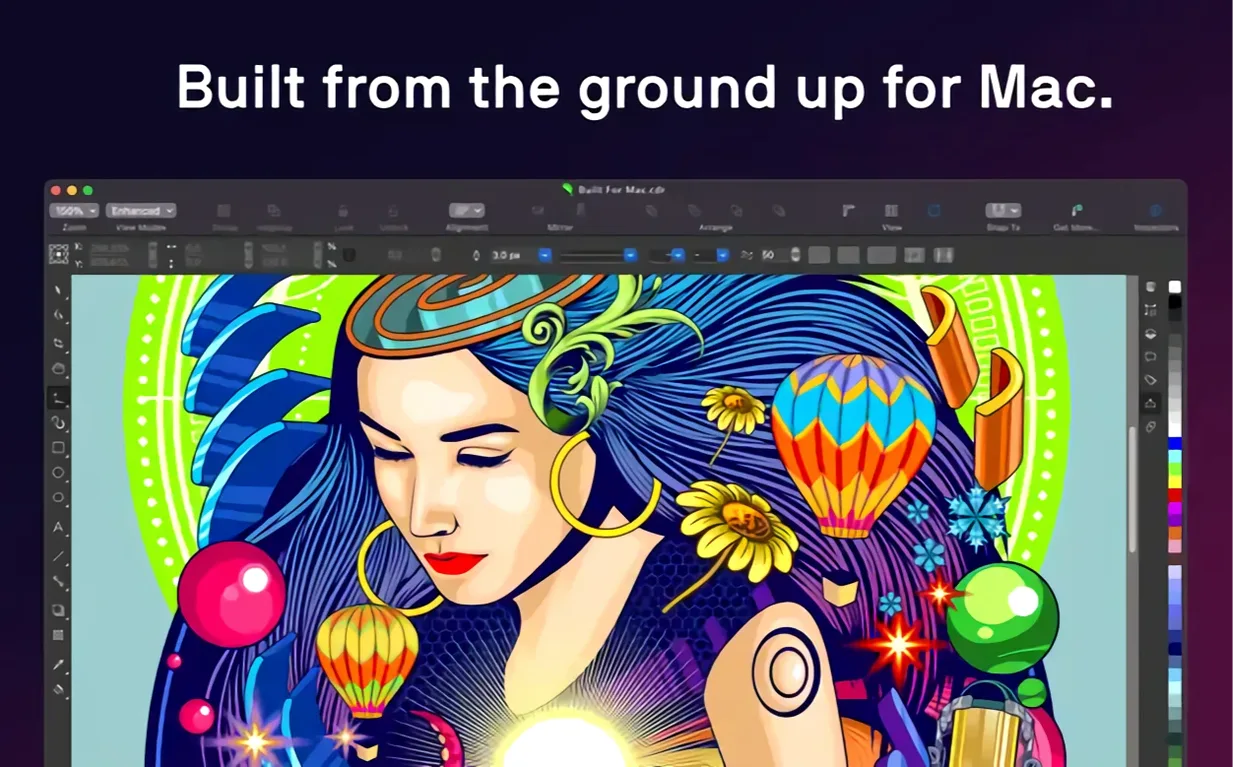
CorelDRAW is graphic design software for vector illustration, page layout, and photo editing.
What it includes
- Corel PHOTO-PAINT for raster image editing
- Corel Font Manager for organizing and previewing fonts
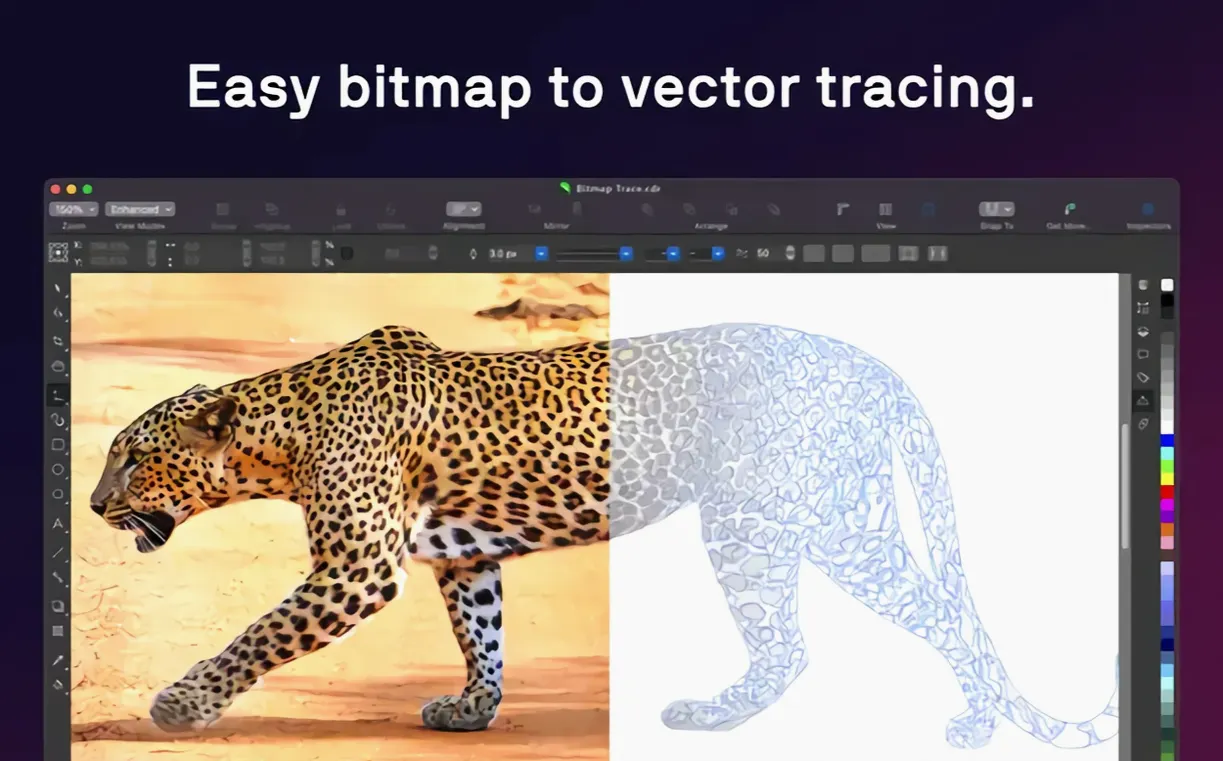
- Raster-to-vector tracing to convert scans or sketches into editable vectors
- Typography controls covering font, size, spacing, shadow, and outline
- AI-based upscaling and JPEG artifact removal
- Sidecar support on macOS, letting you draw with Apple Pencil on iPad while seeing changes on your Mac screen
Caters to designers juggling logos, layout, and photo fixes
This suite targets designers who need one app for multiple jobs: logo work, layout for print or web, and quick photo fixes. It runs on both Apple Silicon and Intel Macs with AVX2 support, and the interface is available in fifteen languages. The 8 GB RAM minimum works for lighter projects, but 16 GB or more is recommended if you plan to handle large files or multitask. If you want a single package that covers vector drawing, page composition, and photo editing without switching between separate tools, this is a practical choice.
Shorten the auto-backup interval for complex vector work
A few defaults are worth adjusting before you start a real project. The first is the auto-backup interval. By default it triggers every ten minutes, but for larger files or complex vector work you may want to shorten it to five. This lives in the application preferences under the backup section. The second is the measurement unit. If you primarily work in print, switch the default ruler unit from inches to points or millimeters depending on your region — it saves converting on every new document.
Color management settings are also worth reviewing early. CorelDRAW uses a default RGB color profile that works for screen output, but if your work goes to print, change it to a CMYK-compatible profile (such as U.S. Web Coated SWOP) in the Color Management dialog. This avoids color shift surprises when you export to PDF or TIFF. For users who import a lot of Adobe Illustrator or AutoCAD files, enable the "Preserve overprint" option in the import settings — it keeps spot colors and overprint attributes intact when opening AI or DWG files.
Workflow: creating a brochure from scratch
Here is one way to set up a tri-fold brochure, from document creation to final export.
- Create the document. Start a new document and choose the "Brochure" preset from the New Document dialog. This gives you a three-column layout with fold guides already in place. Set the page size to letter (or A4) and the orientation to landscape.
- Set up the master page. Open the Page Manager docker and add a master page. Place repeating elements here — the company logo, footer text, and page numbers — so they appear on all panels without manually copying them.
- Add placeholder text blocks. Use the Text tool to draw text frames on each panel. Fill them with placeholder copy using the Insert Text command. Apply a paragraph style from the Styles docker to unify formatting across panels.
- Insert vector graphics. Drag vector logos or icons onto the page. Use the Align and Distribute docker to center them within their panels. Apply a drop shadow from the Effects menu to lift icons off the background.
- Import and trace a raster image. If you have a hand-drawn sketch or a low-res photo to include, place it on the page. Select it and use the Quick Trace tool from the Bitmaps menu to convert it to a vector. Adjust the trace detail in the PowerTRACE dialog until the result matches the original closely enough.
- Apply color and transparency. Select a background shape and fill it with a gradient from the Fill docker. Add a transparency overlay to soften the gradient — set the transparency type to "Uniform" and reduce the opacity to 80 percent.
- Export for print. Go to File > Export, choose PDF format, and select the "Prepress" preset. This embeds all fonts, sets the color space to CMYK, and includes bleed and crop marks. For a multi-page brochure, check "Include all pages" in the export options.
This workflow keeps most steps inside a single application. You don't need to switch to a separate page layout tool or photo editor unless you need more advanced raster work — that is where Corel PHOTO-PAINT comes in, but for typical brochure elements CorelDRAW can handle everything itself.
Switch to an Illustrator or InDesign layout from the Workspace menu
If you are coming from another vector editor, start by mapping the workspace to what you already know. The Workspace menu lets you switch to a layout that mimics Adobe Illustrator or InDesign, which reduces the initial friction. This is under the Window > Workspace submenu.
Get used to the Object Properties docker early. It consolidates fill, outline, transparency, and corner settings into a single panel. Once you learn to keep it open, you stop hunting through menus for basic edits. For a similar reason, pin the Color docker to the side of the screen — clicking a color swatch there changes the selected object immediately, without needing to open a separate dialog.
For users who work with variable fonts, note that CorelDRAW lets you adjust their weight, width, and slant with interactive sliders. Select a text object that uses a variable font, then look for the variable font controls in the Text docker to fine-tune the appearance without switching to a different weight family.
Finally, if you import a lot of files from other design teams, set the default import resolution higher than the default 72 dpi. Go to Tools > Options > Global > Filters and change the "Import image resolution" to 300 dpi. This prevents placed images from appearing blurry at 100 percent zoom before you have manually adjusted them.
Use the Touch Bar on compatible Macs for layer and text controls
CorelDRAW includes a few features that are not obvious from the toolbar alone. The Touch Bar on compatible Mac laptops shows controls for layer switching and text tools — tap or swipe on the Touch Bar to change the active layer or adjust font size without moving the cursor.
The Sidecar integration works well for artists who prefer drawing on an iPad. Connect your iPad via Sidecar, then in CorelDRAW you can use the Apple Pencil to draw directly on the iPad screen. The changes appear on your Mac display in real time. This is especially useful for freehand vector drawing or retouching traced paths.
The Styles docker lets you save a set of formatting attributes — fill, outline, transparency, and text properties — as a named style. Apply that style to any object or paragraph with a single click. For documents that require consistent branding across dozens of elements, this is faster than copying formatting manually. Style sets extend this by grouping multiple styles together, so you can apply a pre-configured look to an entire page at once.
For users handling Adobe 3D graphics or 2 tone graphics files, the import filter for DWG and DXF preserves the layer structure from the original drawing. This means you can bring in an architectural floor plan or a technical illustration and keep its layers intact, then apply CorelDRAW colors and fills on top without rebuilding the hierarchy.
Version 27.2 improves AI and PSD import reliability
The current build, version 27.2.0.135, focuses on stability rather than new headline features. If you have been using an earlier release from the 27.x series, the main practical change is in file import reliability. The AI and PSD import filters now handle files with more complex layer groups and embedded color profiles without dropping objects or flattening them unexpectedly. This matters for users who regularly receive layered artwork from collaborators who use other tools.
JPEG artifact removal and AI upscaling, both introduced earlier in the 27 cycle, now work more predictably on high-resolution images. The controls for these functions are in the Bitmaps menu under "Upscale" and "Remove JPEG Artifacts." When the brief mentions 977 graphics or abl graphics workflows, these AI tools are what handle the cleanup step before you trace a bitmap to vectors or place it in a layout.
The variable font support has not changed in this version, but the consistency improvements make it less likely that a font will revert to a fallback weight when reopening a saved document. That was the main complaint from early 27.x adopters, and it appears to be resolved in 27.2.0.135.
- macOS 13 or later
- Apple Silicon or multicore Intel processor with AVX2 support
- 8 GB RAM (16 GB or more recommended)
- Supports both ARM and x86 64-bit architectures
Install procedure
- Open the included installation and activation instructions.
- Follow the instructions provided inside the package.
Reports from players
Sign in or create a tester account to file a report.
No reports filed yet.