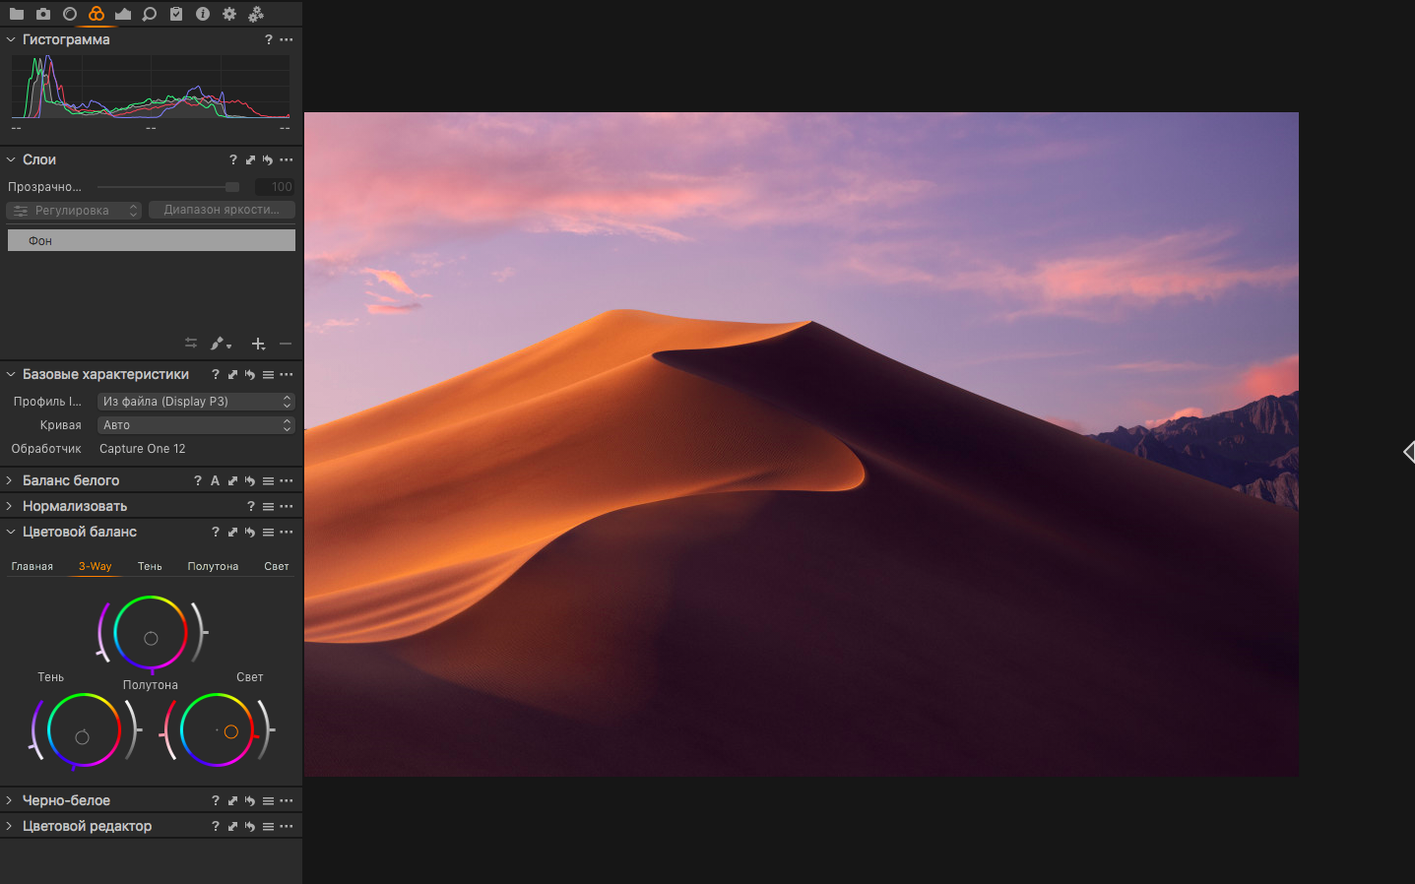
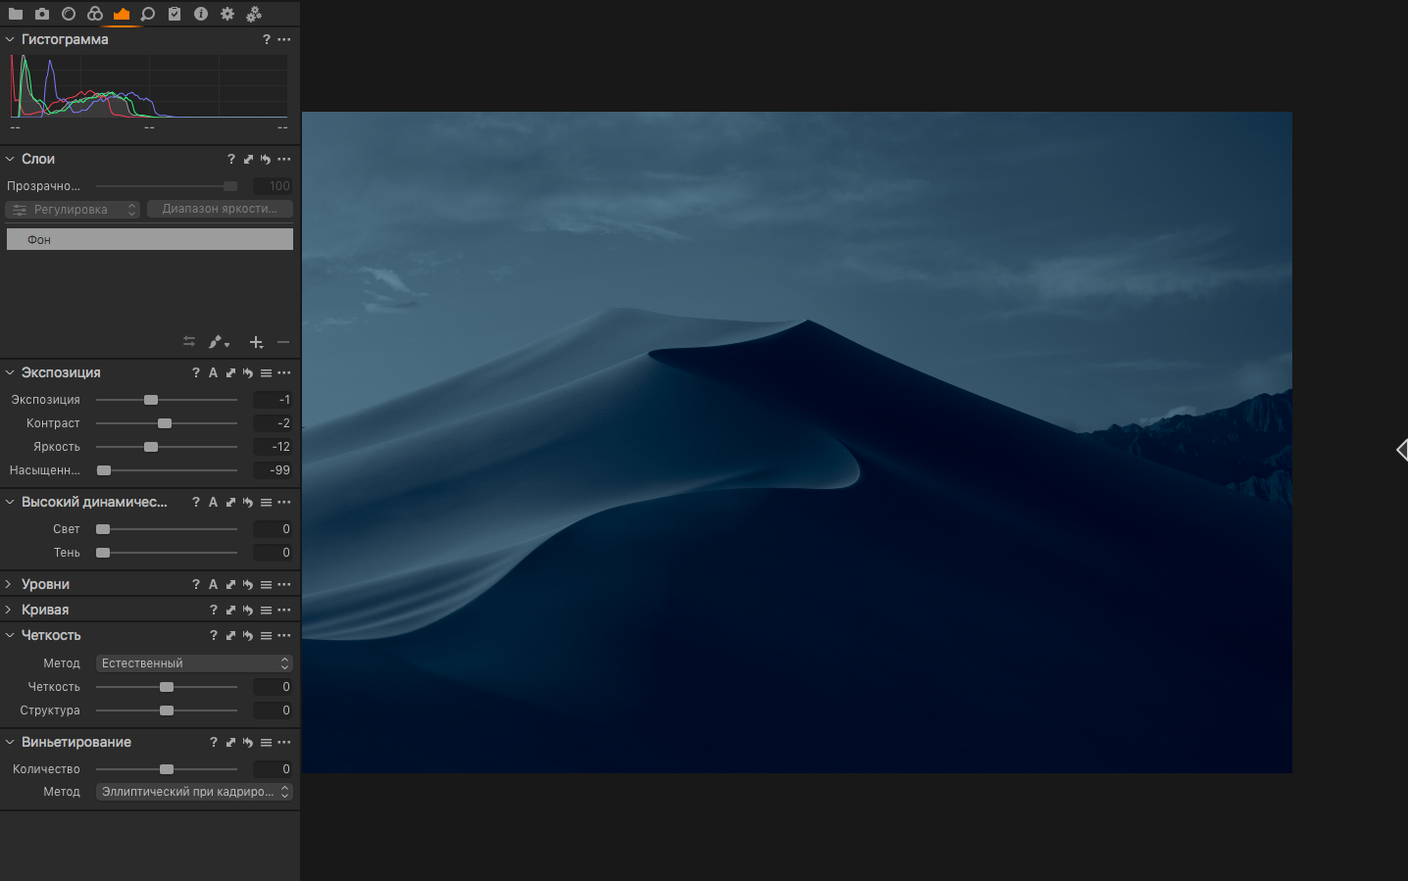
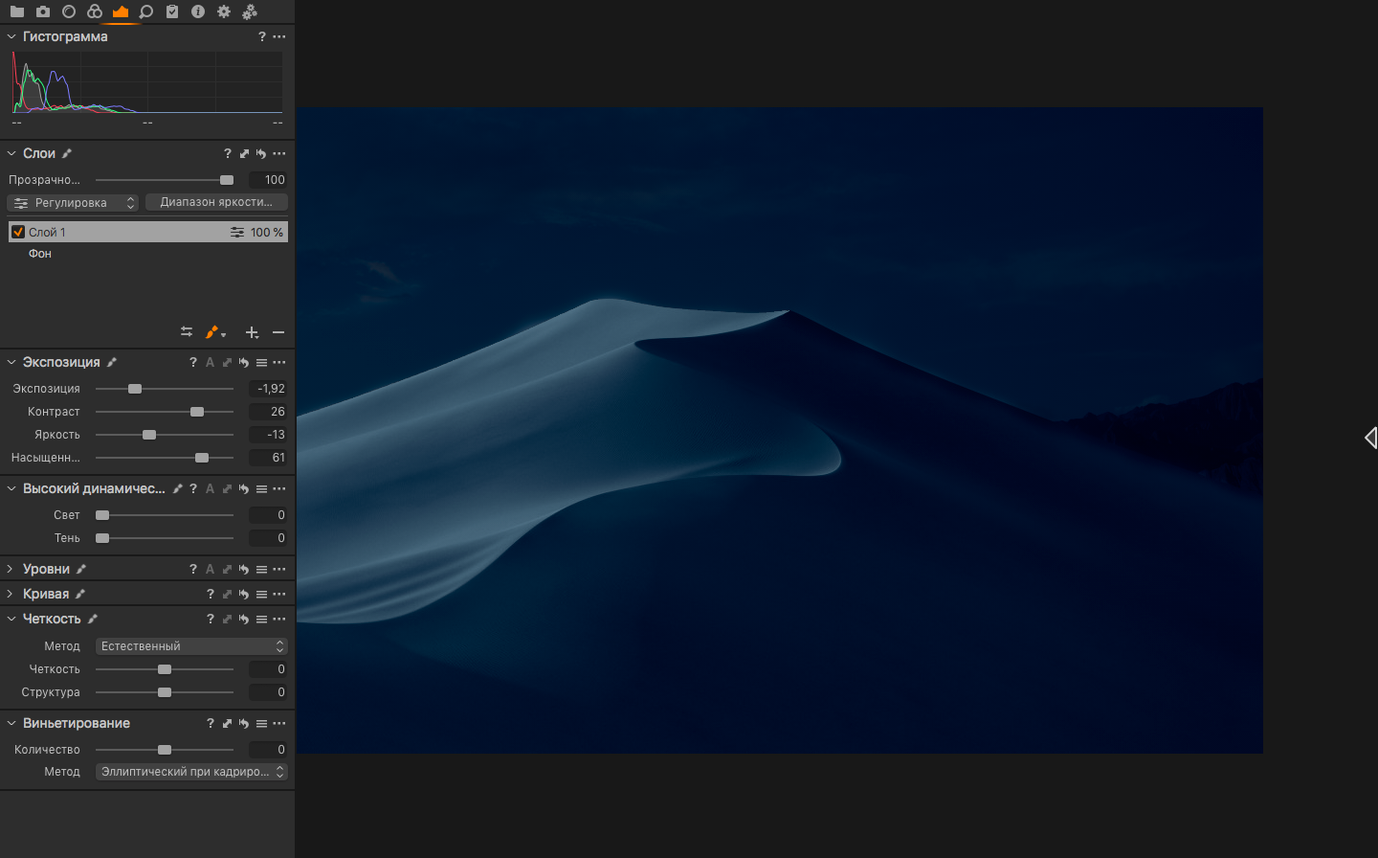
Capture One Pro is a professional RAW photo converter that gives you precise control over color, detail, and tethering from capture to export. It runs on both Apple Silicon and Intel 64-bit Macs, and supports more than 500 camera models. If you are new to it, here is where to start.
Key details at a glance
| Item | Detail |
|---|---|
| Developer | Phase One |
| Current version | 16.8.6.25 |
| macOS requirement | macOS 12 or later |
| Architectures | Apple Silicon, Intel 64-bit |
| Interface languages | English, French, German, Spanish, Italian, Japanese, and more |
Set white balance with the eyedropper, then create correction variants
Start with white balance: use the eyedropper on a neutral gray point in the image to set it quickly. Then create a couple of correction variants for the same photo to compare different edits without duplicating files. For overexposed or underexposed shots, Capture One handles recovery well, and the noise reduction tools can clean up high-ISO images. When you are done, export to full-size TIFF in RGB or CMYK, or to JPG. The interface is dense, but these basics get you productive fast.
Capture One supports more than 500 camera models from the last fifteen years
How does Capture One handle files from older cameras? Support for more than 500 models means most DSLRs and mirrorless cameras from the last fifteen years are covered. If your camera is not on the supported list, the software still opens the file but treats it as a generic RAW, which means you lose camera-specific color profiles. The workaround is to set white balance manually and build a custom ICC profile if consistency matters.
Does the software need an internet connection to activate? The version here uses a local activation that does not phone home. Once installed and patched, it works offline for as long as you need. No account creation, no login prompt.
Can you run it alongside Adobe Lightroom or Luminar? Yes. Capture One stores its edits in a separate session file or catalog, not in sidecar files that conflict with other programs. You can keep Lightroom for cataloging and use Capture One for the actual RAW conversion and tethering.
How much disk space does the install take? Session folders and previews add more over time, but that is standard for this class of software.
Workflow for tethered shooting with a Canon EOS R6 Mark II
For anyone who shoots in a studio or does product work, tethering is the main reason to use Capture One over other RAW converters. Here is a complete workflow from connecting the camera to delivering a first edit.
Connect the camera via USB-C to the Mac. Launch Capture One and create a new session — name it by date and project so you can find it later. The session folder will hold captures, selects, and output files automatically.
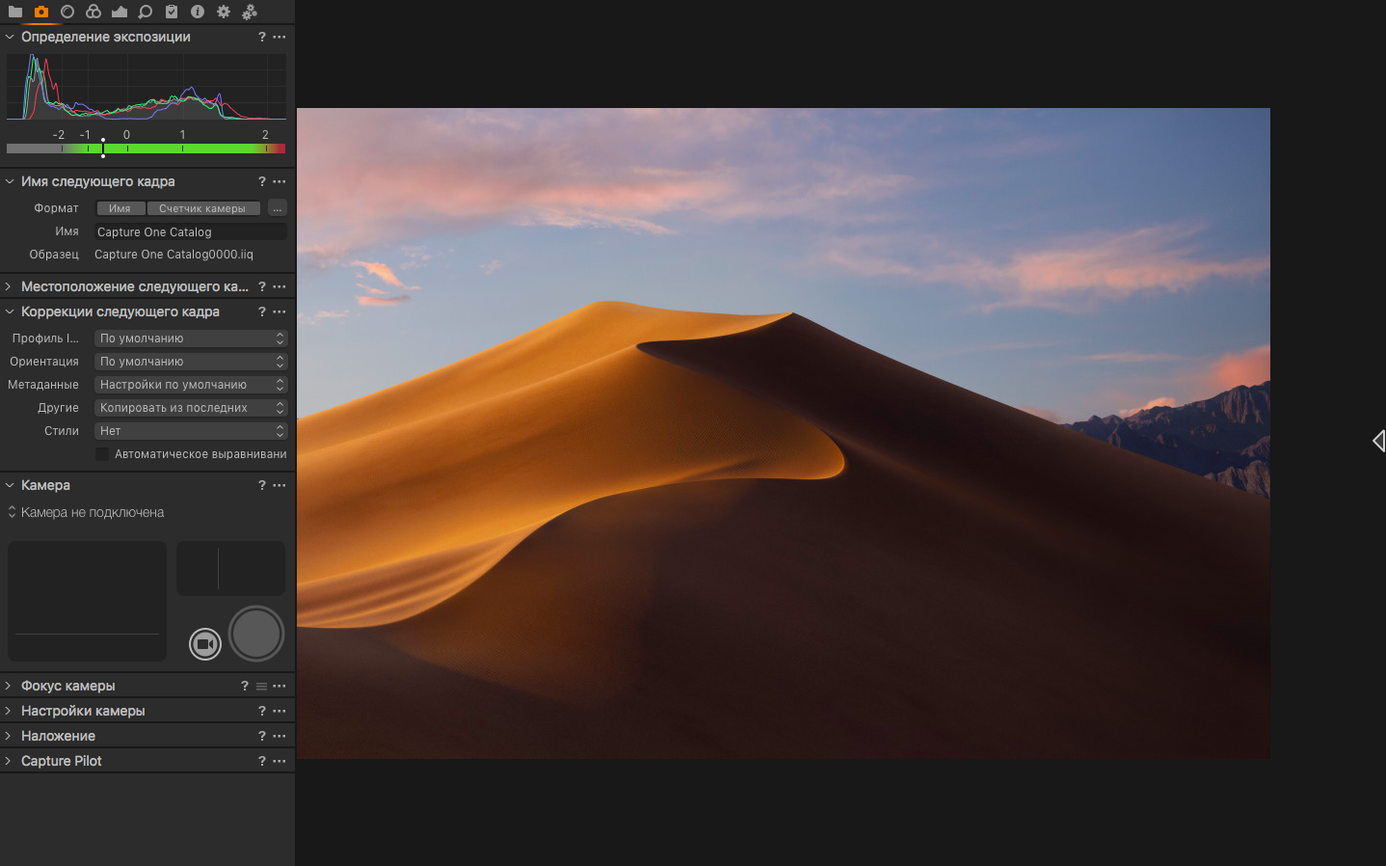
In the tethering panel, select the camera. The software should recognize a Canon EOS R6 Mark II immediately if the camera is set to PC Remote mode. Set the capture folder to the session's Capture subfolder. Shoot a test frame to confirm the live view comes through and the image appears in the viewer.
Adjust white balance using the eyedropper on a gray card in the first frame. This sets a baseline for all subsequent shots in that session. If lighting changes, repeat the eyedropper step before the next series.
As you shoot, flag selects with a star rating or color tag. Use Assisted Review (added in 16.8) to let the software flag obvious soft-focus or clipped frames so you can skip them during culling. After the shoot, filter for five-star images and do a quick pass of exposure and contrast adjustments before exporting.
Export as full-size TIFF in RGB for clients who need prints, or as JPG for previews. The batch export handles all selects at once.
When the eyedropper cannot find a neutral gray point
The eyedropper does not pick up a neutral gray. This usually happens when the image has no true gray area. Point it at a concrete sidewalk, a white wall in shadow, or a gray card that is actually in the frame. If the color cast persists, adjust the temperature slider manually until skin tones look natural.
Variants do not seem to apply changes. Each variant is tied to its own adjustments. If you switch between variants and see no difference, check that you are actually modifying the active variant and not the original. Also confirm that the adjustment layers are not hidden in the layers panel.
Export fails or produces corrupted files. This happens more often with CMYK TIFF exports than with RGB or JPG. If the file fails, try exporting to RGB TIFF first, then convert to CMYK in an external editor. Also check that the destination folder has write permissions and enough free space.
Tethering drops mid-session. On macOS 14 and later, USB power management can interfere with tethering. Wireless tethering improvements in 16.8 help with some cameras, but a wired connection is still more reliable for long shoots.
Noise reduction looks artificial. The Enhanced Denoise tool in 16.8 can over-smooth at higher settings. Dial it back to around 30-40 and combine it with a slight sharpening mask so you keep grain in the right areas.
Layer-based color editor gives more control than Lightroom Classic
Capture One vs. Adobe Lightroom Classic. Both offer RAW conversion and cataloging. Capture One gives you more control over color with its layer-based color editor and per-camera profiles. Lightroom has a larger community and more third-party presets. For tethered shooting, Capture One is the standard in commercial studios — Lightroom supports tethering but with fewer camera models and less reliable live view.
Capture One vs. DxO PhotoLab. DxO's strong point is automated lens corrections and noise reduction based on measured camera modules. Capture One leaves more manual control in your hands. DxO does not support tethering at all. If you mostly shoot landscape with a single body and want one-click corrections, DxO is simpler. If you shoot people or products in a controlled environment and need tethered capture, Capture One is the tool.
Capture One vs. Luminar Neo. Luminar leans on AI for sky replacement, portrait retouching, and relighting. Capture One does not do AI enhancements — it gives you tools and expects you to use them. Luminar is faster to learn for casual users. Capture One is faster to use once you know the interface, especially for high volume shoots.
Import a folder you already edited elsewhere and compare results
Spend the first session just importing one folder of RAW files from a shoot you have already edited in another program. Create a few variants and adjust white balance, exposure, and sharpness. Compare the results to what you got from your previous tool. That will tell you where Capture One deviates from what you are used to.
Set the interface language before you start editing. The first launch defaults to English. If you prefer French or German or any of the other ten languages, change it in Preferences — Interface — Language before you build muscle memory for the menu names.
Keep the session structure simple at first. Use one session per shoot rather than the catalog option. Sessions are self-contained folders you can move and archive without breaking links. Catalogs add a layer of database management that you do not need until you have thousands of images across dozens of projects.
Map the keyboard shortcuts that matter to you. Capture One has shortcuts for rating, color tagging, and switching between variants. Learn the two or three you reach for most often — the rest you can look up as you go.
Capture One Pro 16.9.0.10 has landed. The release notes are up on the developer's site — nothing specific printed here, but the build number ticks forward.
- macOS 12 or later
- Apple Silicon or Intel 64‑bit
Questions from the notes
Can Capture One run on an Intel Mac?
Yes, Capture One supports both Apple Silicon and Intel 64-bit Macs, so it works on older Intel models as well.
Install procedure
The 1.2 GB download runs on any Mac still on macOS 12 or newer, Intel or Apple Silicon. Four short moves and it’s ready.
- Mount the disk image and open Open Gatekeeper friendly.
- Press Enter in the Terminal window that appears to bypass Gatekeeper.
- Drag the application into your Applications folder.
- The app is ready to use.
Reports from players
Sign in or create a tester account to file a report.
No reports filed yet.