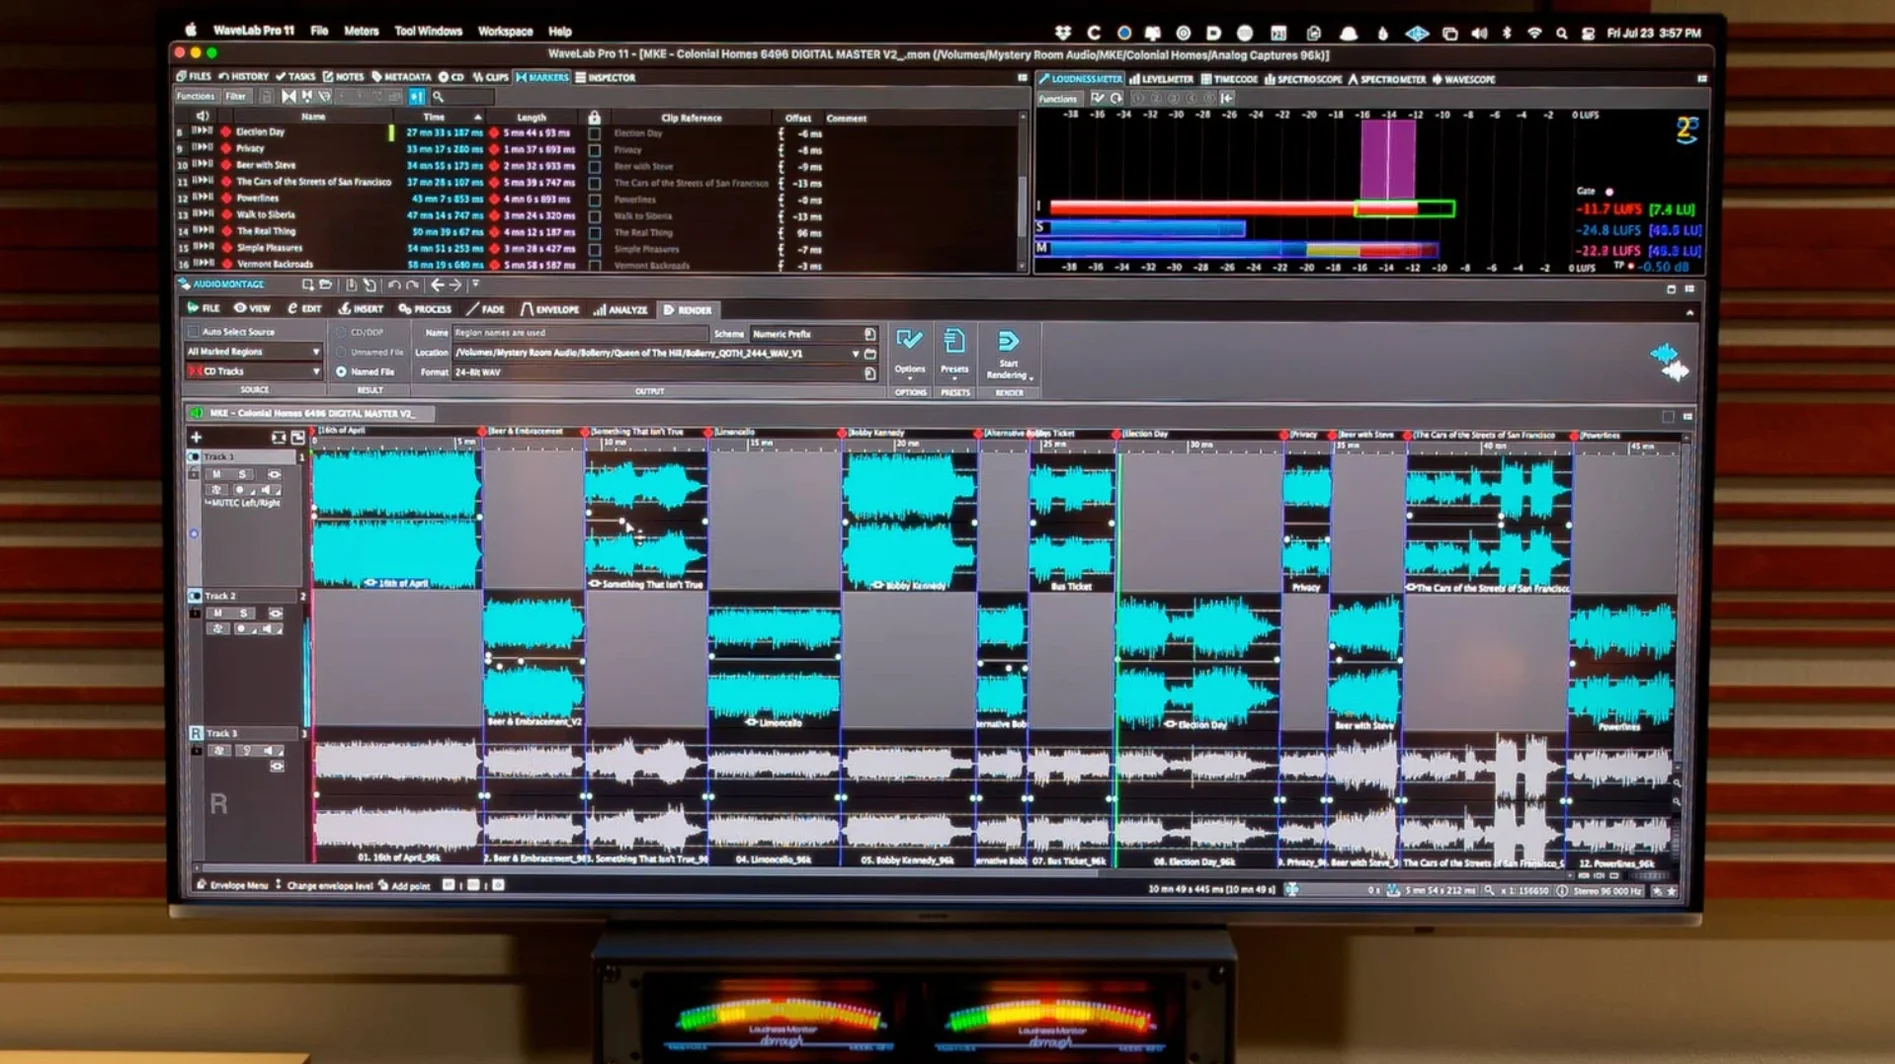
Spectral editing lets you see and fix audio problems that EQ alone can’t touch. In WaveLab Pro, you can select a click, a breath, or a resonant spike directly on the spectrogram and remove it without affecting the rest of the track. That’s the kind of precision that makes this a complete mastering environment rather than just a processor host.
Automatic waveform scaling keeps peaks visible
The automatic waveform scaling keeps peaks visible without constant zoom adjustments — one less distraction when you’re balancing loudness. Drag and drop audio ranges between WaveLab and other applications (with or without processing) so you can audition a section in Cubase 13 or Reaper 7 and bring it back with the same chain. For forensic work, the analysis tools show phase correlation and spectral distribution, which is useful when you need to justify a cut or a boost to a client.
Dolby Atmos and monitoring changes in 13.0.30
The current build adds HRTF profile loading for binaural monitoring in Dolby Atmos. If you work with immersive mixes, you can load your own head-related transfer function instead of relying on the default. Channel-based surround files now sit in Atmos master montages alongside objects, which makes assembly less rigid. The ARA plug-in integration means WaveLab can exchange audio and edits with supporting DAWs directly — no export-reimport loop.
Half the time saved in mastering comes from things that aren't in the manual’s highlights. The synchronized file and montage navigation is one of those. When you're cross-referencing a raw recording against your edited master montage, both views scroll together once you link them. That means you can spot a bad edit in the montage, jump to the same position in the source file, and confirm the original take without hunting for the timecode manually.
Spectral editing defaults to visible frequency range
The spectral editing selection tool defaults to the visible frequency range, which sounds obvious until you've worked in software that makes you draw a selection rectangle every time. WaveLab remembers your last tool choice across sessions, so if you spend most of your time in the spectrogram view, it stays there until you switch.
Audio ranges transfer between WaveLab and other applications by drag and drop or copy and paste. The trick worth knowing: you can choose whether the dragged region includes the effects chain applied at that moment or the raw audio. That saves a bounce step when you want to compare a processed segment in another DAW without committing the processing to the file.
Build visual memory with a familiar mastered track in spectrogram view
- Open a mastered track you already know well and load it into the Audio Editor. Switch to the spectrogram view and listen to a section while watching the frequency display — it builds a visual memory for what clicks and resonances look like in your own material.
- Create a master montage with a single track and activate the automatic waveform scaling. Adjust the loudness balance and watch how the view adapts. It removes the urge to zoom in and out constantly, which is one of the easiest habits to lose early.
- If you work with surround content, load a Dolby Atmos master montage and load a personal HRTF profile into the binaural monitoring section. Listen to how the spatial image shifts compared to the default profile. It's not a setting you'll change daily, but knowing it's configured correctly from the start avoids surprises later in the session.
- Enable the ARA plug-in connection in your DAW — Cubase 13, Nuendo 13, Reaper 7, or Studio One 6.5. Transfer a short audio range from WaveLab into the DAW timeline with and without effects. The difference in workflow speed is immediate and you'll see when you want processing and when you want raw audio.
A workflow for forensic audio analysis from start to finish
You receive a stereo recording with a faint electrical hum and a single transient click buried near the end. The client wants confirmation that the click is a recording artifact, not part of the original performance, and the hum removed without affecting the voice.
- Open the file in the Audio Editor. The sample-accurate editing display lets you zoom into the suspect region at the millisecond level. On the spectrogram, the click appears as a vertical spike — short duration, wide frequency spread — which matches a recording fault, not a musical transient.
- Select the spike using the spectral editing tool. The selection snaps to the visible frequency band, so you're only removing the click, not the surrounding voice content. Listen to the result in loop mode to confirm no audible gap remains.
- Switch to the analysis tools. Check the phase correlation meter on the full file. The hum is likely out of phase in the low end — a common indicator of ground loop interference. The spectral distribution graph shows a peak at 60 Hz and its harmonics.
- Use the audio restoration tools to notch the hum. Because the analysis already identified the frequency, you can target exactly that band without sweeping. Verify the result by toggling the processing on and off.
- Export the cleaned file and transfer the audio range (with processing) to the client’s DAW using drag and drop. The metadata confirms the processing chain used, so the client can see what was applied if they need to rebuild it later.
Short real-world scenario from a mastering engineer
A mastering engineer receives a stereo mix and a separate Dolby Atmos master for the same track. The stereo version needs a light spectral cleanup on a vocal sibilance. The Atmos version needs the same fix applied to the bed, but the objects should remain untouched.
In WaveLab Pro, the engineer opens the stereo file in the Audio Editor, selects the sibilant region on the spectrogram, and applies the repair. For the Atmos master montage, the same spectral editing environment works across the channel-based surround files. The engineer can edit the bed without affecting the object panning or the HRTF binaural monitoring path. After the fix, the montage exports as a single file that matches the client’s Atmos delivery spec. The ARA integration means the engineer could also send the edited range back to the original DAW session if the client wants the repair in the source project.
- Dolby Atmos master montages can include channel-based surround files.
- Dolby Atmos binaural monitoring supports loading a personal HRTF profile.
- macOS 13 or later
- Intel or Apple Silicon
Questions from the notes
Which DAWs can host WaveLab Pro as a plug-in?
WaveLab Pro can be used inside Cubase 13, Nuendo 13, Reaper 7, and Studio One 6.5.
What macOS versions does WaveLab Pro 13.0.30 support?
The Mac build requires macOS 13 or later.
Install procedure
- Follow the included installation and activation instructions.
Reports from players
Sign in or create a tester account to file a report.
No reports filed yet.