
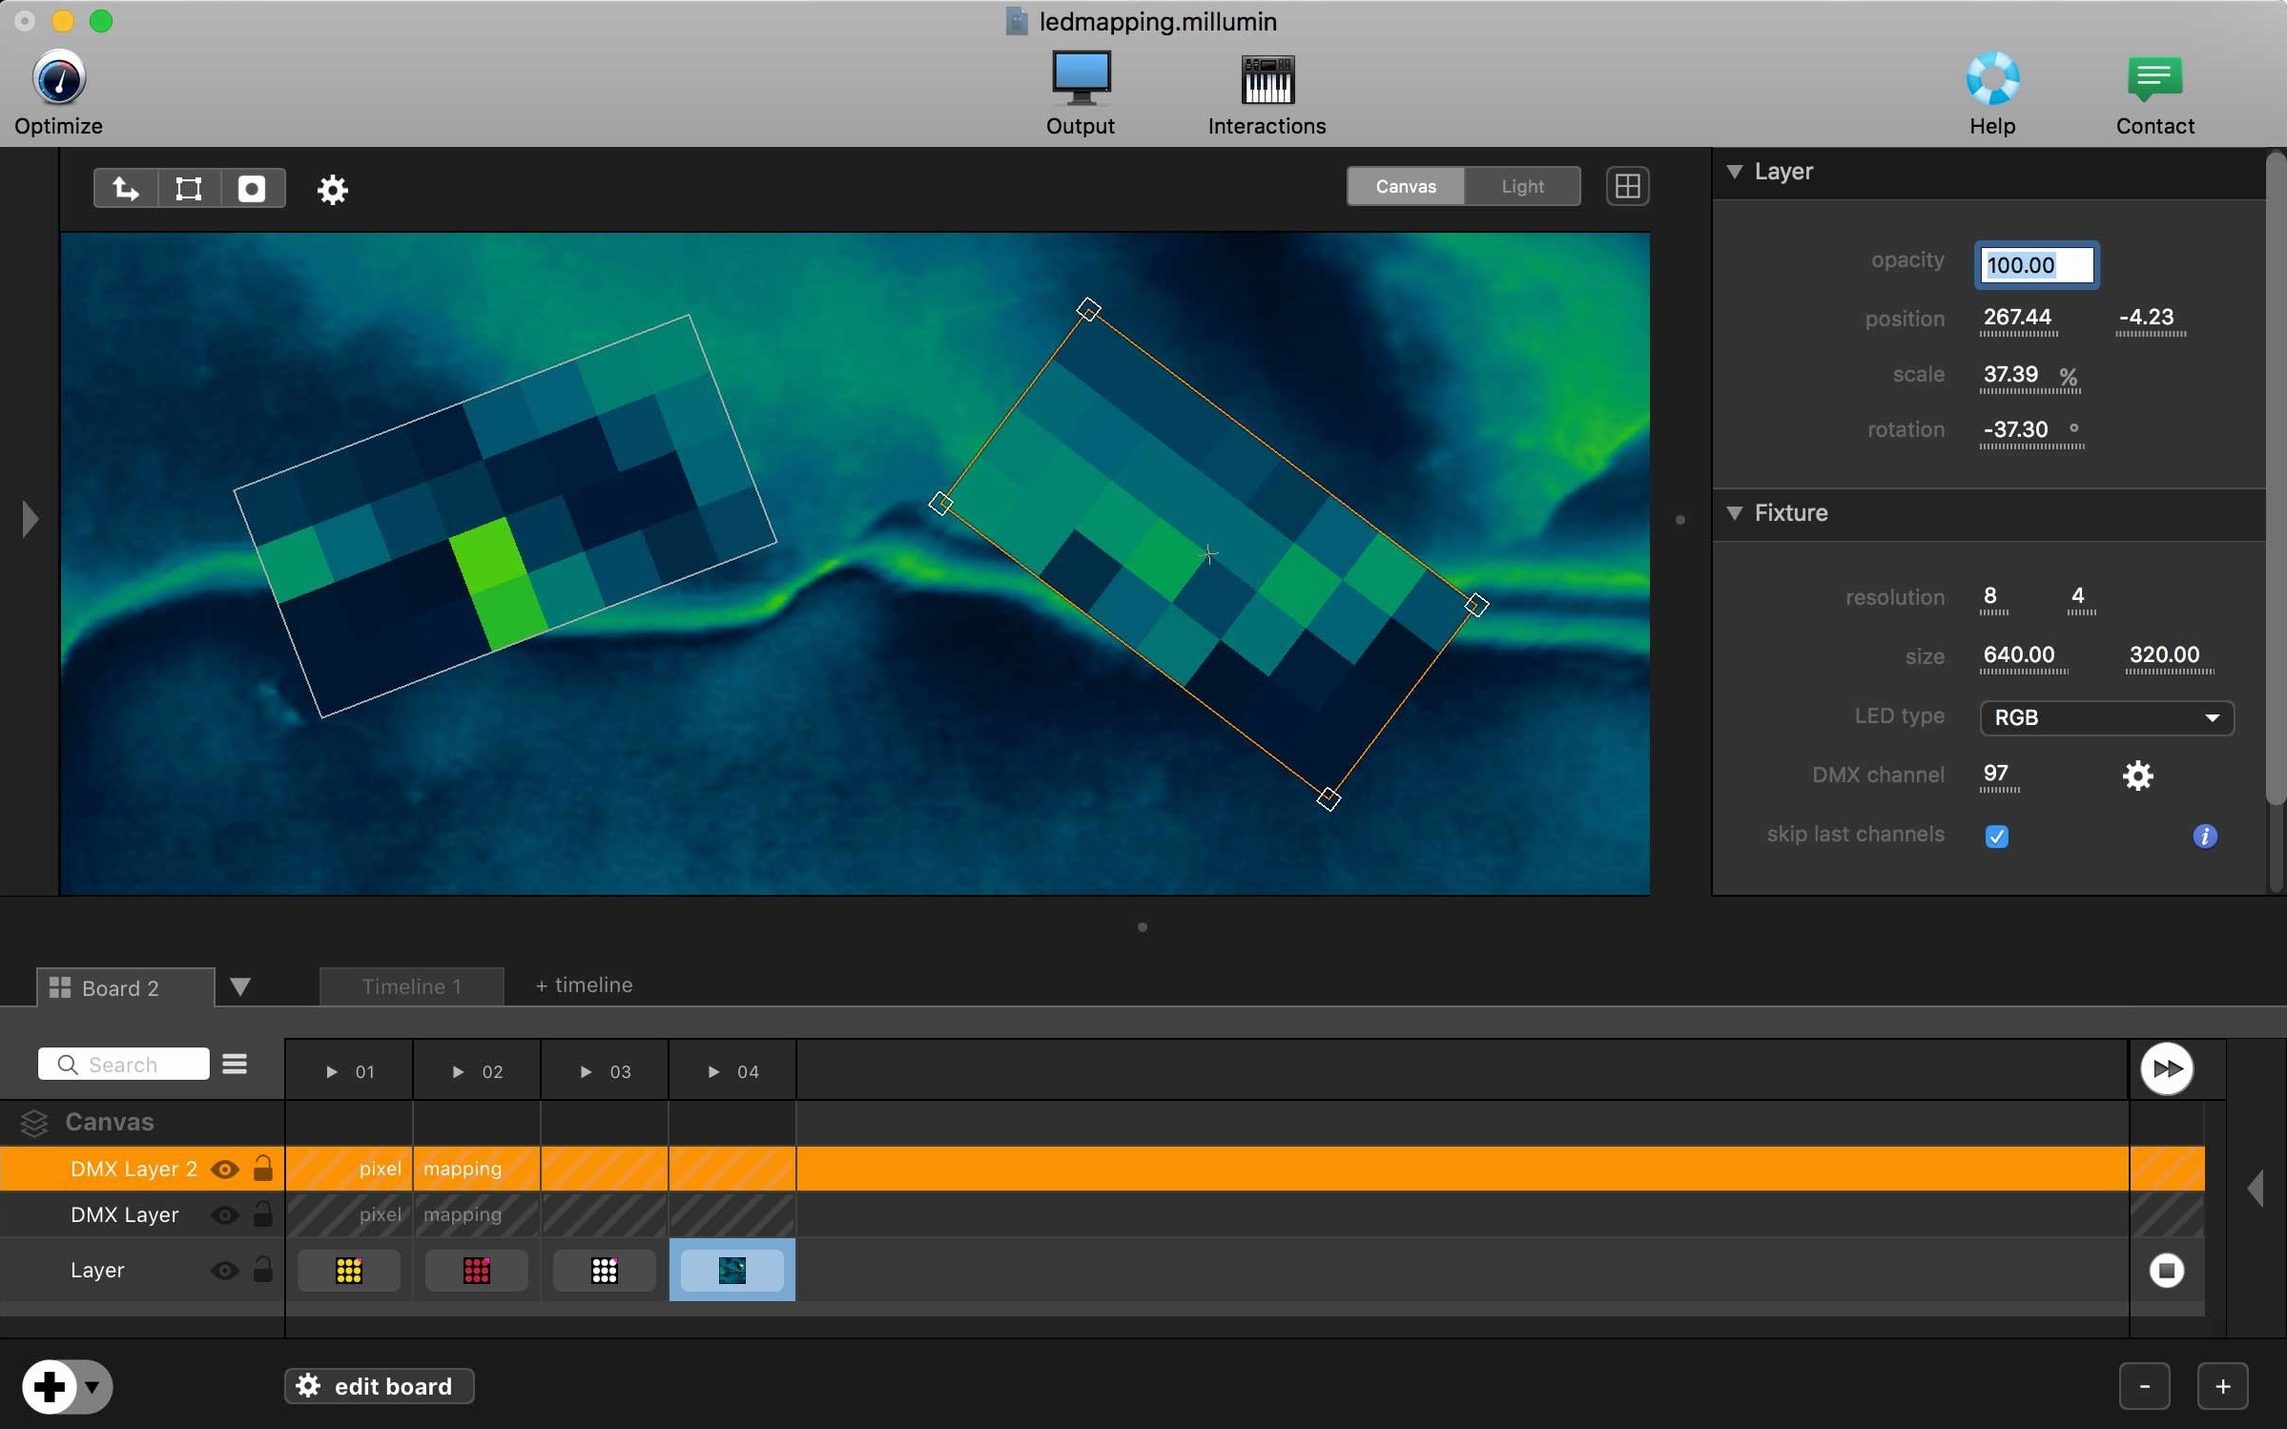
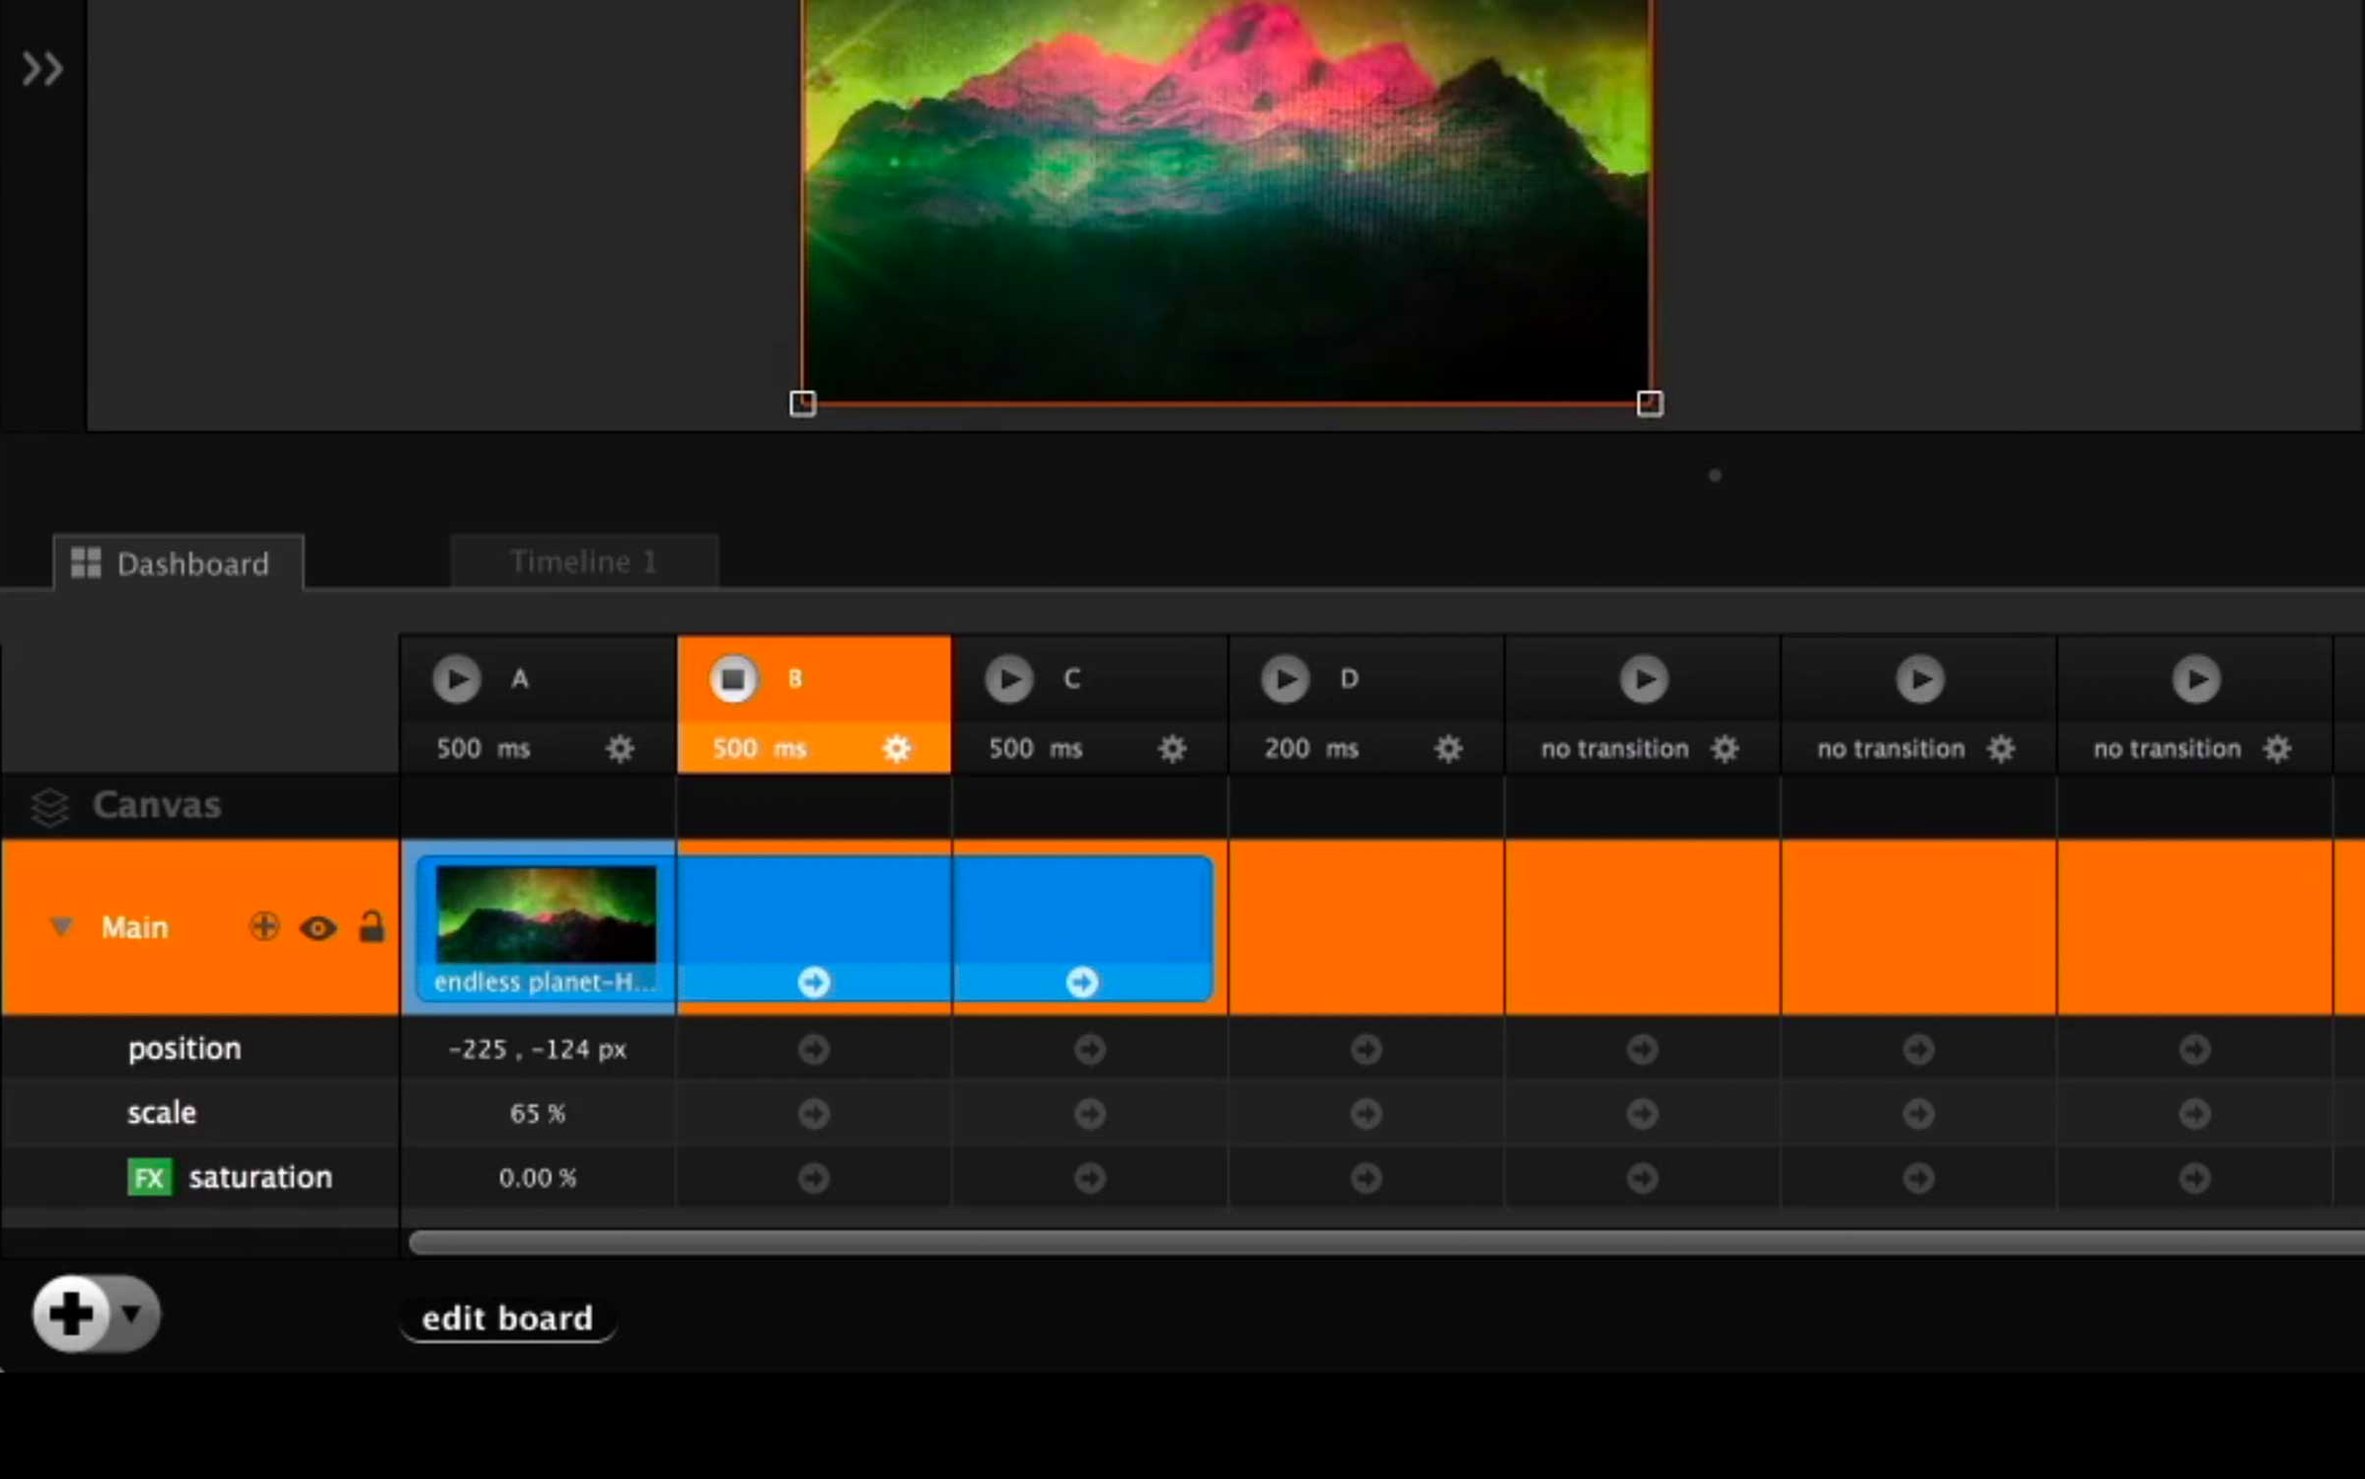
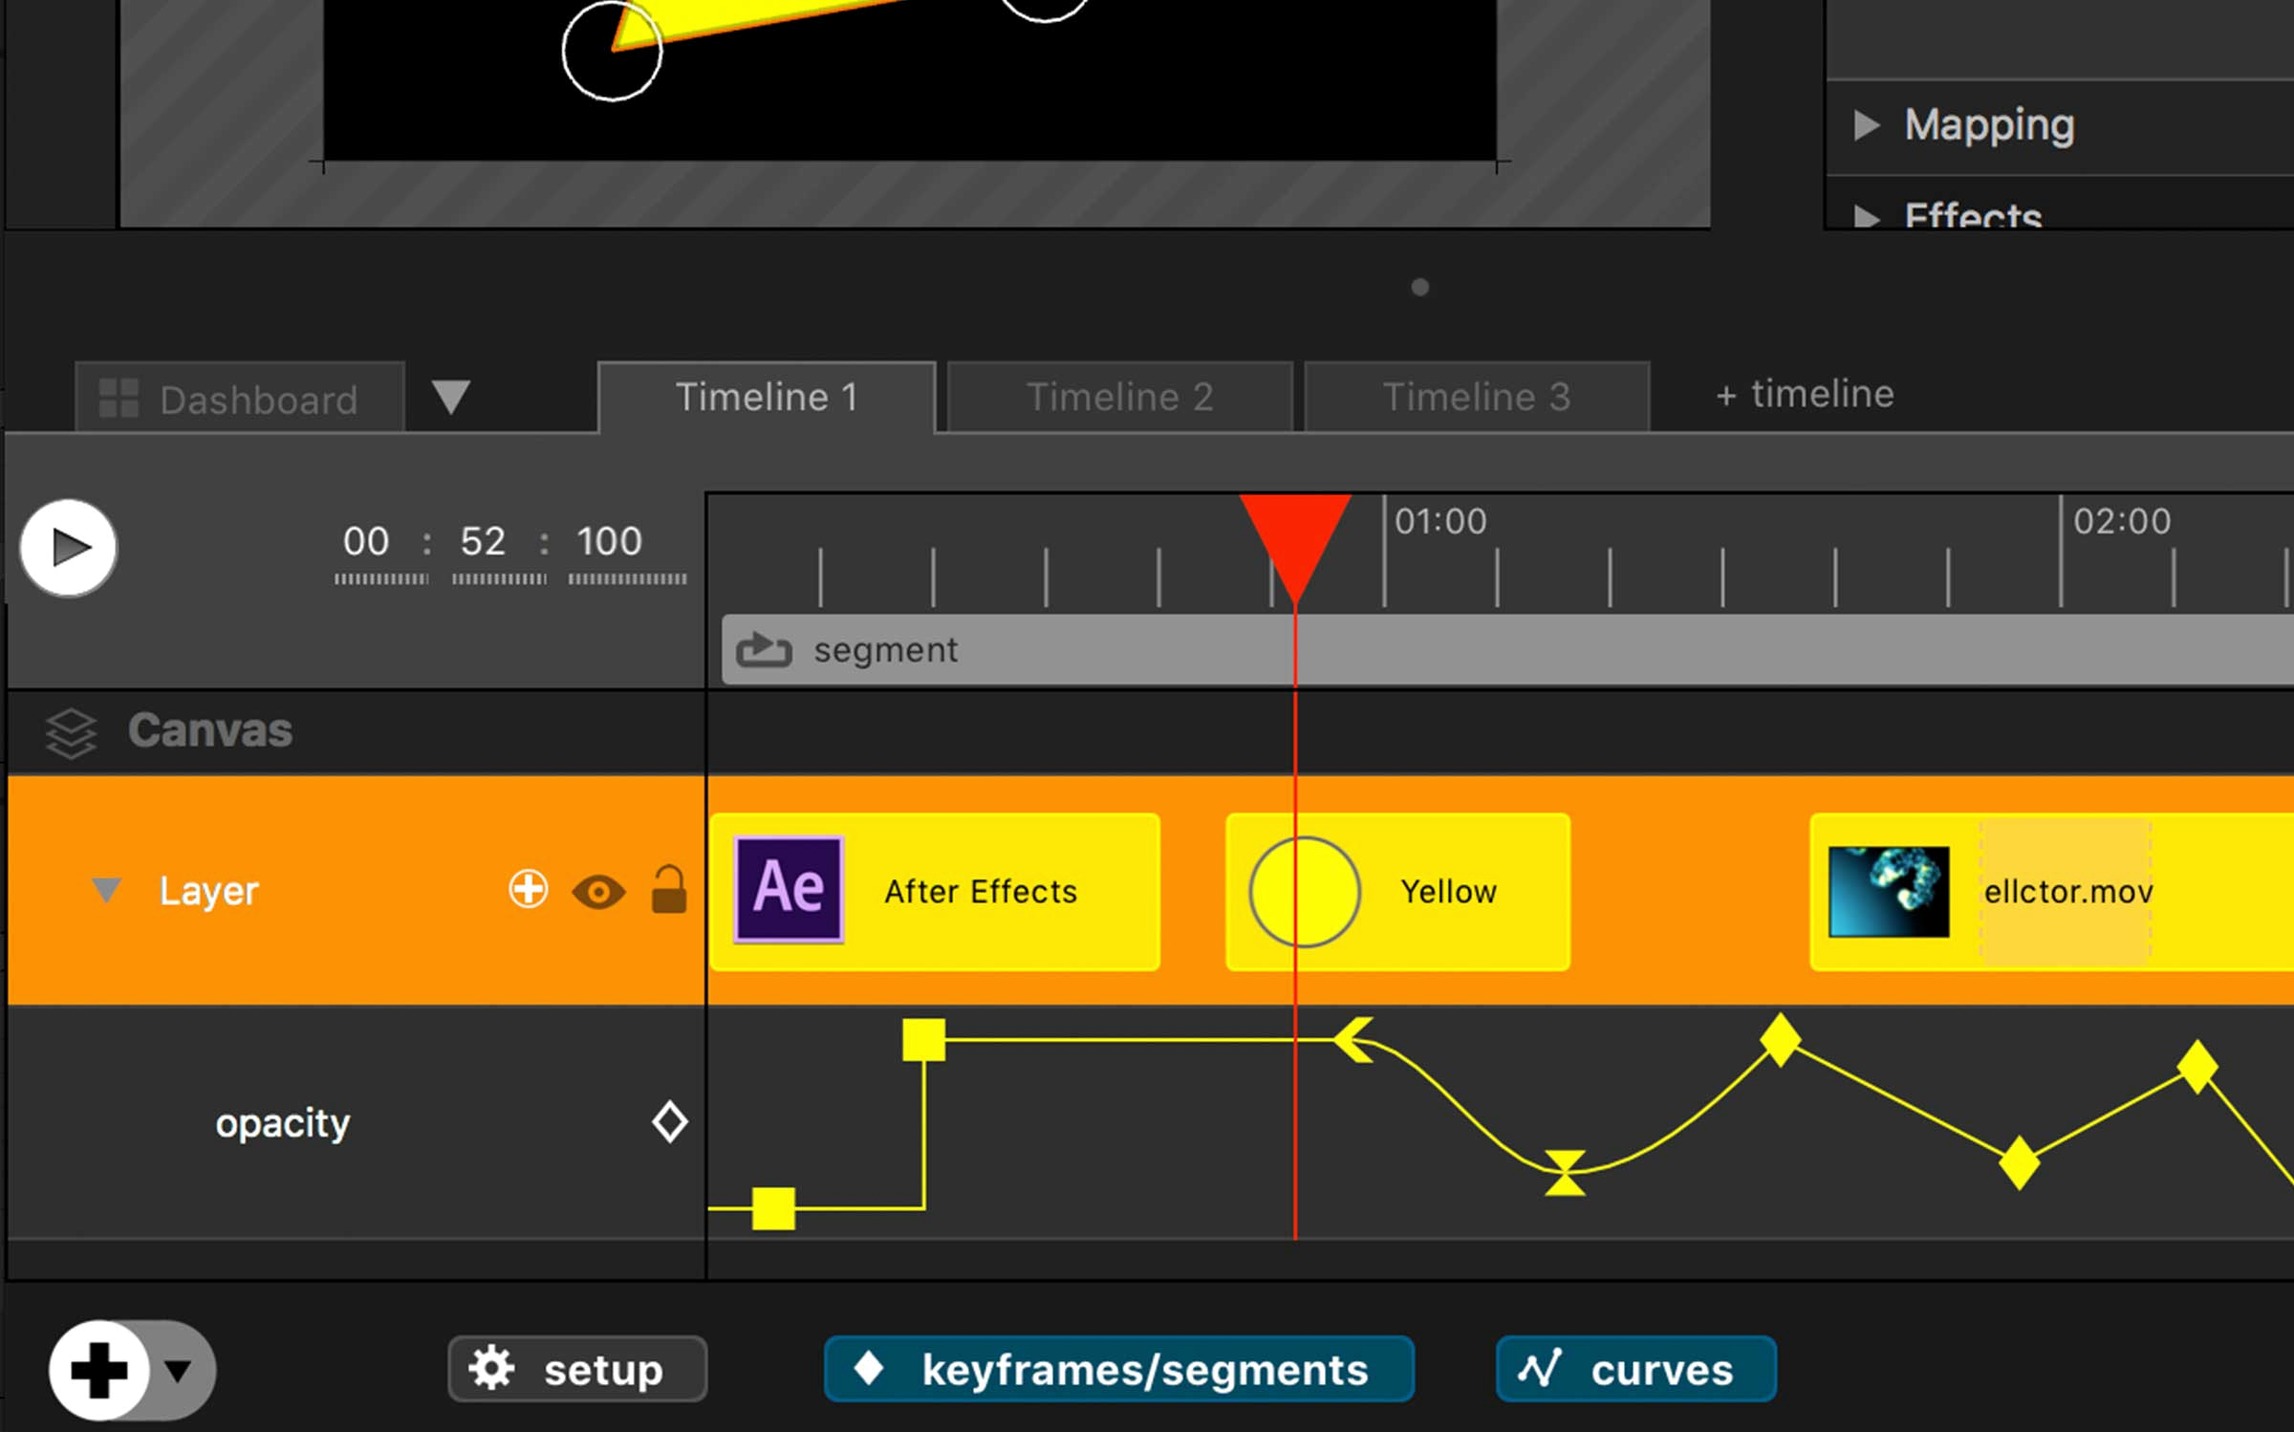
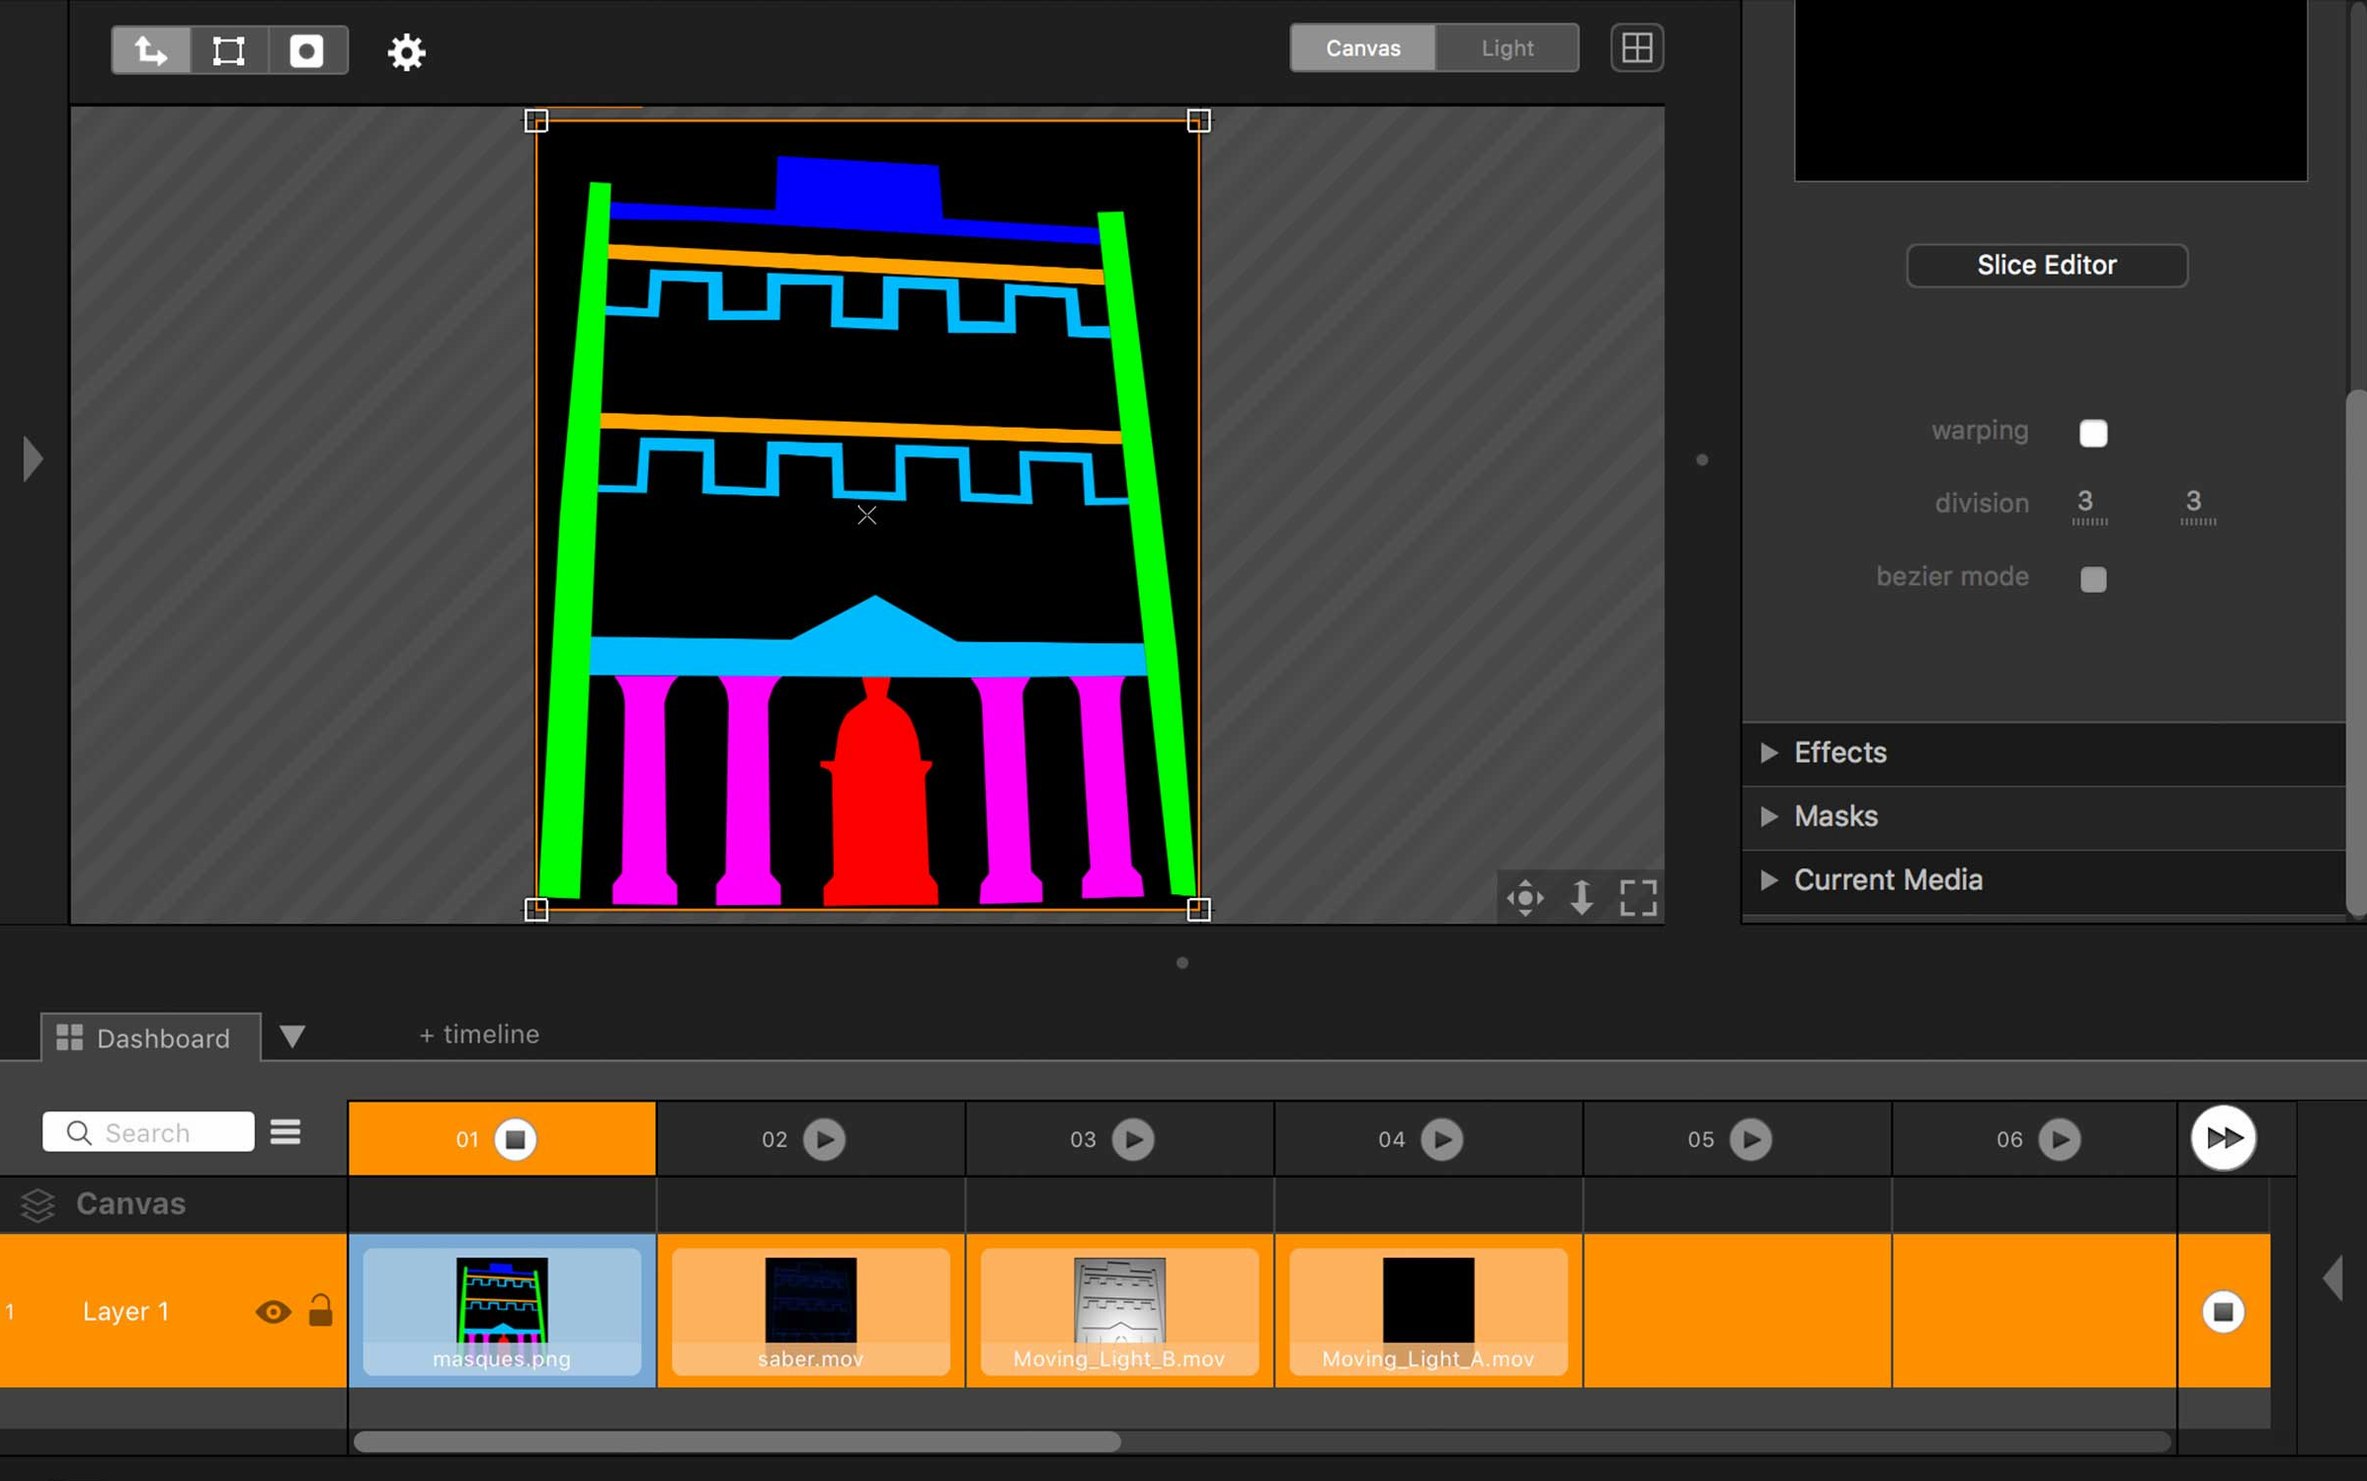
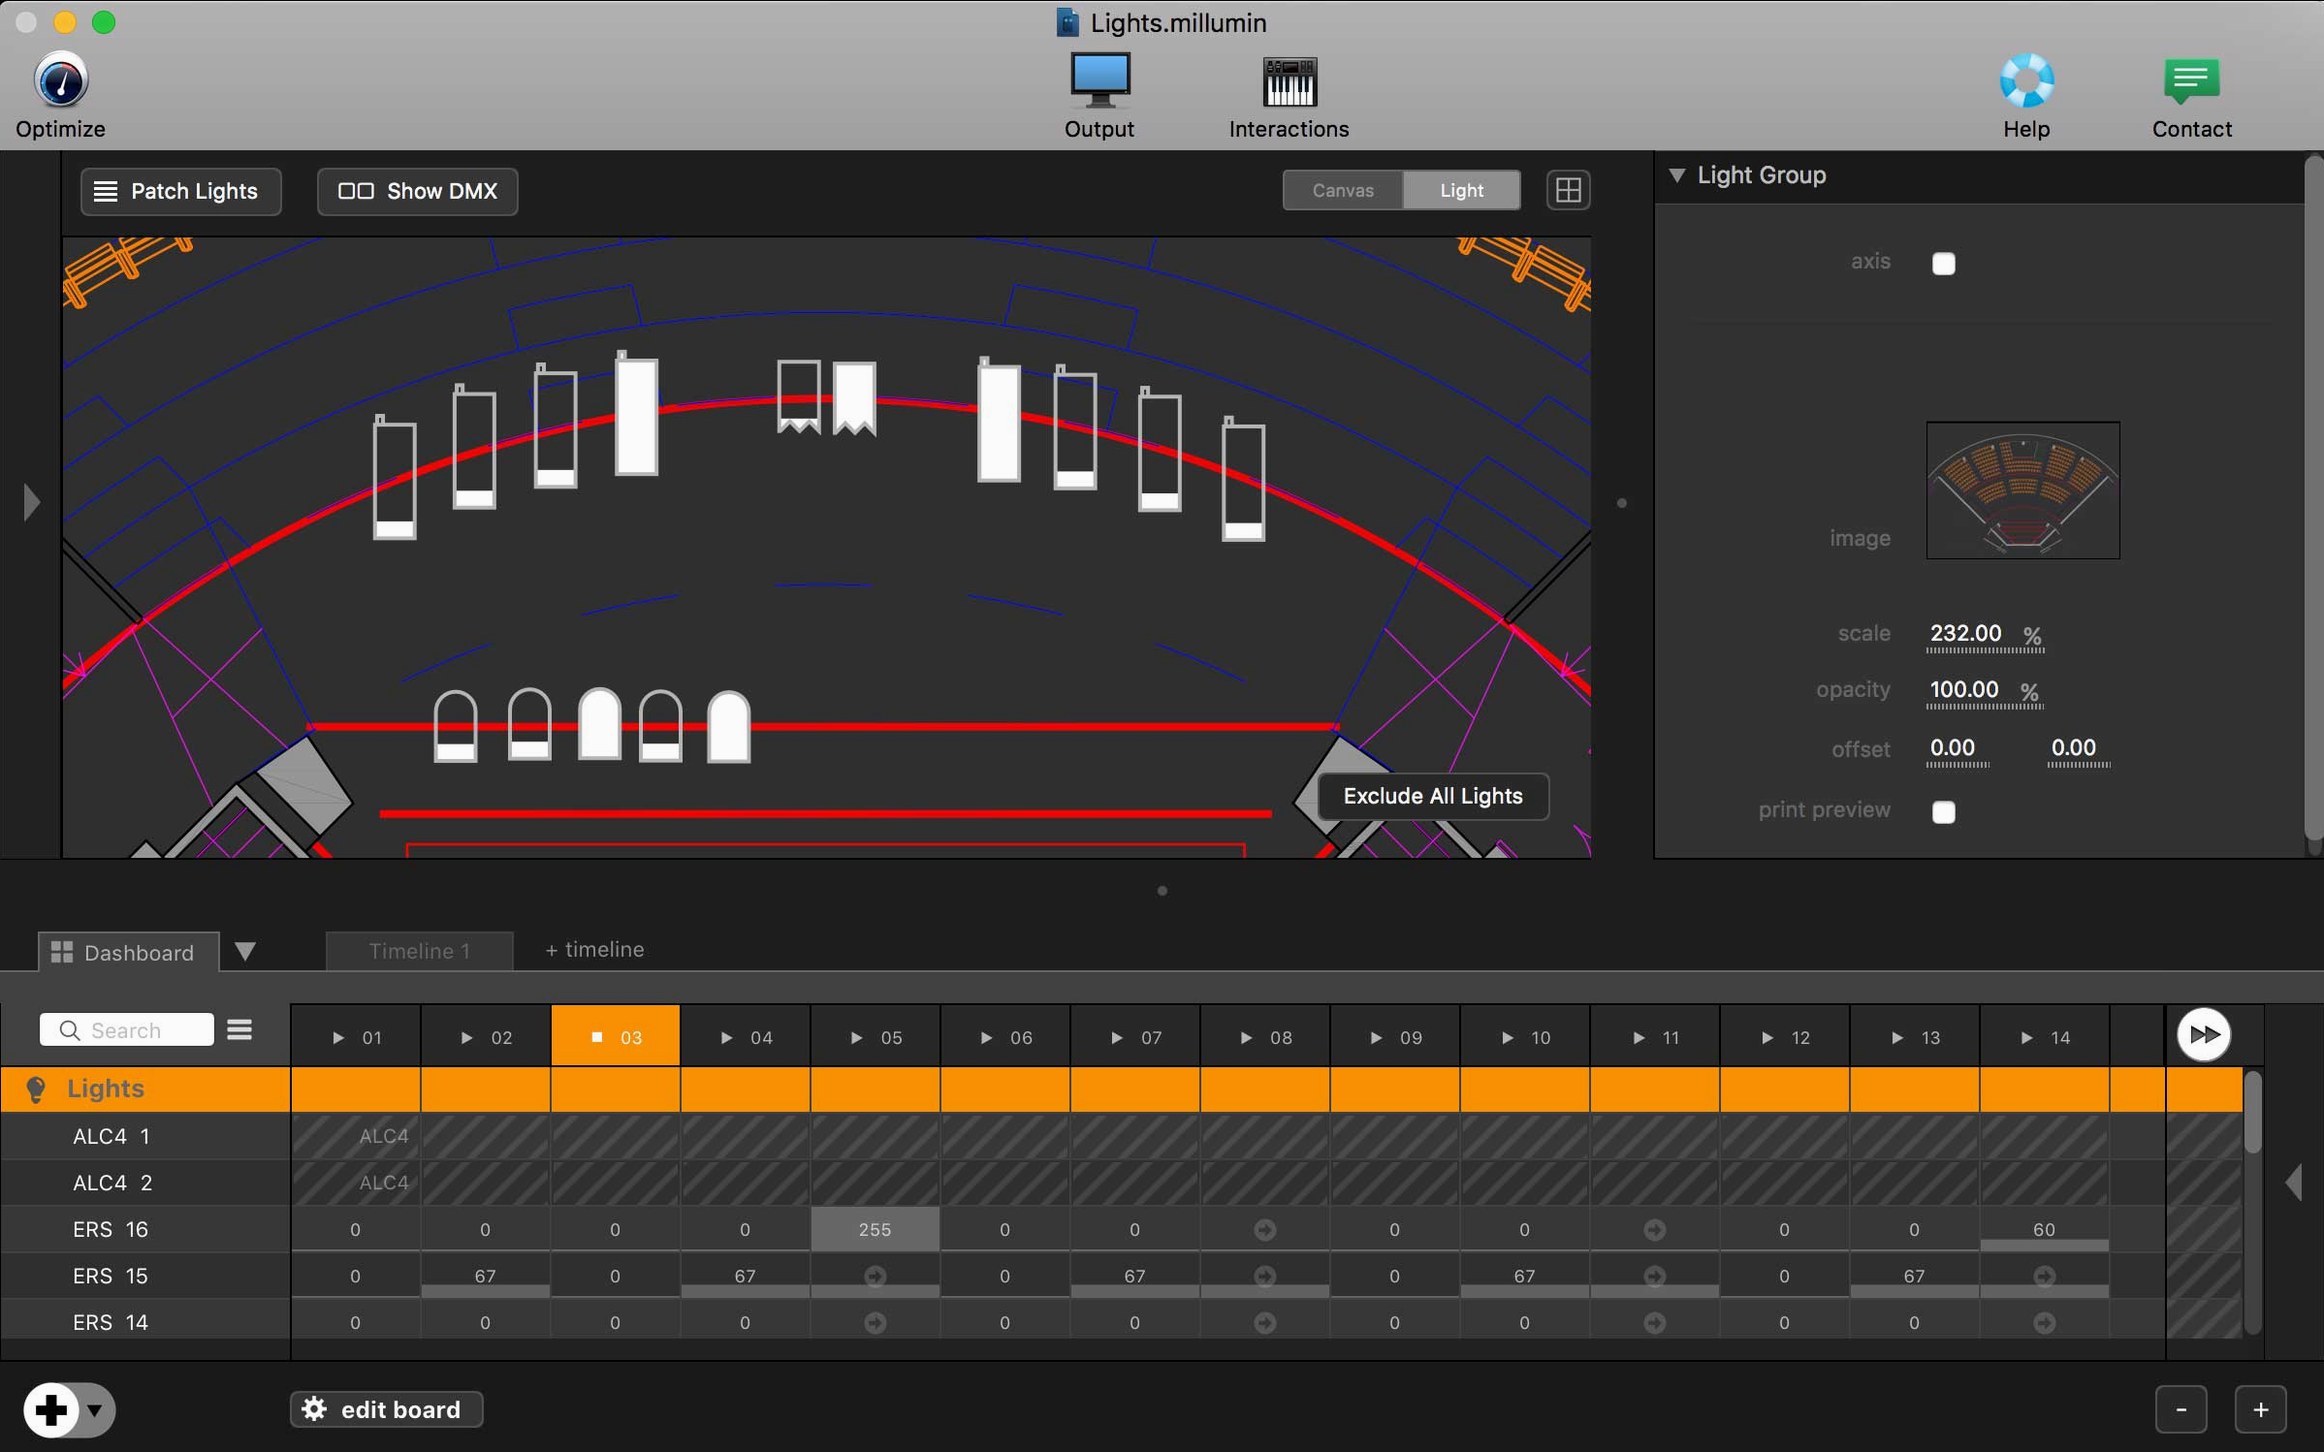
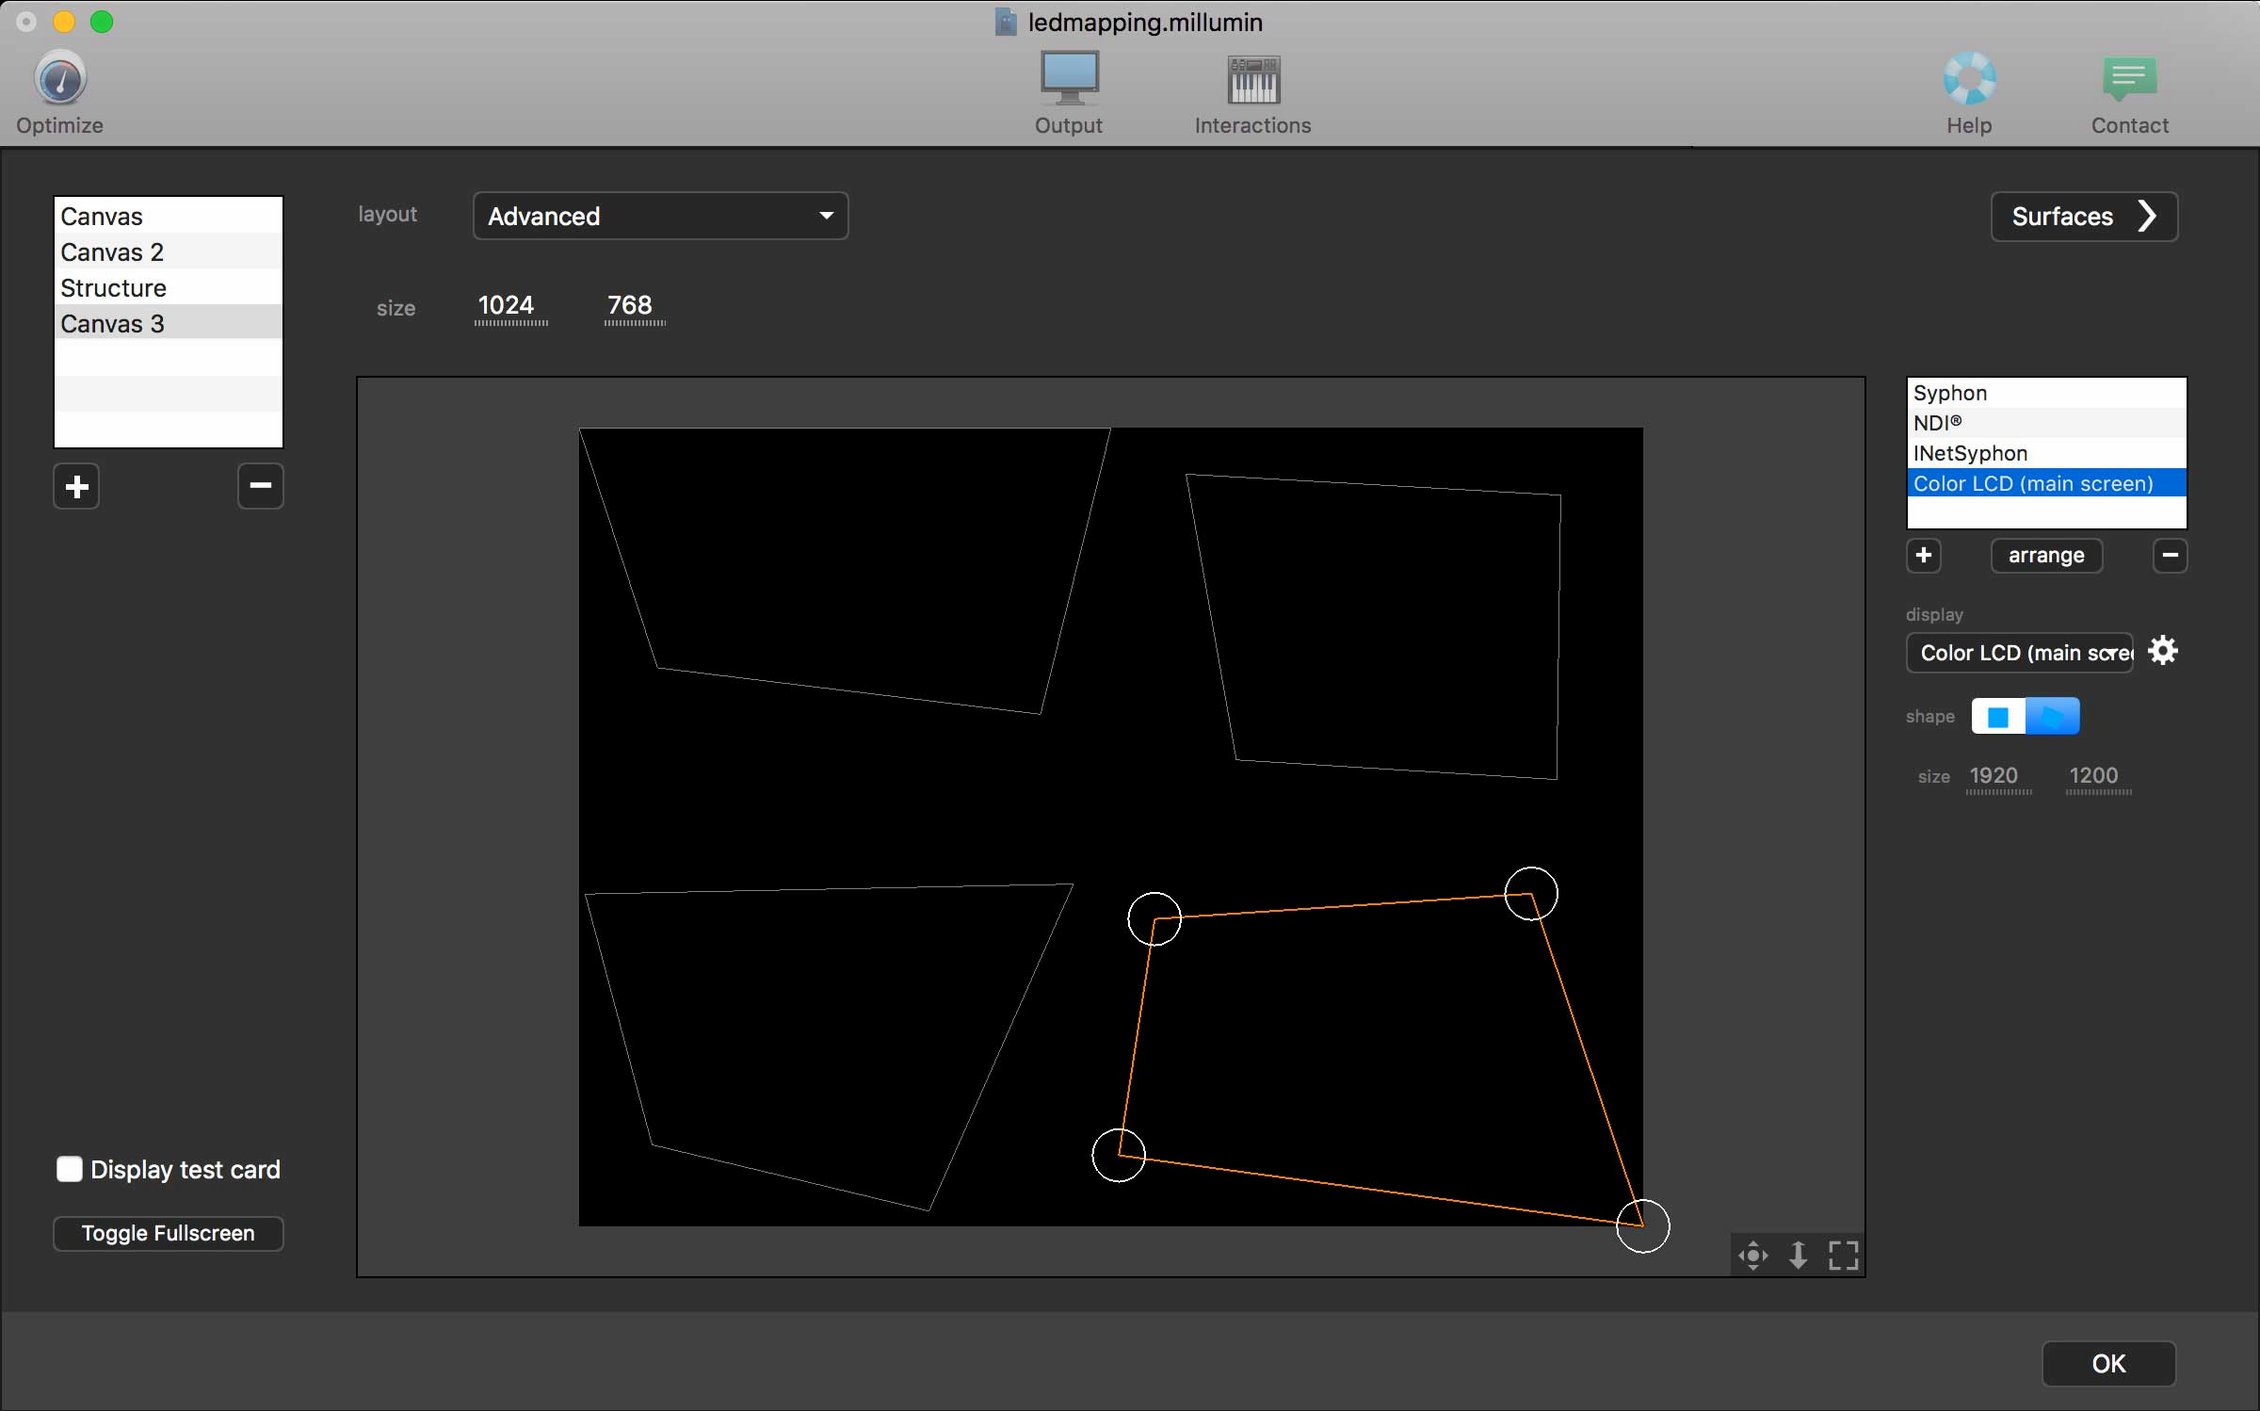
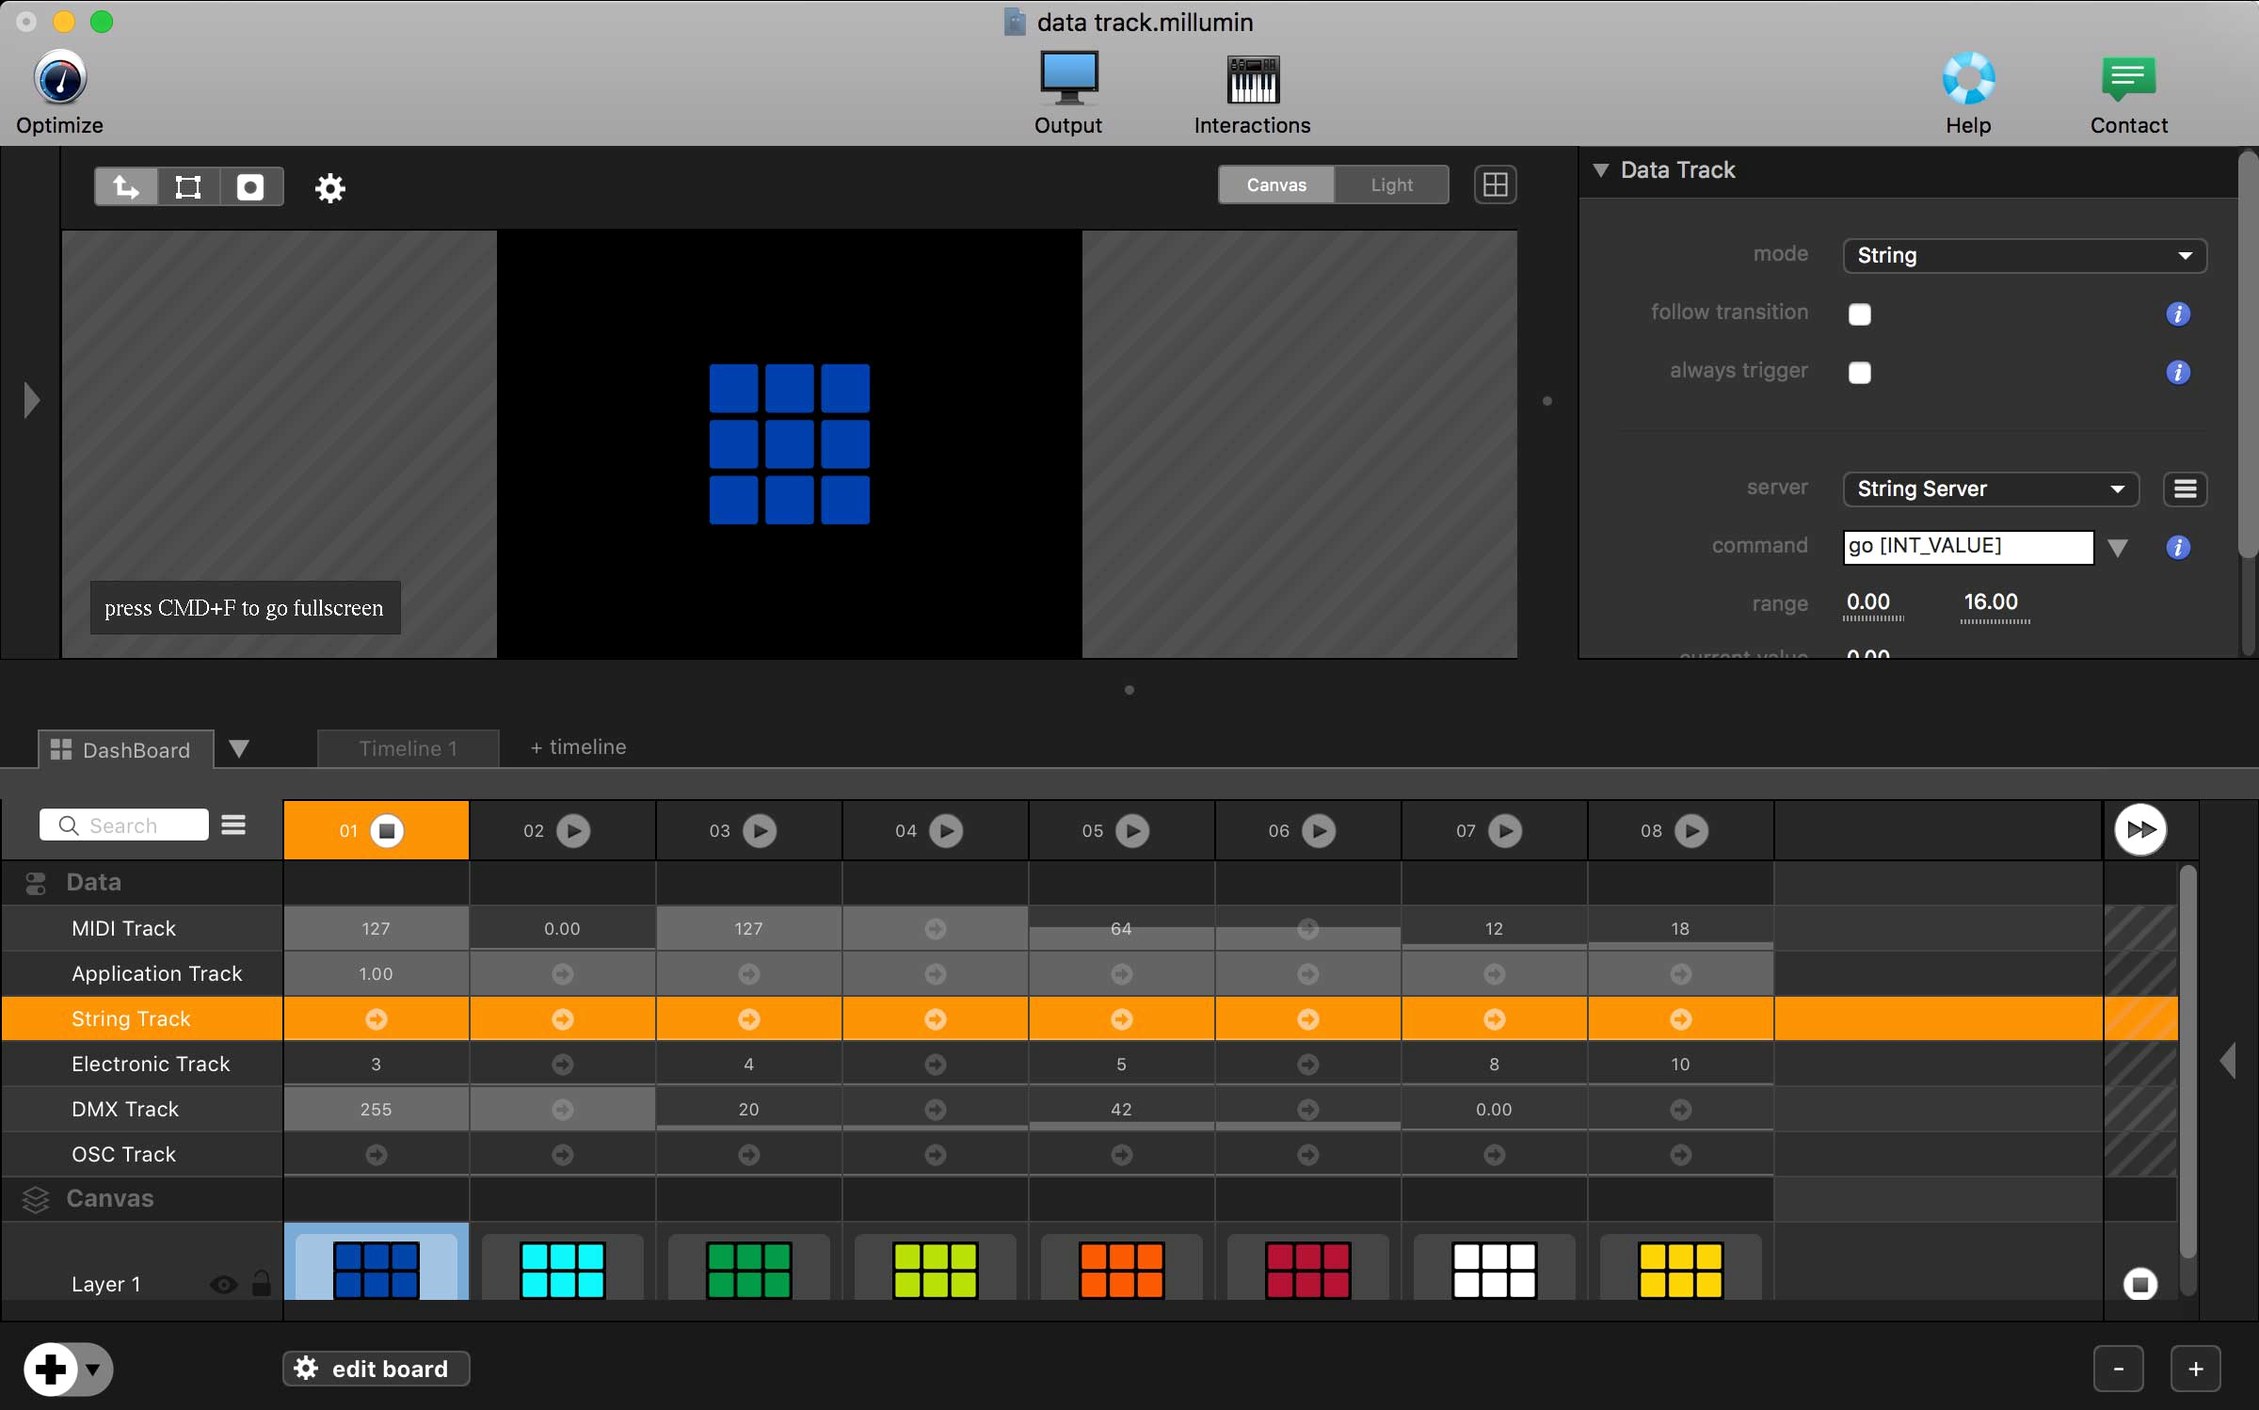
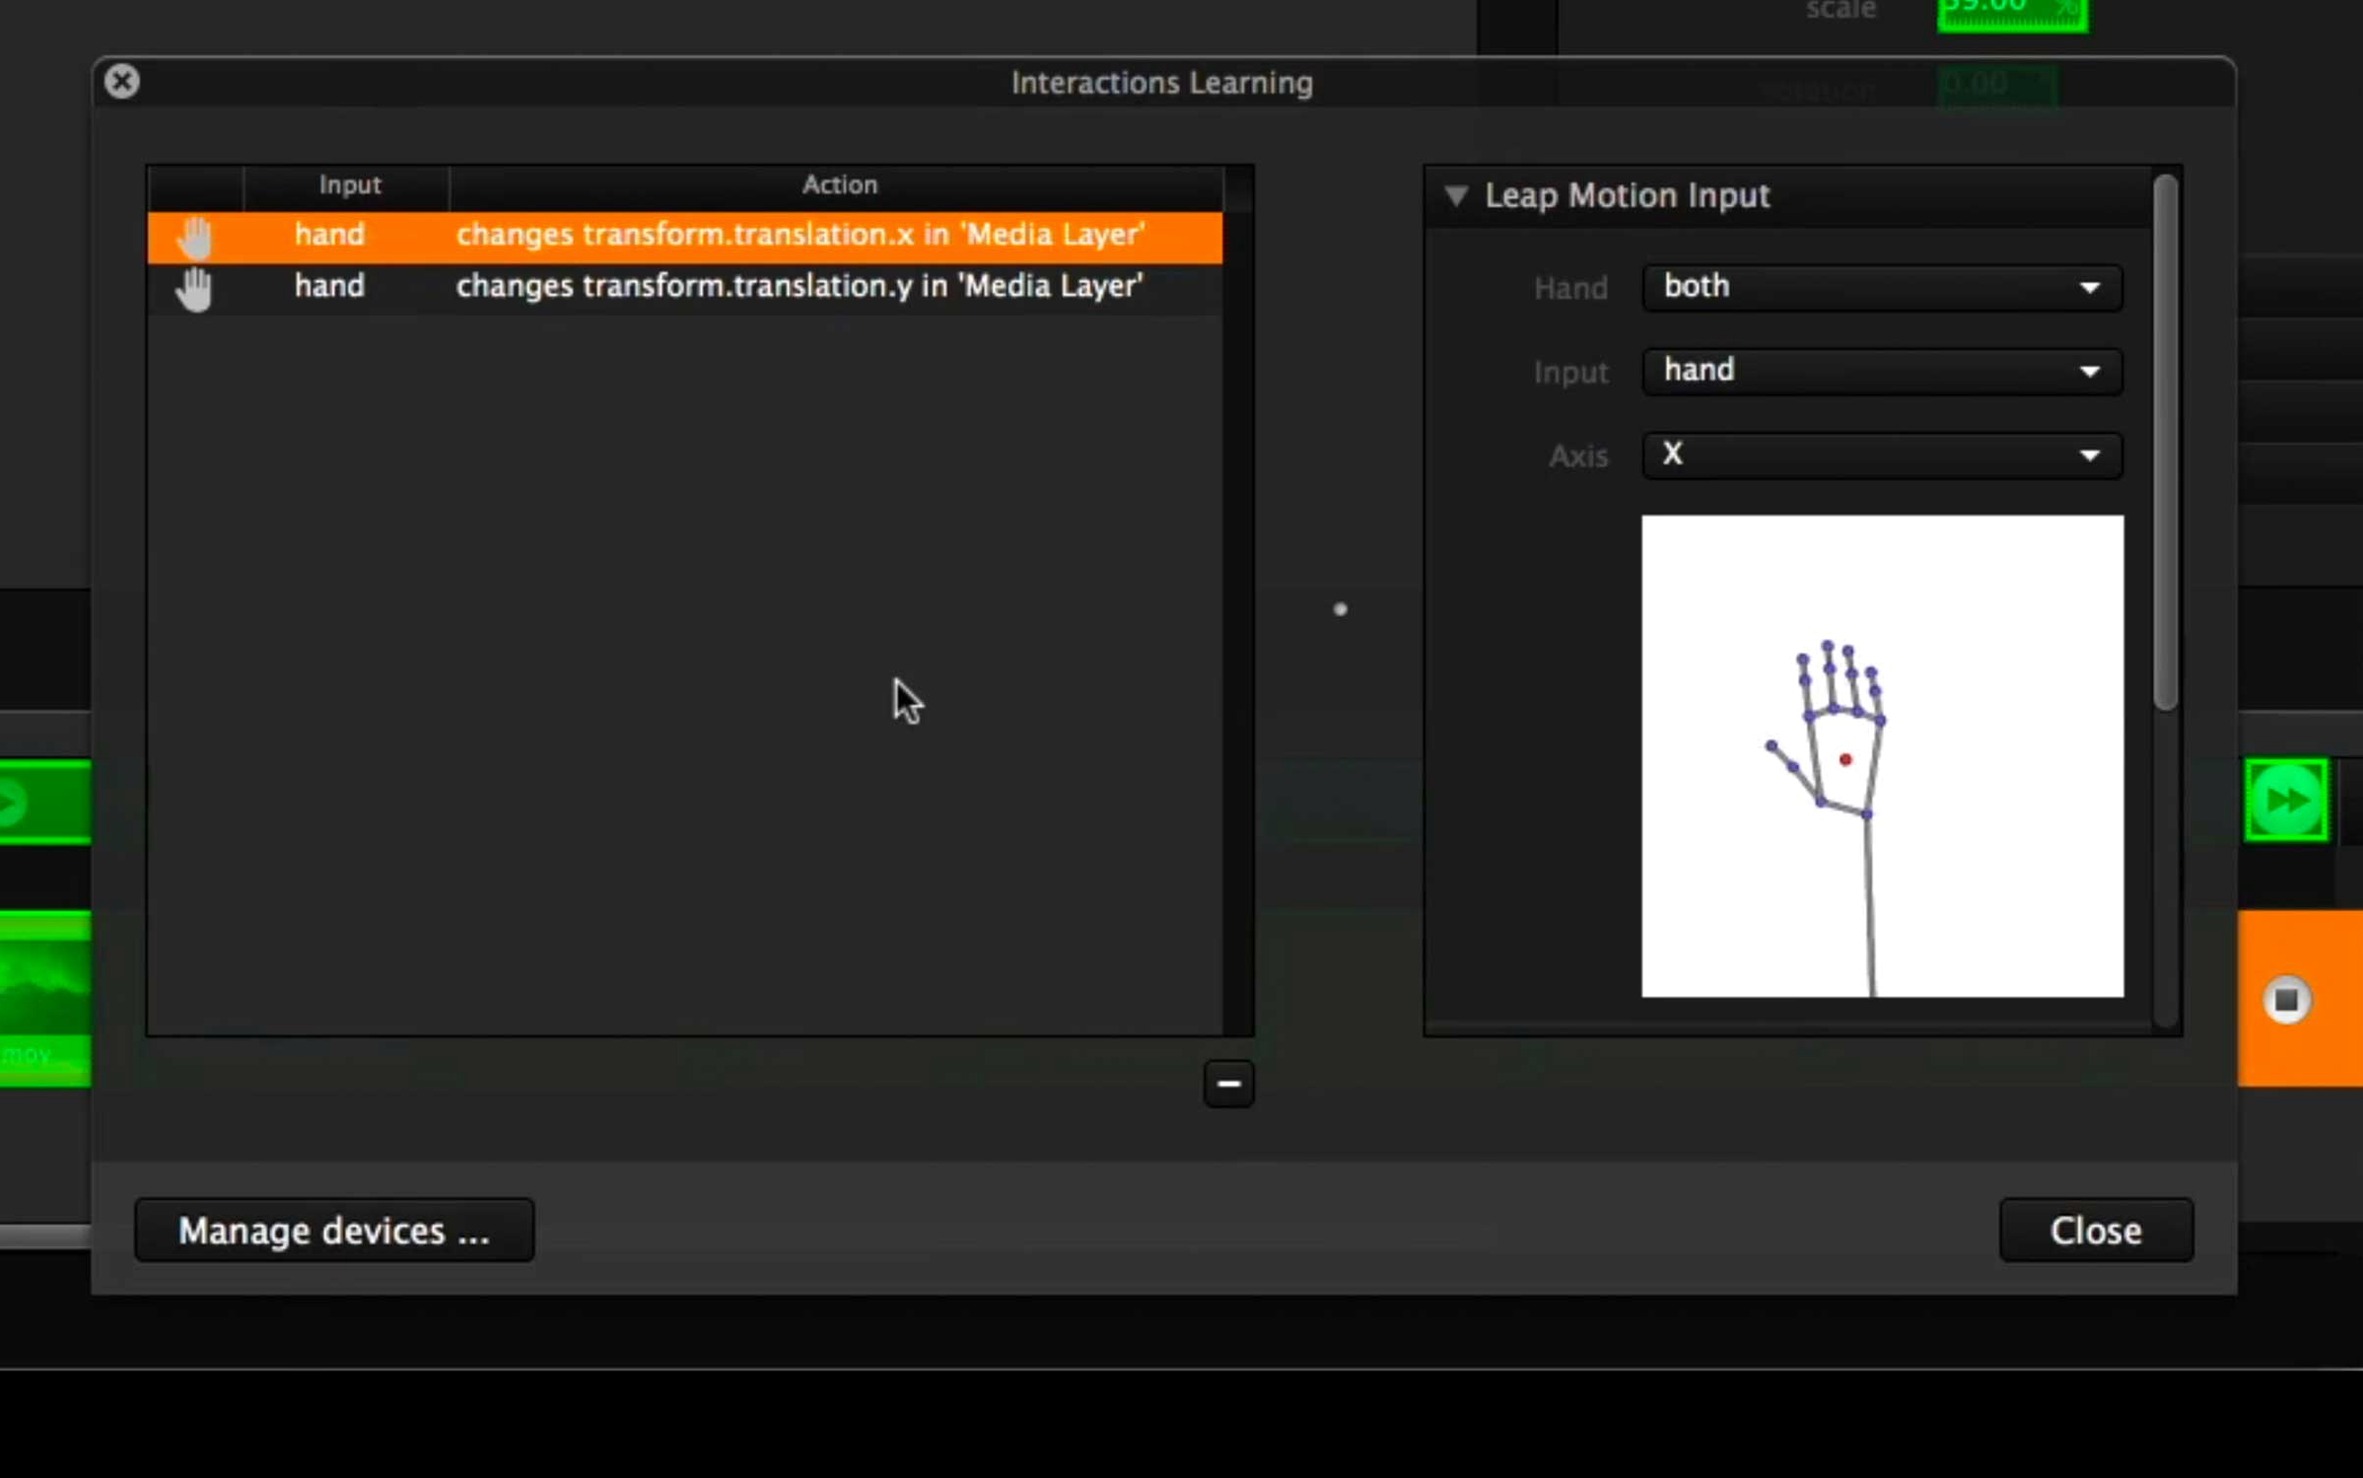
When a show needs video, audio, and interactive triggers to work in sync, most tools make you juggle separate apps and hope the timing holds. Millumin 5.14.j for Mac pulls those pieces into one workspace, so you can build a complete audiovisual sequence and run it live without switching windows. It opens with contextual help, which is useful when you're mapping a new projector or setting up a MIDI controller.
Layer video clips, set cues, and attach triggers
| Item | Detail |
|---|---|
| Version | 5.14.j |
| Developer | Anomes |
| Release | 2025-04-29 |
| macOS | 11 Big Sur or later |
| Architecture | Intel 64-bit |
| Language | English |
For a theater piece, you can layer video clips, set cues, and attach triggers to sensors or keyboard shortcuts. The interface stays in English, and the help center covers the V5 line, so what you find online matches the release you're running.
Turn off contextual help after familiarizing
Millumin opens with a default layout that works for general editing, but a few adjustments save time on show day. The contextual help that appears at first launch can be turned off once you're familiar with the workspace — look in the preferences panel under the interface section. Disabling it gives back screen space and stops the help panel from opening every time you hover over a new tool.
Another setting to check early is the output configuration. Millumin sends video to one or more displays, and the default might target your laptop screen rather than the projector or LED wall you actually use. Open the output settings and assign each display a unique role: main stage, backstage monitor, or preview. If you're running a single projector, set the output resolution to match the projector's native resolution, not your Mac's desktop resolution. This avoids scaling artifacts during the show.
Audio routing also benefits from an early look. Millumin can send audio to separate outputs per cue — useful if front-of-house sound runs through one interface while a monitor feed goes to another. In the audio settings panel, confirm the correct device is selected for master output and that any secondary outputs are assigned to the right channels.
QuickTime videos may fail due to codec mismatch
New users often hit the same few issues. One is video files that play in QuickTime but not in Millumin. The app expects specific codecs — H.264 in an MP4 container usually works, but ProRes or DNxHD can cause trouble if the file uses a color space Millumin doesn't read well. If a clip appears black or doesn't load, re-encode it to H.264 at a standard bitrate.
Another frequent snag: MIDI or OSC triggers that don't fire. Millumin listens on specific ports and channels. If you connect a MIDI controller and nothing happens, check that the device is selected in the MIDI settings panel, not just plugged in. The same applies to OSC — the port number in Millumin has to match the port your controller or software sends to. A mismatch in the first octet or a different IP range will block communication silently.
Sometimes a cue that worked in rehearsal stops responding during the run. This often happens because the cue is still bound to a keyboard shortcut that conflicts with another app's shortcut, or because the trigger was set to "press and hold" instead of "toggle." In the cue properties, switch the trigger mode and reassign the key or MIDI note. If the cue is part of a group, make sure the group is enabled — disabled groups skip all their cues regardless of individual settings.
Save snapshots of the entire output state
Millumin includes a few features that don't announce themselves but make daily work faster. One is the snapshot system. You can save a snapshot of the entire output state — which cues are running, at what volume, on which layer — and recall it later. This is useful for intermission transitions or for switching between different show sections without rebuilding the timeline.
The timeline itself supports timecode display in multiple formats. If you're syncing with a soundboard or a lighting console that uses SMPTE timecode, you can set Millumin to display the same format, which cuts down on manual conversion during tech rehearsals.
Another missable tool is the layer opacity control. Each video layer can have its opacity adjusted independently, so you can crossfade between two layers by lowering one while raising the other. This is not an effect you add — it's a per-layer property available in the layer inspector.
The software also logs every cue launch, trigger, and output change to a text file. You can find this log in the Millumin data folder. If something goes wrong during a show, the log tells you exactly what fired and what didn't, down to the millisecond. Reviewing it after a run can reveal timing issues that weren't obvious during the performance.
Build a three-cue sequence to test routing and triggers
Start by building a short sequence with three cues: a video file, a still image, and a blank screen. This confirms your output routing, audio path, and trigger system work before you invest time in a full show file. Test each cue individually, then test the sequence with triggers assigned to keyboard shortcuts. If everything behaves, move to your full media library.
Keep your media in a dedicated folder outside the application. Millumin references files by their file path. If you reorganize folders after building cues, the app will ask you to relink each file. A flat folder named "show_media" on the desktop or an external drive avoids this problem.
Run a dry cue-to-cue session at least once before the first show. Set Millumin to full-screen output mode, walk through every cue in order, and note any delay, flicker, or misaligned audio. The log file is your friend here — it records exact times, so you can compare your intended cue list with what actually played.
Back up the project file after every significant change. Millumin project files are small, so copying them to a USB drive or a cloud folder takes seconds but saves hours if the file corrupts or gets overwritten.
Millumin versus the video engine in QLab
Millumin sits in a space shared by a few other Mac tools for live visual control. QLab, from Figure 53, is the most common alternative. QLab handles audio and video cues, but its video engine is designed more for playback than for real-time compositing or videomapping. Millumin offers more direct control over projection mapping and interactive triggers, which matters if you're working with irregular surfaces or sensors. QLab's scripting language is deeper, but Millumin's visual timeline makes cue sequencing more intuitive for teams that don't have a dedicated programmer.
Resolume Arena is another option, primarily for VJing and real-time effects. It runs on Windows and macOS, but the Mac version targets the same Intel architecture as Millumin. Resolume is stronger for live effects mixing and audio-reactive visuals, but it expects a workflow built around real-time play, not a timed show structure. Millumin's cue-based approach fits theater and dance better, where each moment needs to repeat consistently night after night.
There is also MadMapper, which focuses entirely on projection mapping and lighting control. MadMapper handles complex surface mapping and DMX output well, but it lacks Millumin's unified timeline and interactive trigger system. For a show that combines videomapping with audio cues and sensor input, Millumin keeps everything in one project file rather than forcing you to patch two pieces of software together.
- macOS 11 Big Sur or later
- Intel 64-bit Mac
Questions from the notes
What Mac hardware does Millumin 5.14.j support?
Millumin 5.14.j is built for Intel 64-bit Macs and requires macOS 11 Big Sur or later.
Install procedure
- Mount the disk image and run Open Gatekeeper friendly.
- Press Enter in Terminal to bypass Gatekeeper.
- Drag the app to the Applications folder.
- Launch the app when installation is complete.
Reports from players
Sign in or create a tester account to file a report.
No reports filed yet.