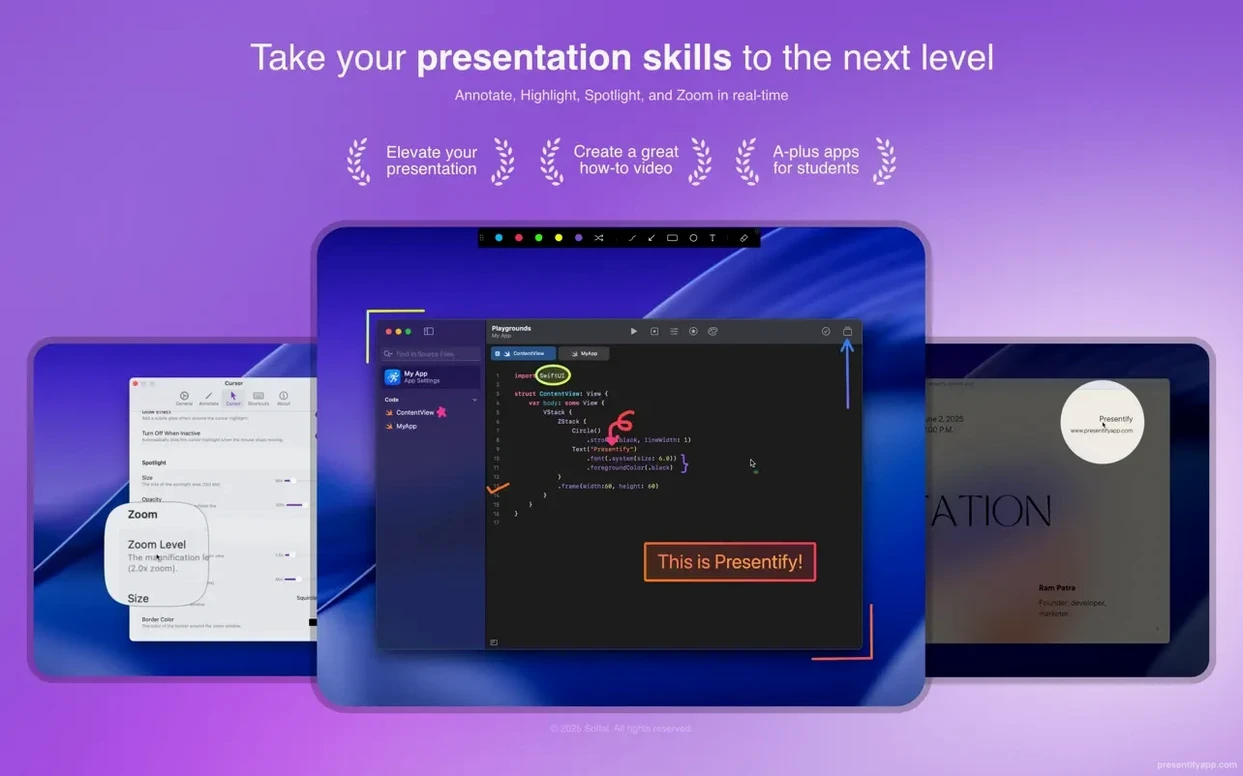
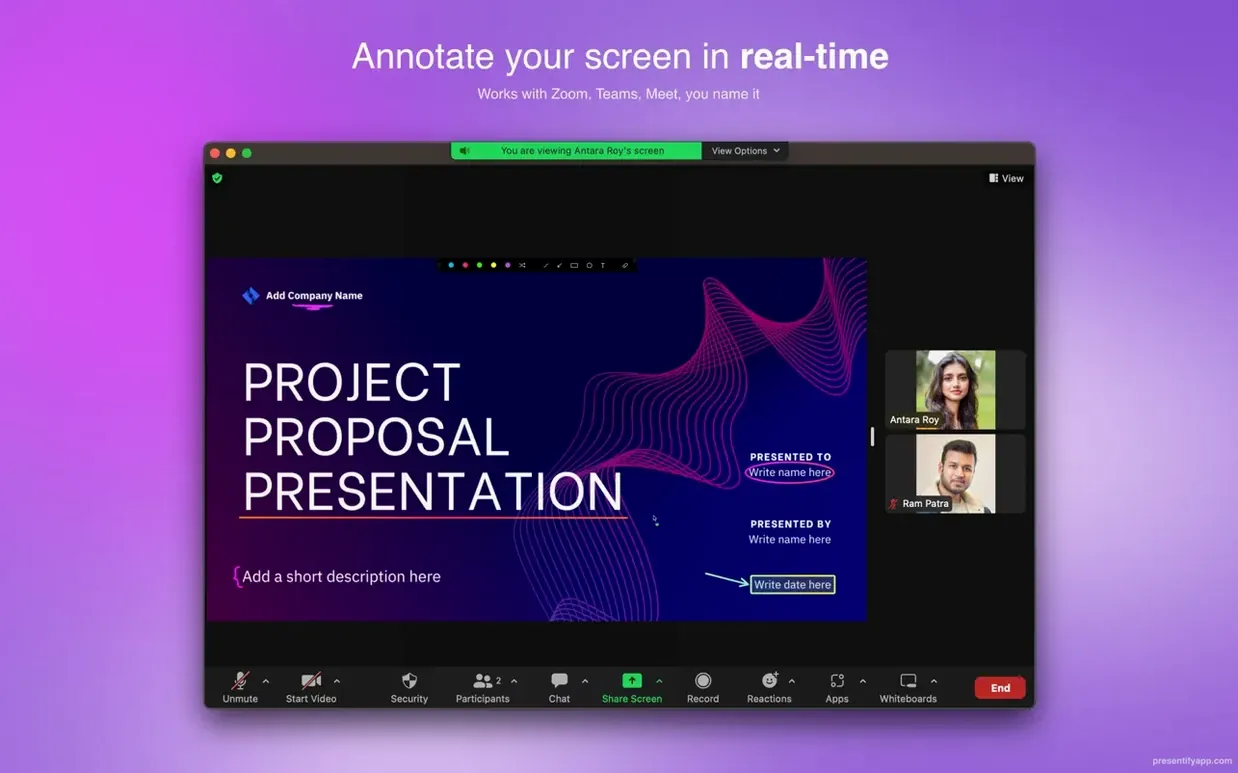
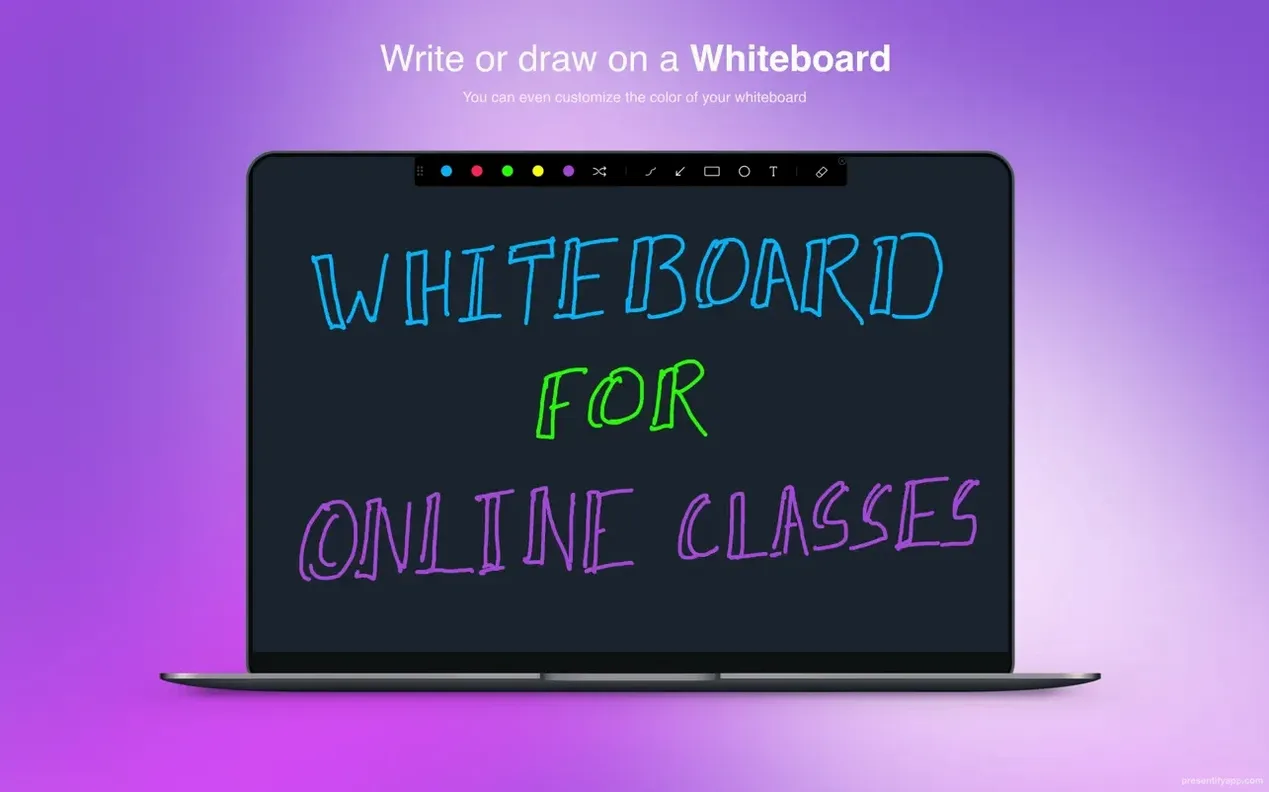
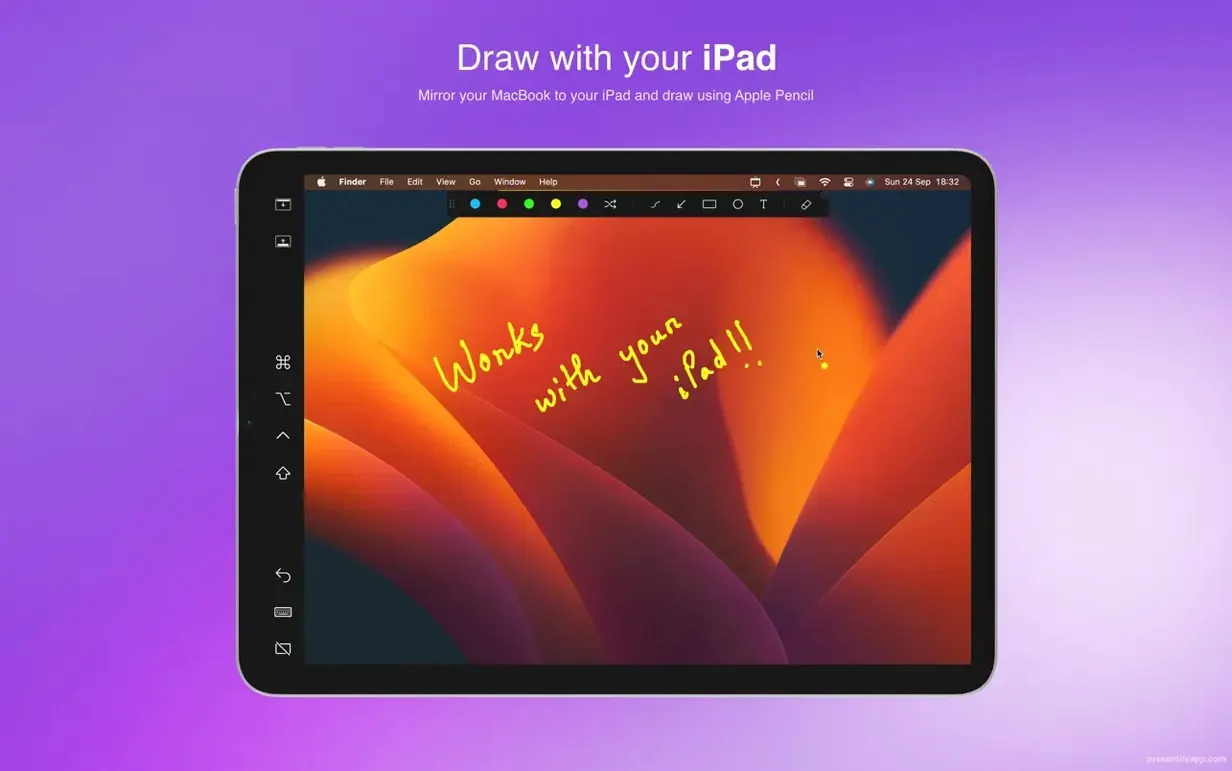
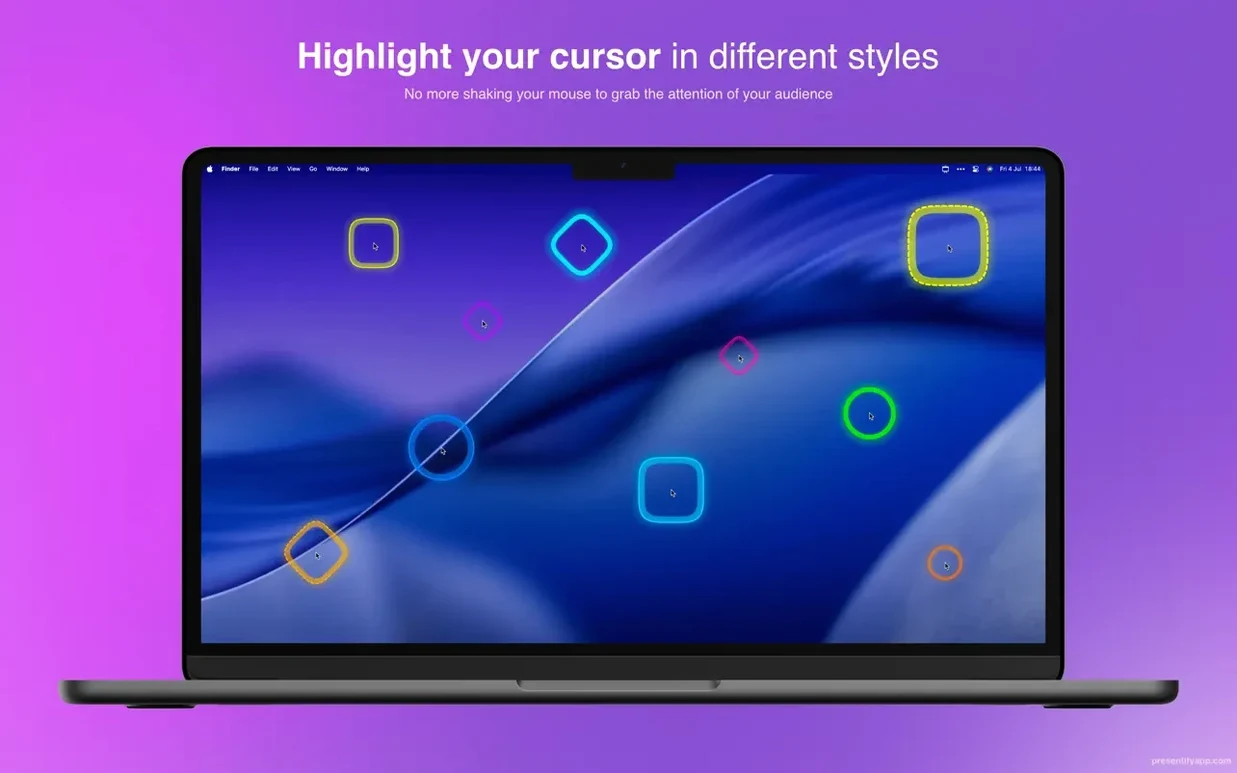
Presentify runs on any Mac with macOS 13 Ventura or later, both Intel and Apple Silicon. It sits in the menu bar and puts a drawing layer over your screen, so it works alongside the apps you already use.
Good for
- Annotating slides in Keynote or any full-screen presentation.
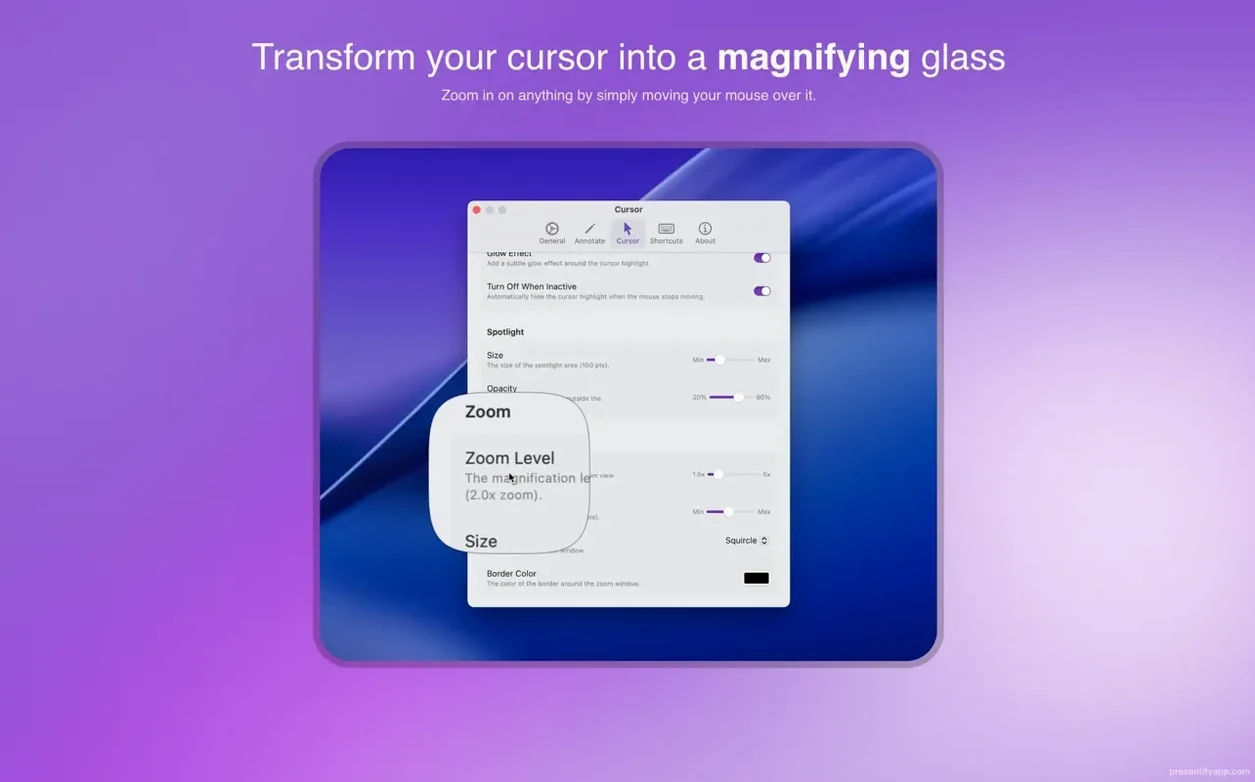
- Highlighting the cursor and zooming in during Zoom, Google Meet, or Skype calls.
- Teaching or recording video tutorials where you need to point at specific parts of the screen.
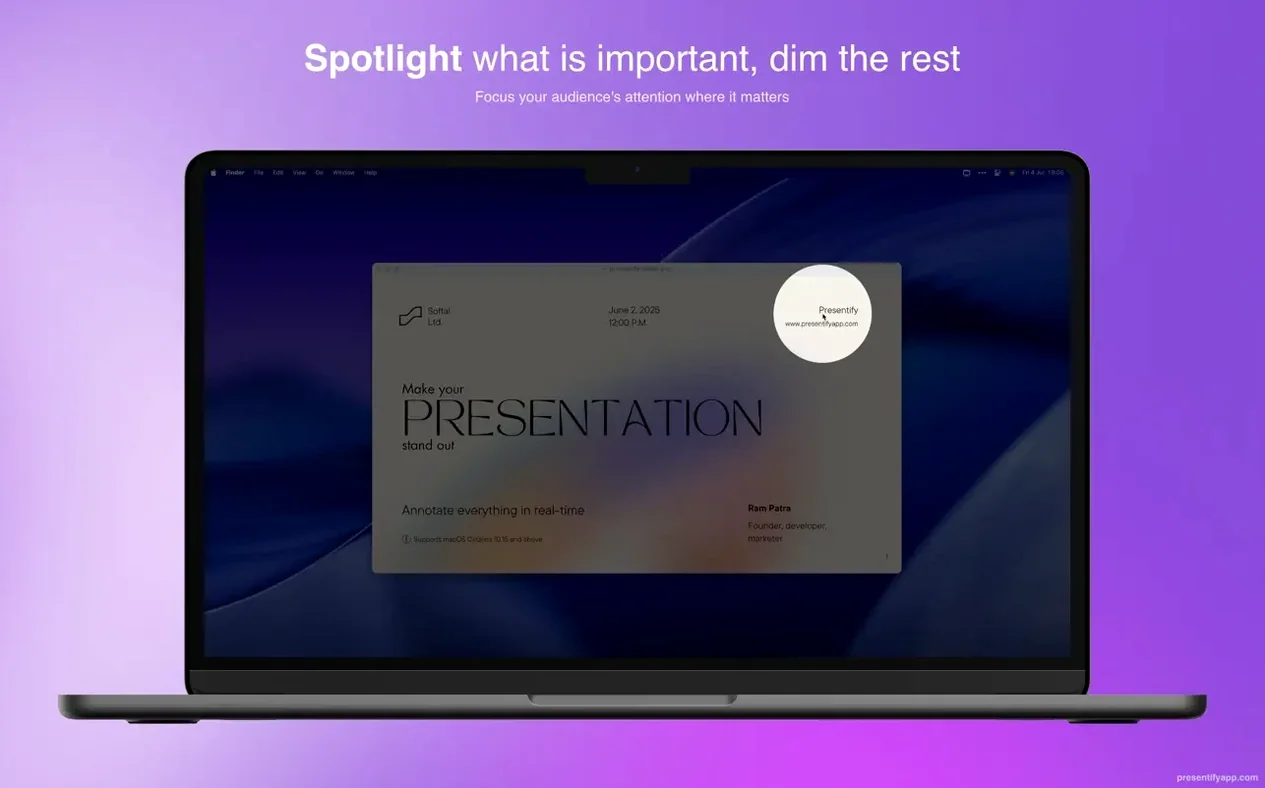
- Using spotlight effects to direct attention without drawing permanent marks.
Keep in mind
- Annotations erase automatically when you stop drawing, so you don’t have to clean up manually.
- The interface is available in English, French, German, Spanish, and Russian.
- It’s a visual layer, not a screen recorder. Pair it with your existing capture tool.
Questions people usually ask before installing
Does it work with external displays? Yes, Presentify draws over any screen attached to your Mac, including projectors and secondary monitors. You annotate on whichever display you choose during a presentation.
Will it interfere with my drawing tablet? It supports Wacom and XP-Pen graphics tablets. Pressure sensitivity isn’t part of the annotation tools, but the tablet tracks position and clicks normally, so you can draw shapes and text without switching to a mouse.
Do I need to install extra drivers or helper tools? No. The app runs from the menu bar and doesn’t require separate helper processes or kernel extensions. After you drag it to Applications and complete the first-launch quirk — quit in Activity Monitor and open again — it behaves like any other macOS menu bar app.
Can I use it with full-screen apps like Keynote? Yes. Presentify works in full-screen mode. The annotation layer stays visible over your slides, and you can switch between drawing tools without leaving the presentation.
Does it record video? No. Presentify is a visual overlay, not a recorder. You combine it with QuickTime Player, OBS, or ScreenFlow to capture the annotated screen.
Workflow: Annotating a PDF during a live online class
Start by opening the PDF in any reader — Preview or Adobe Acrobat works. Launch Presentify from the menu bar. The annotation layer appears over the PDF window.
During the class, you explain a diagram. Choose a shape tool from the Presentify menu and draw a circle around the relevant part. The lines appear in a random gradient color by default, which helps different sections stand out without changing settings manually.
When you need to add a label, switch to text annotation. Type the term directly on the PDF. The text floats above the document so students see both the original content and your note.
To highlight a sentence without covering it, use the highlight tool. The annotation stays transparent enough that the text underneath remains readable.
When the class moves to the next slide, stop drawing. Presentify erases annotations automatically, so you start the next segment with a clean screen.
Common snags and how to sort them out
Presentify won’t open after first copy. This is expected. Force quit the app in Activity Monitor, then open it again. It launches normally from then on.
Annotations don’t appear over a full-screen app. Make sure Presentify is running before you enter full-screen mode. If the layer doesn’t show, exit full screen, click the Presentify menu bar icon to refresh the overlay, then re-enter full screen.
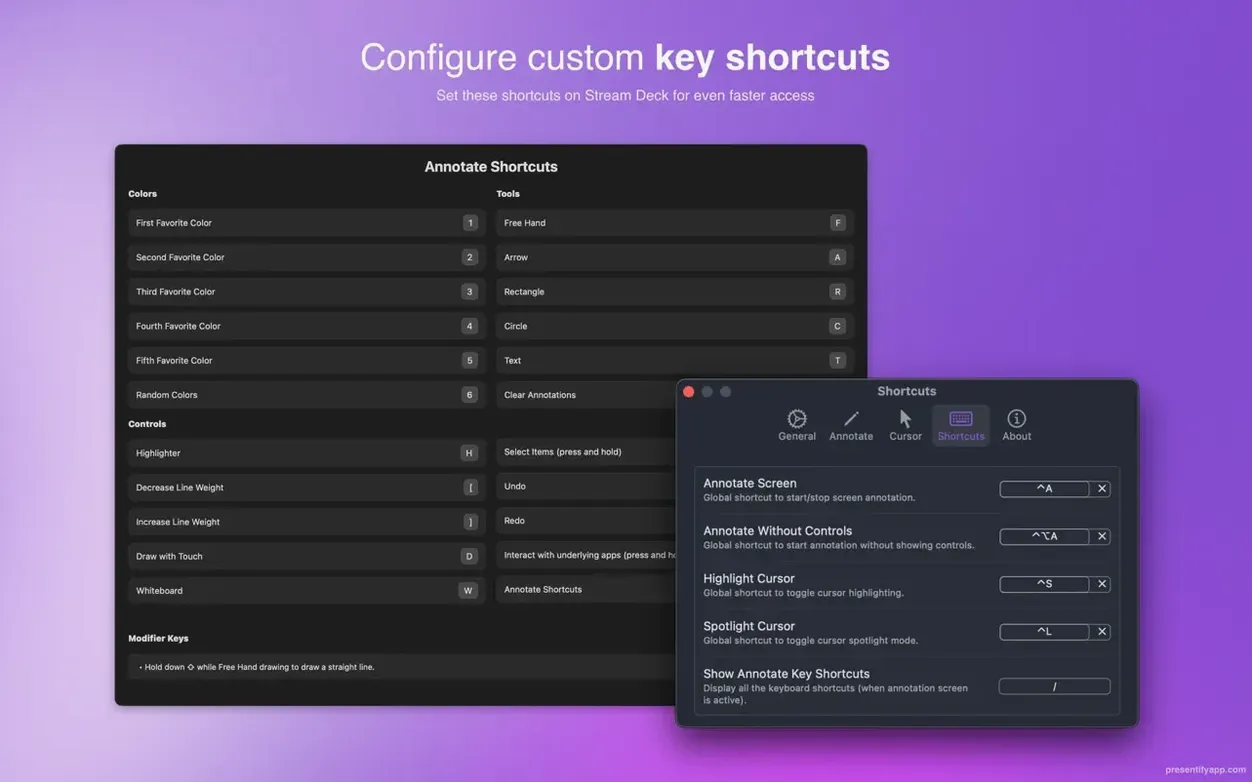
Drawing while interacting with the app underneath. In default mode, holding the Fn key lets you click through the annotation layer to the app behind. Useful for advancing a slide or typing into a chat box without disabling the overlay.
Cursor highlighting doesn’t turn off. Open the Presentify menu and toggle the cursor highlight off. The setting sticks until you change it again.
Spotlight effect doesn’t follow the mouse. Restart Presentify from the menu bar. If the issue persists, quit the app in Activity Monitor and reopen it.
A typical working session with Presentify
Tuesday morning. I have a 10 a.m. standup over Google Meet where I need to walk the team through a new API endpoint. The endpoint documentation is open in a browser tab, and a code sample sits in Xcode.
I click the Presentify icon in the menu bar. The annotation layer activates. I start the meeting, share my screen, and explain the request format. To point at the URL in the docs, I use the spotlight effect. The circle follows my cursor, so everyone sees exactly where I’m reading.
When I switch to Xcode, I keep the spotlight on. I highlight a line of code by drawing a rectangle around it. The automatic erasing cleans up after each snippet, so my screen doesn’t fill with leftover marks.
For the Q&A, someone asks about error handling. I draw an arrow from the function signature to the error block. The random gradient colors make the arrow visible against the dark Xcode theme. I hold Fn to click the “Run” button in Xcode without disabling Presentify, and the team watches the build run with my annotations still visible.
After the meeting, I close Presentify from the menu bar. The overlay disappears, and my desktop is back to normal. No files to clean up, no saved sketches to delete.
- macOS 13 or later
- Apple Silicon or Intel 64-bit
Questions from the notes
Does Presentify work with video conferencing apps?
Yes, it is compatible with Zoom, Google Meet, and Skype, and it works in full-screen mode.
What macOS versions does Presentify support?
Presentify requires macOS 13 Ventura or later and runs on both Intel and Apple Silicon Macs.
Install procedure
Barely six megabytes to download, and Presentify 8.2.1 slides onto any Mac running macOS 13 or later, Intel 64-bit or Apple Silicon. Three steps and the annotation overlay is up.
- Open the downloaded disk image and drag the app into the Applications folder shortcut.
- Once the copy finishes, launch the app through Launchpad.
- On first launch, force-quit the app via Activity Monitor, then open it again.
Reports from players
Sign in or create a tester account to file a report.
No reports filed yet.