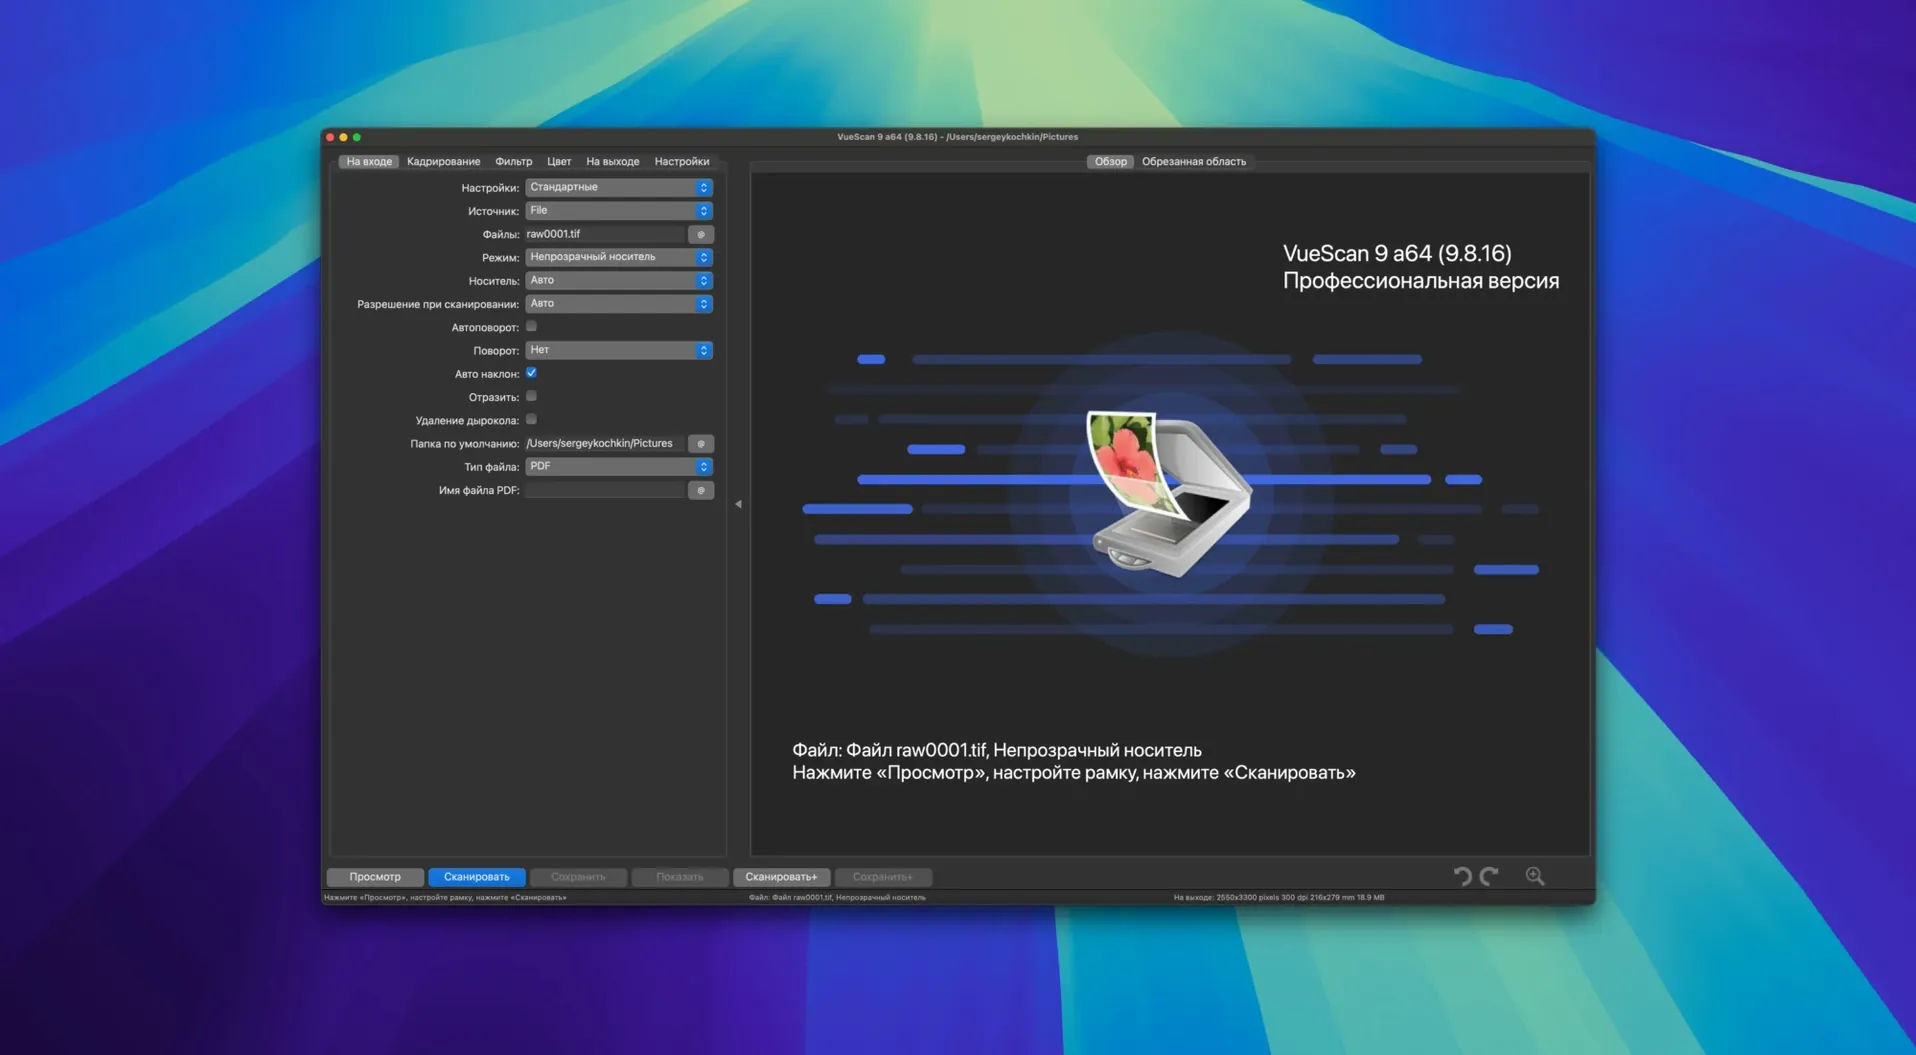
VueScan Pro is a scanner utility that works with a wide range of hardware and gives you manual control over nearly every scan setting. A realistic task: scanning a stack of old family photos, removing the dust and scratches, and saving them as clean JPEGs with consistent naming. You set exposure and color correction per scan, enable the infrared channel to remove defects automatically, and apply grain reduction or unsharp masking if needed. Multi-pass scanning with averaging helps when the originals are faded or noisy. Once the settings are right, you save them as a reusable profile, so the next batch is one click away.
- Manual and automatic control of exposure, color, and output format
- Infrared scan channel removes dust and scratches without touching the rest of the image
- Batch processing for colorize and super-resolution in version 9.8.57
- File name templates with varying increments, like file001+2.jpg
- Date and time substitutions in folder names for organized output
- Runs on Apple Silicon and Intel Macs, macOS 10.15 or later
Version 9.8.57 adds support for 7 new Epson and 11 new Brother scanners, plus improved USB support on macOS. If your scanner is older or off the mainstream list, VueScan often fills the gap where the manufacturer's software stopped being updated.
Workflow: scanning a box of mixed documents and photos
Imagine you have a box of mixed material: a few glossy photos, some typed letters on thin paper, and a handful of receipts. Each type needs different settings. Here is how you would handle that with VueScan Pro in a single session.
- Set up the scanner and preview. Place the first item on the scanner bed. Open VueScan and click the Preview button. The preview appears in the main window. Drag the crop handles to select only the area you want to scan, not the whole bed.
- Choose the output type. For a photo, set the Output dropdown to JPEG; for a text document, set it to PDF or TIFF. The file format changes the compression and color depth automatically.
- Adjust white balance and exposure. Click the Color tab. If the photo is faded, increase the brightness and contrast sliders a few notches. Use the white-point and black-point eye-droppers on the preview to set a neutral tone for the whites and the shadows.
- Enable defect removal. Switch to the Filter tab. Check the box for Infrared Clean. This uses the scanner's infrared channel to remove dust and scratches. If the scanner does not have an infrared channel, the option is grayed out and you rely on grain reduction instead.
- Set file naming and folder. Go to the Output tab. In the File Name field, type
letter2025%y%m%d_and then add an increment pattern likefile001+1.jpg. The software replaces%y%m%dwith the current date, and each scan adds 1 to the number. The result: files namedletter20250412_001.jpg,letter20250412_002.jpg, and so on. - Save a profile. Before scanning, click the Save Profile button. Name it
documents_default. This saves all current settings. Later, load it with one click when scanning similar material. - Scan and repeat. Click Scan. When the first scan finishes, replace the item on the bed with the next one that matches that profile. For a glossy photo, load a
photos_defaultprofile instead and scan again. VueScan remembers the last crop area, so you only adjust if the new item is a different size.
Typical session: lunch hour batch scanning
It is a Tuesday. You have thirty minutes and a pile of 15 photos from a recent trip. You open VueScan, load the profile you saved last week named travel_photos. The preview window shows the last crop, so you click Preview again to see the first photo.
The settings are already correct: color depth set to 48-bit raw, output as JPEG at 300 DPI, infrared cleaning on, unsharp masking at medium. You place the first photo face down, crop the preview to its edges, and click Scan. The process takes about 20 seconds per photo at this resolution.
While the first scan runs, you pick up the second photo and hold it ready. As soon as the file appears in the output folder, you swap the photos, adjust the crop slightly because the second photo is a different size, and click Scan again. With practice, you can scan four photos in five minutes. At the end of the session, the folder contains 15 JPEGs named with today's date and sequential numbers.
Preview every batch to check the histogram
- Preview before every batch. Always preview the first item. The scanner may look different from the last session, especially if you moved it or changed the desk lighting. Adjust the crop and preview again until the histogram looks balanced.
- Start with raw scans. For the first few days, set the Output tab to Raw with no compression. Raw files are larger but contain every bit of data the scanner can produce. If you make a mistake in color correction, you can reprocess the raw file later without rescanning. VueScan can open raw files even when the scanner is turned off.
- Name profiles clearly. Use short names like
photos_glossy,documents_text, ornegatives_bw. Avoid generic names likeprofile1. After a week, you will have four or five profiles and you will want to pick the right one quickly. - Check the language setting. VueScan supports 38 languages. If the interface appears in a language you did not expect, go to the Prefs tab and set Language to English (or your preferred one). This only takes a moment but saves frustration.
- Test batch processing for colorize and super-resolution. Version 9.8.57 added batch processing for these two features. Try it on a few test photos first: select a batch of black-and-white photos, enable colorize, and see how the AI handles them. If the results look natural, you can run the whole set. The improved AI-assisted touch-up also works on the same batch pass.
Check if your scanner is among the 6,000 supported models
Will it work with my scanner? VueScan supports over 6,000 models from HP, Epson, Canon, Nikon, Minolta, Polaroid, Brother, and many others. Version 9.8.57 added 7 new Epson and 11 new Brother models specifically. If your scanner is older, VueScan often has its own driver that works without the manufacturer's software. The best way to confirm is to check the supported scanner list on the Hamrick Software site before installing.
Can I scan directly to PDF? Yes. In the Output tab, set the file format to PDF. VueScan can create multi-page PDFs from a batch of scans. Each page becomes a separate scan, and the software combines them into one PDF file when you finish the batch. This is useful for receipts, contracts, or any multi-page document.
Does it work without the scanner? Not for scanning, but yes for reprocessing. If you saved raw scan files earlier, you can open them in VueScan with the scanner turned off. You can adjust color, crop, apply filters, and export to a different format without needing the hardware. This is handy if you travel and want to finish batch adjustments later.
How do I transfer settings to another Mac? Save a profile from the File menu. The profile is a small file you can copy to another Mac that also has VueScan. Load the profile there, and all the settings come back exactly as you saved them. This makes it easy to use the same configuration on a second machine.
Does it interfere with the built-in scanner software? VueScan uses its own scanner drivers for most models. It does not modify or disable the macOS Image Capture or the manufacturer's drivers. You can have both installed, and they will not conflict. If you want to use VueScan, launch it directly; it will detect the scanner and take control during the session.
- Added batch processing for colorize and super-resolution.
- Improved AI-assisted touch-up quality.
- Added support for 7 new Epson scanners.
- Added support for 11 new Brother scanners.
- Improved USB scanner support on macOS.
- macOS 10.15 or later
- Apple Silicon or 64-bit Intel
Questions from the notes
What are the system requirements for VueScan Pro 9.8.57?
It runs on macOS 10.15 or later, and supports both Apple Silicon and 64-bit Intel Macs.
Does VueScan Pro support the latest scanners?
Yes, version 9.8.57 added support for 7 new Epson and 11 new Brother scanner models.
Install procedure
- Open the downloaded package and run the installer.
- Follow the on-screen instructions.
- Activation instructions are included inside the package.
Reports from players
Sign in or create a tester account to file a report.
No reports filed yet.