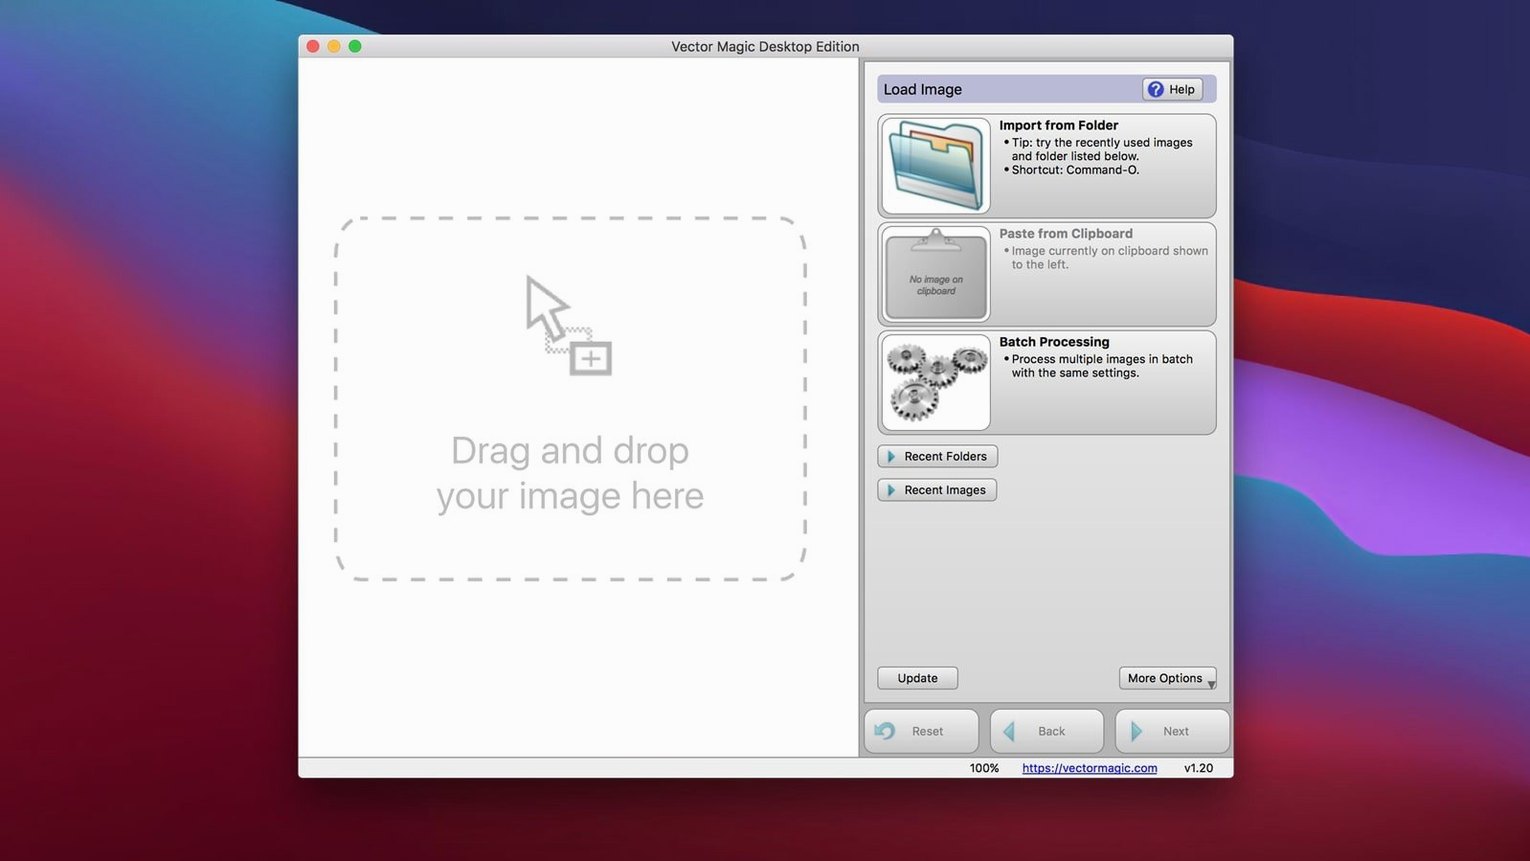
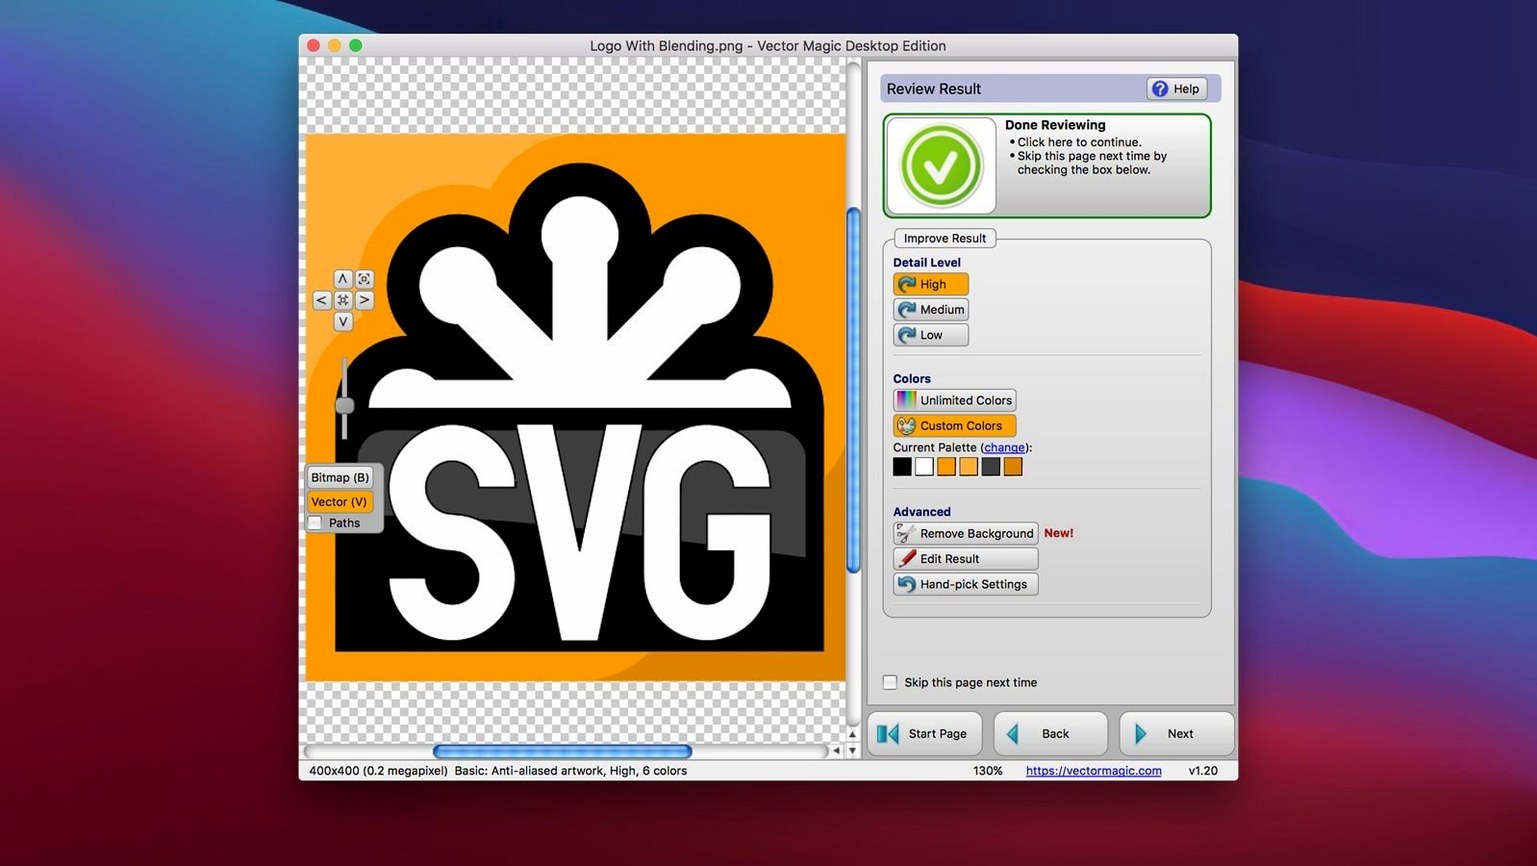
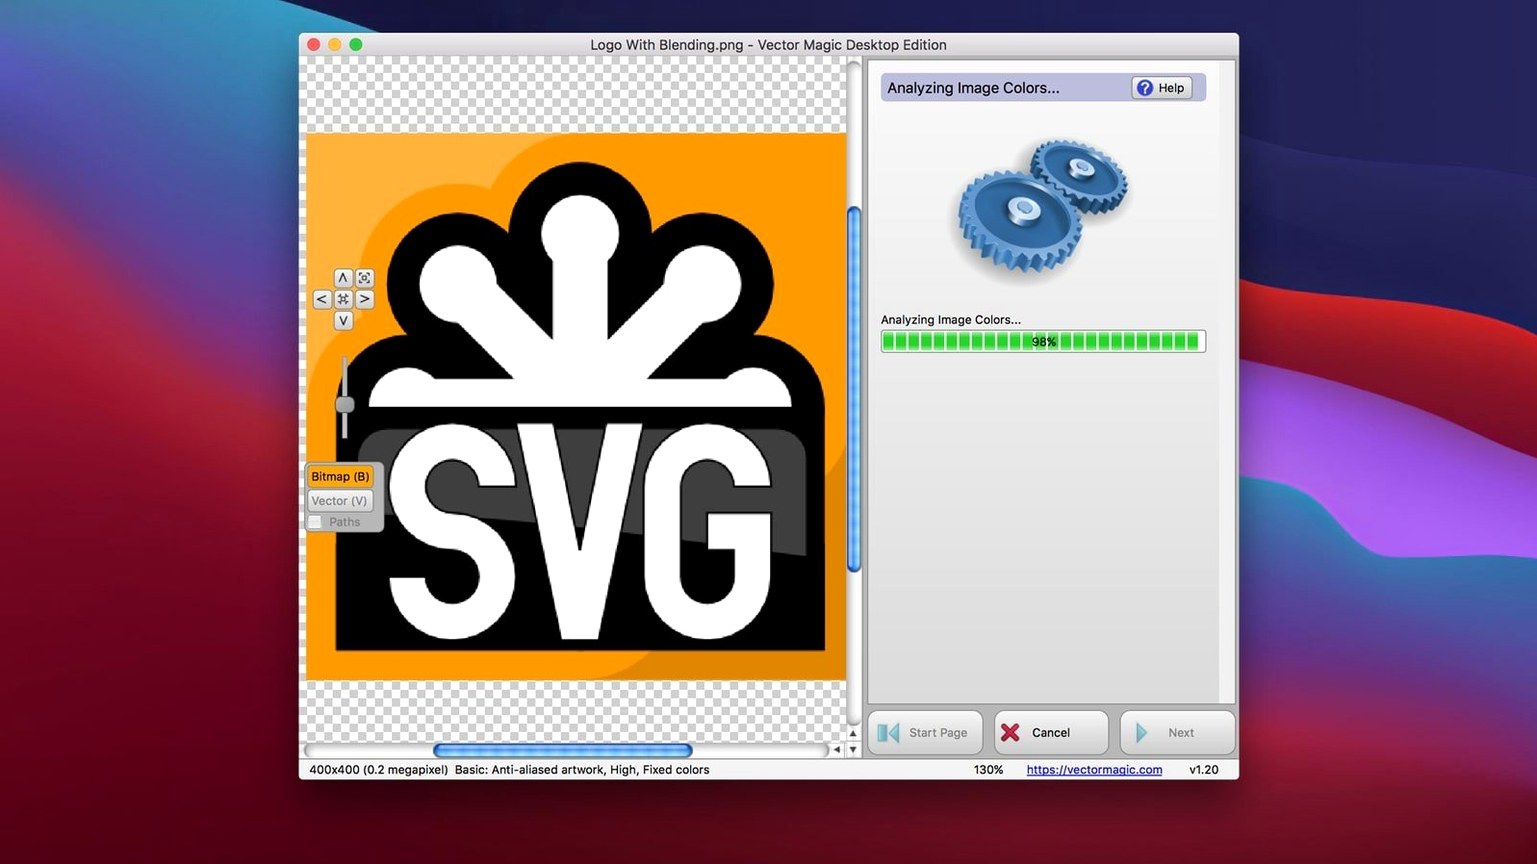
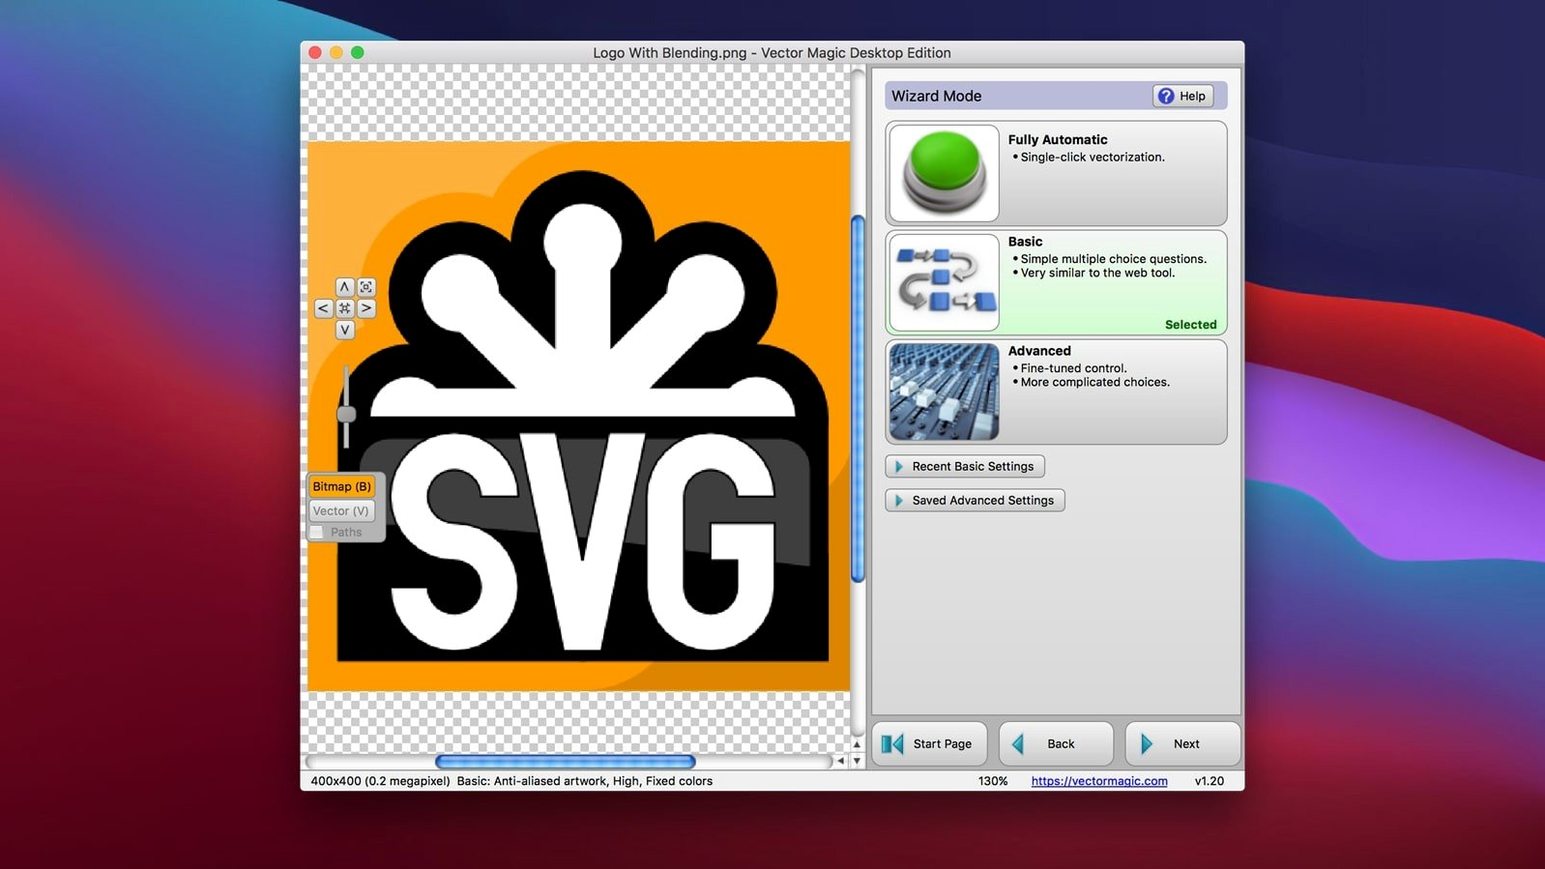
Vector Magic 1.20 runs on any Mac with OS X 10.7 or later and an Intel 64-bit processor. No Apple Silicon native version — it runs under Rosetta 2 on M-series Macs. The app converts bitmap images (JPG, PNG, BMP, GIF) to clean vector output.
What does the manual mode offer?
Manual mode gives you individual sliders for parameters like detail level and smoothing. Every adjustment shows an instant preview of the vector result, so you can dial in exactly what you need before committing.
What tools help clean up the source image?
Built-in improvement tools include background removal and transparency support. You can drag and drop files directly onto the app window. The maximum source file size is 10.0 MB; maximum image dimensions are 10.0 megapixels.
Alternatives like Illustrator and Inkscape take different routes to tracing
Vector Magic sits alongside a handful of other raster-to-vector tools for macOS. The main alternatives are Adobe Illustrator's Live Trace (now Image Trace), Inkscape with its trace bitmap feature, and Autotrace-based utilities. Each takes a different path to the same result.
Illustrator's Image Trace is tightly integrated into a full vector editor. You get more control over the final path cleanup because the vector lives inside Illustrator's workspace.
Inkscape's trace bitmap is free and open-source. It uses Potrace underneath and gives you a basic dialog with a handful of settings. It works well enough for simple shapes but struggles with complex photographs or logos with gradients. The preview is small and updates only after you change a setting — not the live preview that Vector Magic offers in manual mode.
Vector Magic distinguishes itself by being purpose-built for this single task. The manual mode's instant preview and individual parameter sliders make iterative tuning faster than either Illustrator or Inkscape. For users who do frequent logo conversions or need consistent output from mixed source files, the dedicated workflow saves time over launching a full vector editor.
Scenario: a logo editor rebuilding a client's identity
The client needs the logo recreated as a clean vector EPS for printing on signage.
In this scenario, the designer opens Vector Magic, drags the JPEG onto the window, and uses the improvement tools to remove the background texture. The automatic vectorization mode produces a first pass. From there, manual mode lets the designer adjust the detail slider to capture fine type without adding noise, then smooth the curves so the result matches the original's rounded corners. The output goes to EPS, ready to open in Illustrator for any final tweaks. The whole process takes a few minutes instead of manually tracing paths by hand or wrestling with a general-purpose vector editor's trace feature.
A simple solid-color test image reveals how auto and manual modes differ
- Start with a simple test image — a solid-color shape on white, like a vector magic mac full test. Run it through automatic mode, then manual mode. Compare the outputs to understand how the detail and smoothing parameters affect curve count and fidelity.
- Use the built-in help before searching online. The desktop edition includes documentation that explains each parameter's effect.
- Batch process similar images together after you settle on a parameter set. If you have ten PNG icons with the same style, converting one in manual mode, then applying those settings to the batch avoids re-tuning each file.
- Keep source files under 10 MB and 10 megapixels — those are the limits. Oversized images will be rejected, so resize them in a photo editor before dragging them in.
- Save the vector output in a format your workflow uses. If you work in Adobe software, AI or SVG are practical. For CorelDRAW users, EMF or EPS are better choices.
Detail level and smoothing are the first settings to adjust
When you first open Vector Magic, the default automatic mode runs with moderate detail and smoothing. These are the settings to adjust right away:
- Detail level — set it higher for photographs with fine edges, lower for flat-color logos. The instant preview in manual mode makes this easy to dial in.
- Smoothing — increase it when the source has jagged edges or JPEG compression artifacts. Leave it low when you need sharp corners and precise typography.
- Background removal — enable this if your source image has a solid background that should become transparent in the vector output. The improvement tools handle this before the trace step.
- Output format — choose EPS or SVG for most vector workflows. If you need a raster fallback, the app also exports PNG at the resolution you set.
These four controls cover the majority of conversion quality issues. Once they are set for a specific image type, the automatic mode often produces usable results without further manual tuning.
Yes, batch processing is supported. The interface is English only, and the desktop edition includes built-in help documentation.
- macOS OS X 10.7 or later
- Intel 64-bit processor
- Maximum file size: 10.0 MB
- Maximum image size: 10.0 megapixels
- Interface language: English
Install procedure
- Mount the disk image.
- Move the app to the Applications folder.
Reports from players
Sign in or create a tester account to file a report.
No reports filed yet.