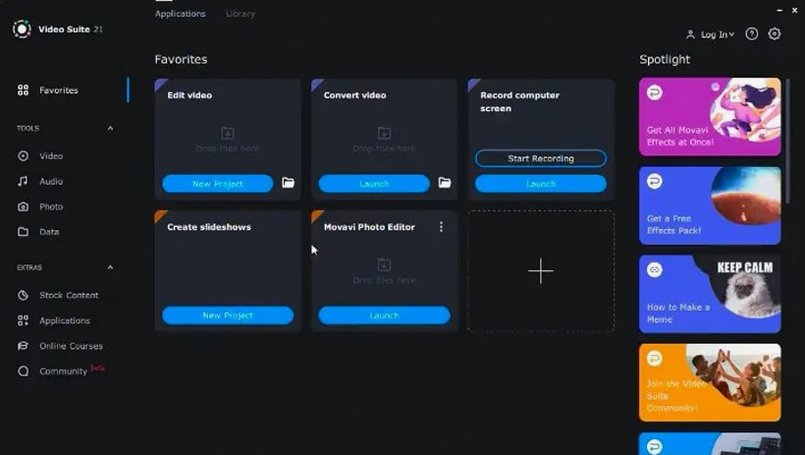
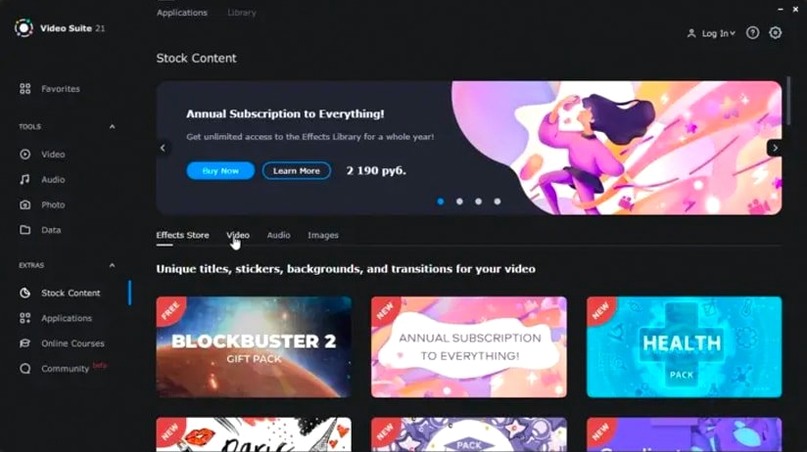
Movavi Video Suite is a video editing, conversion, and screen recording application for macOS.
Editing clips
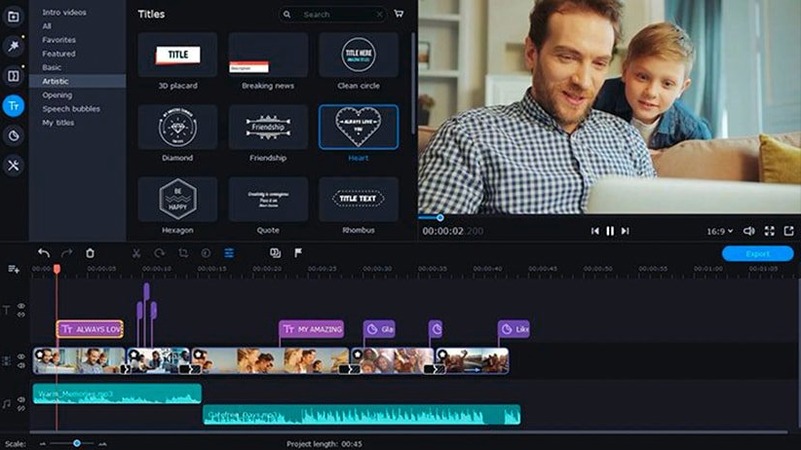
The editor covers trimming, cutting, and joining clips, plus mouse cursor effects to highlight on-screen action. Version 22.4.1 fixes an issue where the app would shut down while working with titles, so caption-heavy projects are more stable.
Converting files
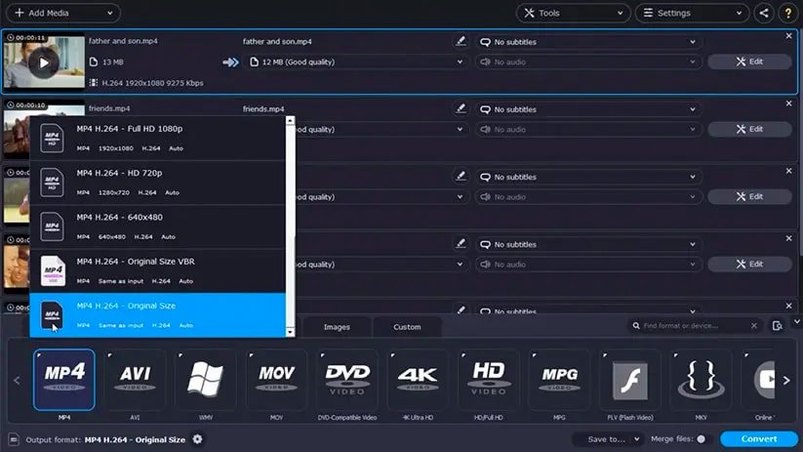
Convert between more than 180 file formats, with the option to add subtitles during conversion. That saves a pass if you need burned-in captions for review copies or social cuts.
Recording the screen
Capture the display with system audio, useful for walkthroughs or bug reports. You can also transfer files from a phone over the network directly into the program, which keeps a capture-to-edit workflow on one machine.
Runs on macOS 10.13 or later with Intel Macs
Movavi Video Suite runs on macOS 10.13 or later and uses x86 64-bit architecture. On an Intel Mac, the app installs and operates as a standard macOS application. The interface is in English only, with no language switching option in version 22.4.1. Given the suite's three main functions — editing, conversion, and screen recording — expect the app to use system resources for video rendering and real-time capture, though specific performance figures depend on your hardware and project complexity. The app supports over 180 file formats, so importing and exporting common video, audio, and image types should work without additional codecs.
A conversion workflow: add subtitles and batch process
One practical task is converting a folder of video files while adding subtitles. Here is a start-to-finish workflow for that.
- Open Movavi Video Suite and select the conversion module from the main window.
- Add your source files. You can drag and drop a folder containing multiple videos; the app accepts batch processing.
- Before starting, enable the subtitle option. Locate the subtitle settings in the conversion interface and load an SRT or similar subtitle file for each video. The subtitles will be burned into the output.
- Choose an output format from the list of supported formats. For compatibility, MP4 with H.264 is a common choice, but any of the 180+ formats works.
- Set a destination folder for the converted files.
- Start the batch conversion. The app processes each file sequentially, applying the subtitle overlay during conversion. You can leave the conversion running while working on other tasks.
- Once done, check the output folder for your converted videos with subtitles embedded.
This workflow saves time compared to adding subtitles in a separate editor and then converting each file individually.
Organize source files before importing
After installing version 22.4.1, take a few minutes to set up your workspace. Here are some practical tips.
- Organize your source files before importing. The app's file browser works best when you have a clear folder structure for clips, audio, and images.
- If you plan to record screen captures, test the screen recording module with a short clip first. Check that system audio is captured correctly and that mouse cursor effects appear as expected. Adjust recording settings before starting a longer session.
- For file conversion, create a dedicated output folder for each project. Batch conversions generate multiple files, and keeping them organized avoids confusion.
- Explore the added music tracks in version 22.4.1. These can serve as background audio for quick projects without importing external files.
- If you transfer files from a phone over the network, ensure both devices are on the same network. The transfer feature pulls files directly into the program, so you can skip intermediate storage steps.
Check the output format defaults first
A few settings adjustments can make the initial experience smoother. These are based on the options available in the app's preferences and modules.
- Check the output format defaults. The conversion module may default to a format that is not ideal for your workflow. Set your preferred container and codec early to avoid re-converting files.
- In the screen recording module, confirm the audio input source. If you need voice commentary alongside system audio, set the microphone input before recording. The app supports adding audio commentary to recordings.
- For video editing, review the timeline and effects panel layout. The updated symbol for applied effects in version 22.4.1 makes it easier to see which effects are active on a clip. Familiarize yourself with the new icon to speed up editing.
- If you work with titles frequently, the fix for the shutdown issue in version 22.4.1 means you can add and edit captions without unexpected crashes. Save your project before adding multiple titles as a precaution.
- Enable batch processing mode in the conversion module if you plan to convert multiple files regularly. The setting may not be on by default, but it reduces repetitive steps.
- Fixed: the program no longer shuts down while working with titles.
- Added: new music tracks.
- Updated: the symbol for applied effects.
- macOS 10.13 or later
- Intel (x86 64-bit)
- Interface languages: English
Install procedure
- Mount the disk image and launch the installer. When Gatekeeper blocks it, choose Open from the right-click menu.
- In the Terminal window that appears, press Enter to bypass Gatekeeper.
- Follow the standard installation steps.
Reports from players
Sign in or create a tester account to file a report.
No reports filed yet.