CapCut is a desktop video editor for macOS, developed by ByteDance, that layers AI-assisted editing tools on top of standard timeline-based work.
Free alternative to Adobe for quick clips and long projects
Anyone who wants a free, capable video editor without subscribing to Adobe. It works for quick social clips and longer projects alike, and the AI features — script-to-video or one-click background removal — save time for solo creators who do not have a production team.
What can it actually do?
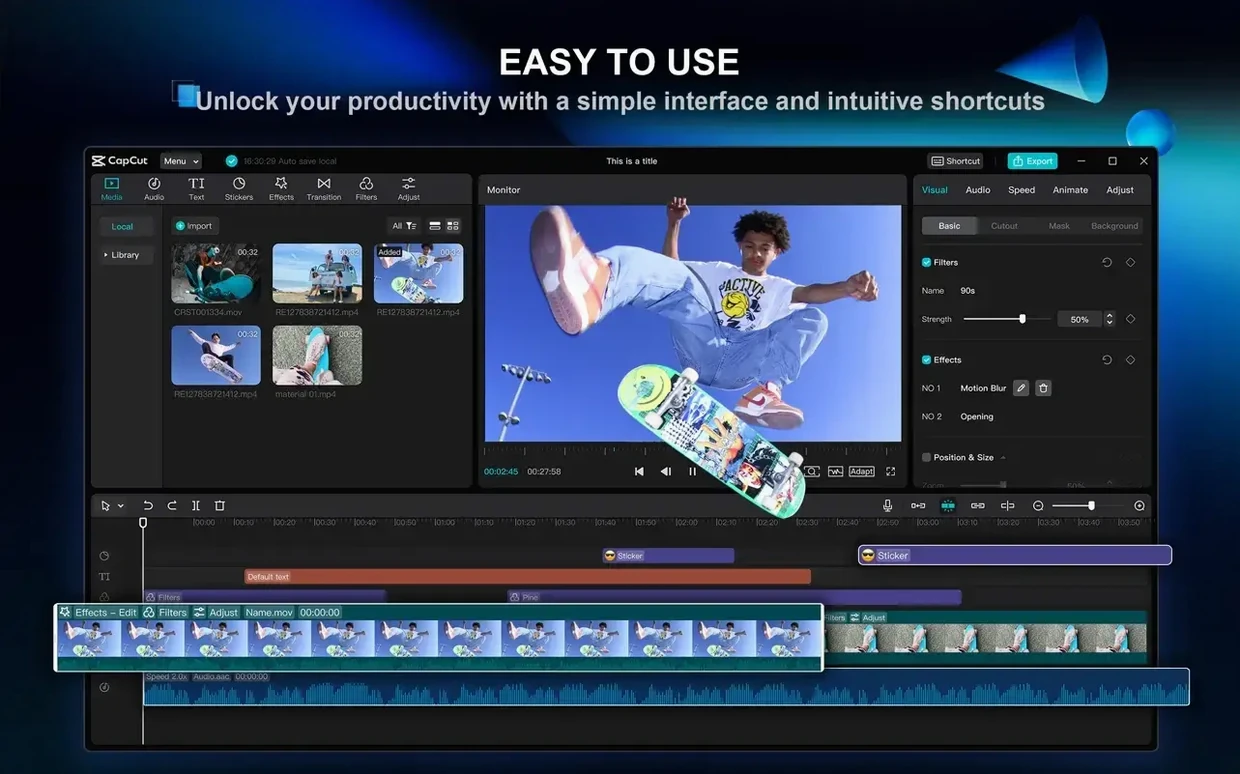
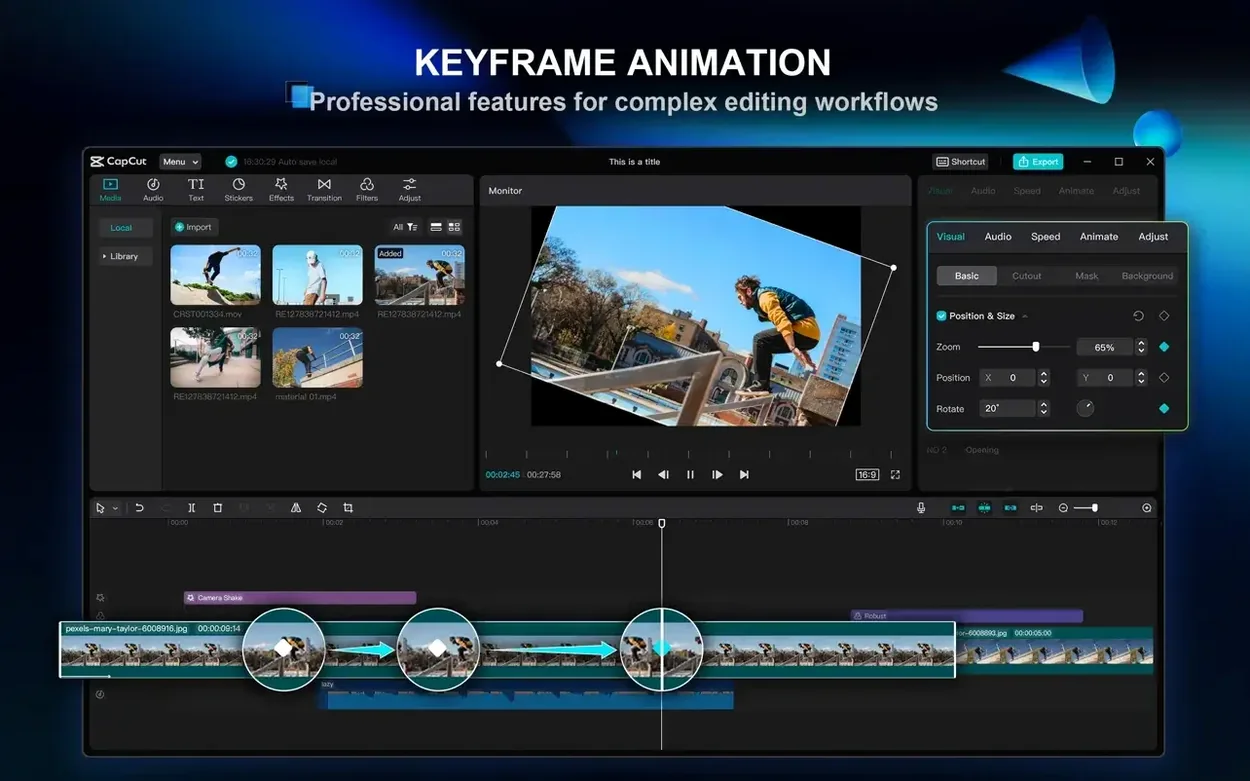
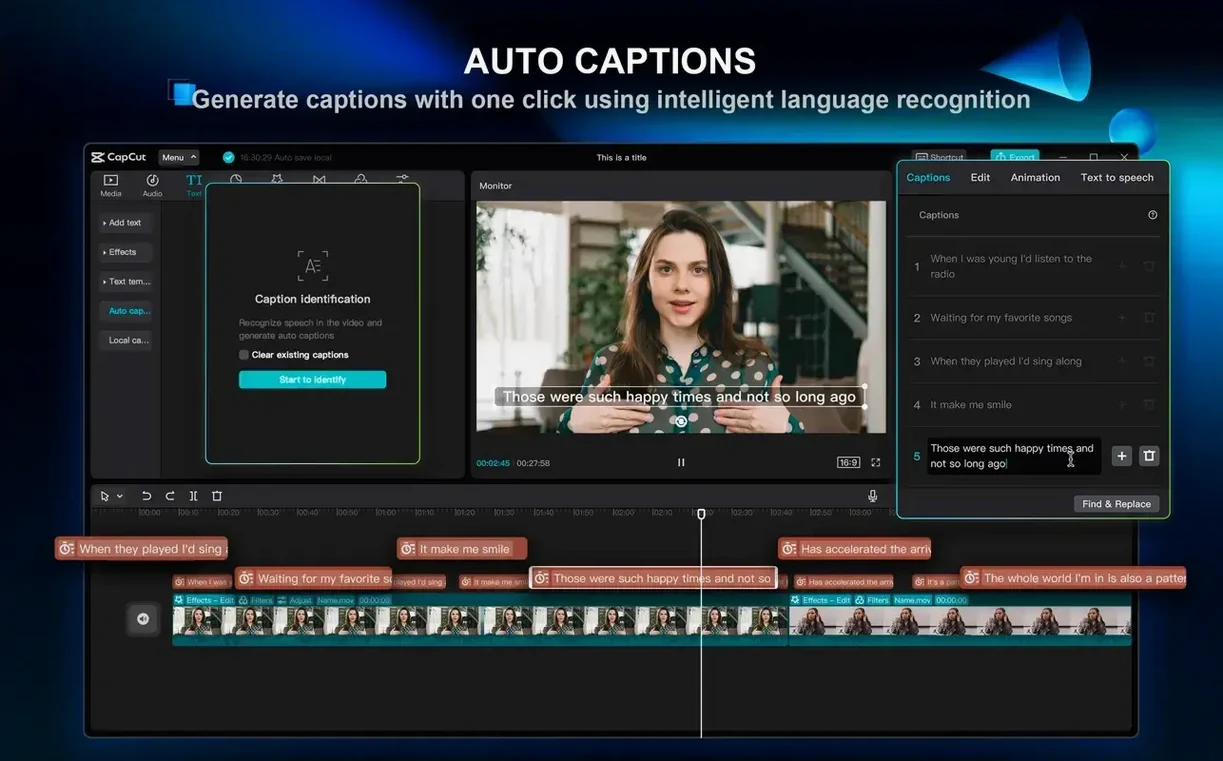
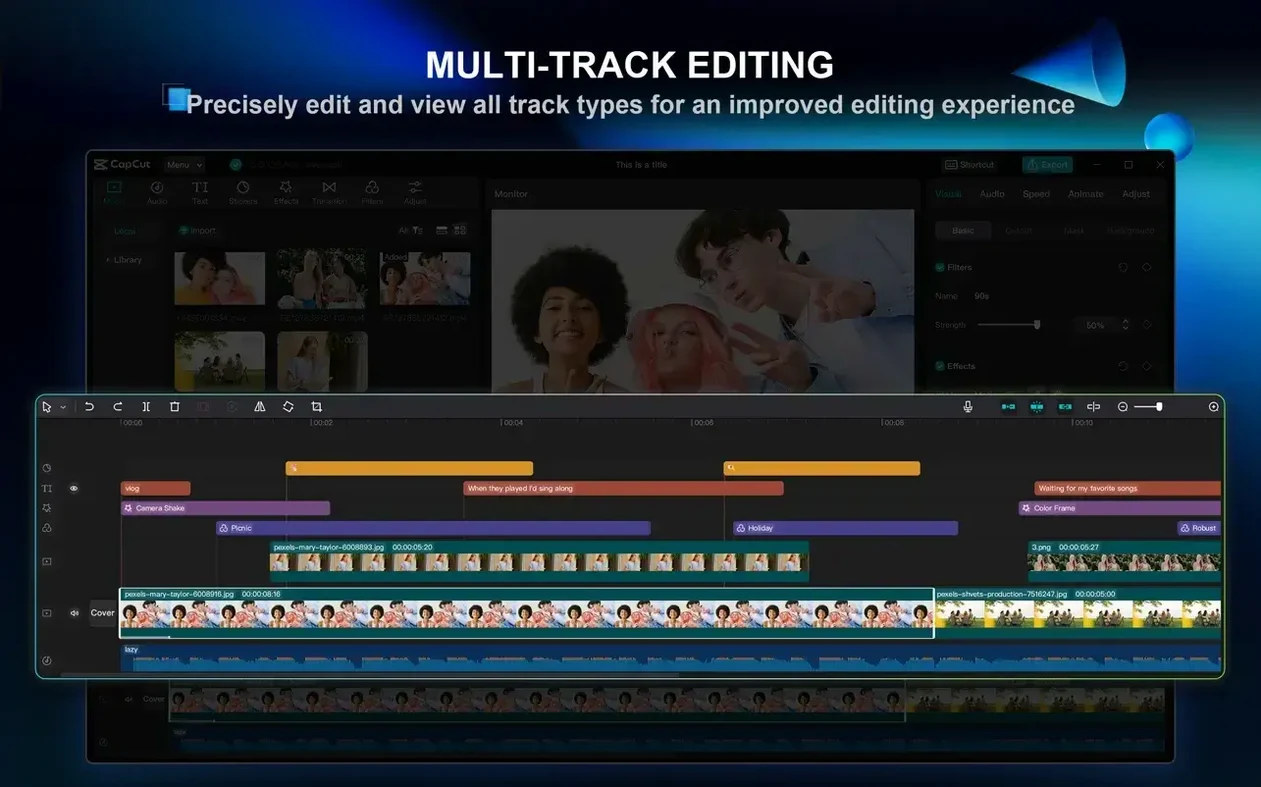
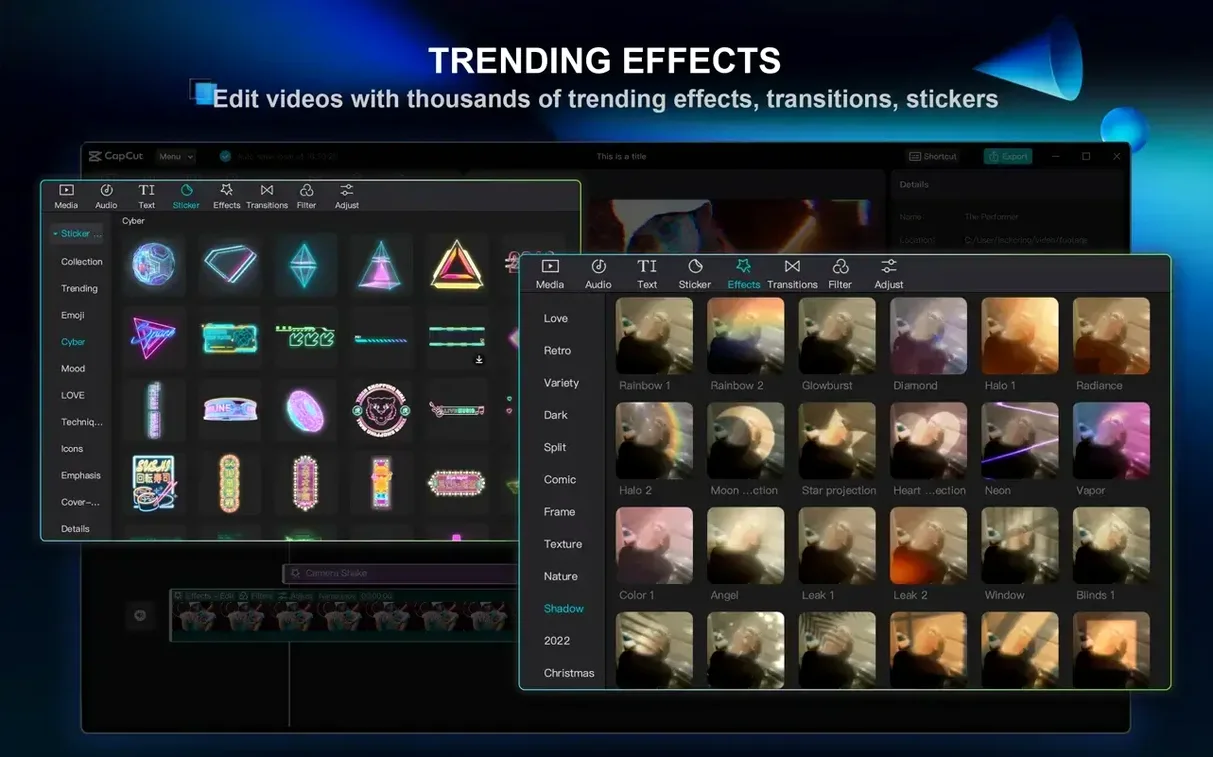
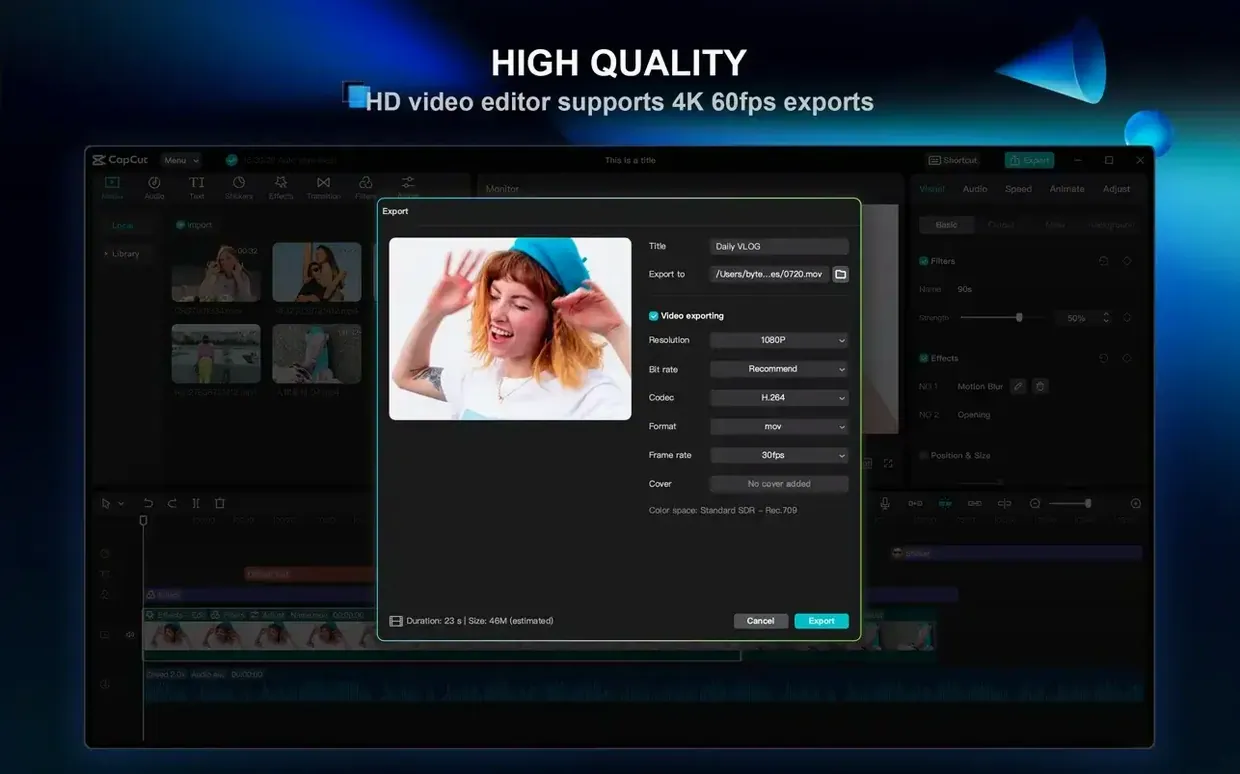
Cut, join, and split clips on a multi-track timeline. Add filters, transitions, text styles, stickers, and music. Remove a background in one click. Export up to 4K at 60 fps. The AI can also generate a video from a written script, which is useful for short-form content.
Works on both Apple Silicon and Intel Macs
Yes. The app supports both Apple Silicon and Intel 64-bit Macs.
Here are a few things that catch new users off guard, followed by the questions that usually come up before the first install, a real-world scenario, and the settings worth adjusting right away.
Auto-save does not auto-export
CapCut’s interface looks straightforward, but a handful of habits trip people up more often than they expect.
- Ignoring the auto-save behavior. CapCut saves project files locally, but it does not auto-export. A beginner finishes a ten-minute edit, closes the app, and later finds only the project file—not a video file. Export is a separate step. Get used to hitting the export button before you quit.
- Dragging media directly onto the timeline without importing first. You can drop a file straight onto the timeline, but doing this repeatedly without using the media pool makes it harder to find clips later. Import everything into the media bin first, then drag from there.
- Over-relying on the one-click background removal. The chroma-key tool works well on clean, solid-color backgrounds. It struggles with busy backdrops or uneven lighting. Beginners expect it to handle every shot and then spend extra time cleaning up artifacts. For complex footage, manual masking gives better results.
- Forgetting to set the timeline resolution before editing. The default timeline resolution matches the first clip you add. If you add a 4K clip first but plan to export in 1080p, you end up working in 4K unnecessarily. Set the timeline resolution at the start.
- Applying effects to the entire clip instead of a segment. Beginners often drag a filter or transition onto a clip and it applies to the whole thing. Split the clip first or use the selection handles to limit the effect to a specific section.
Offline for basic cuts, online for AI features
Does CapCut work offline?
Yes, for basic editing. Cutting, joining, adding transitions, text, and most filters work without an internet connection. AI features such as text-to-speech, automatic subtitle generation, and script-to-video require a connection because the processing happens on ByteDance’s servers.
Will it run on an older Mac?
It requires macOS 10.14 or later. A 2-core processor and 4 GB of RAM meet the minimum, but that setup will feel sluggish with 4K footage or multi-track timelines. If your Mac has 8 GB or more of RAM, the experience is noticeably better. The app also runs on both Intel and Apple Silicon machines, so no compatibility surprises there.
Can I open projects from the mobile version?
CapCut uses different project file structures on mobile and desktop. You cannot open a mobile project directly in the desktop app. You can, however, move individual clips, effects, and templates between versions through cloud storage if you sign into the same account.
Is the export really limited to 4K at 60 fps?
That is the maximum. The export dialogue lets you choose a preset or a custom resolution, bitrate, and codec.
Does it put a watermark on exported videos?
The desktop version does not add a watermark to exported videos. Some templates and effects from the cloud library may include branding, but those are optional elements you add yourself.
Scenario: A podcast editor short on time
Maya edits a weekly interview podcast. She records a 40-minute conversation, two cameras, and a separate audio track. Her workflow used to take three hours: sync audio, cut out the 15 filler words and pauses, align the second camera angle, add captions, and export. With CapCut, she imports the main video and the audio track onto separate tracks, uses the audio waveform to sync the second angle visually, then runs the filler-word removal tool. That step alone cuts her cleanup time in half. She then auto-generates subtitles from the speech, adjusts a few timestamps, and exports at 1080p.
Set timeline resolution to match your export
Before you start a project, adjust these settings in the preferences or the project panel. They save time and prevent the common mistakes above.
- Timeline resolution. Set it to your target export resolution. Do not let the first clip decide for you.
- Auto-subtitle language. The default is usually Simplified Chinese if the app language is set to English. Change it to your spoken language before generating captions, or the speech recognition will transcribe the wrong characters.
- Export preset. If you always upload to the same platform, configure a custom export preset once. That way you skip the bitrate and resolution choices every time you export.
- Auto-save interval. The default is every five minutes. For longer projects, consider reducing it to every two minutes. The save is local and quick, so it does not interrupt editing.
- Tooltip visibility. If the interface feels cluttered, you can disable tooltip pop-ups in the preferences. The icons are standard enough that you will not miss the labels after the first hour.
- macOS 10.14 or later
- Apple Silicon or Intel 64-bit processor
Questions from the notes
Can I use CapCut on an M1 or M2 Mac?
Yes, it runs natively on Apple Silicon and Intel 64-bit Macs.
What export resolution does it support?
It exports video up to 4K at 60 frames per second.
Is the Mac version the same as the mobile app?
It is a full desktop editor with a multi-track timeline, AI features, and more export options than the mobile version.
Install procedure
- Open the downloaded disk image.
- Drag the app into the Applications folder alias.
- After copying finishes, launch the app from Launchpad.
Reports from players
Sign in or create a tester account to file a report.
No reports filed yet.