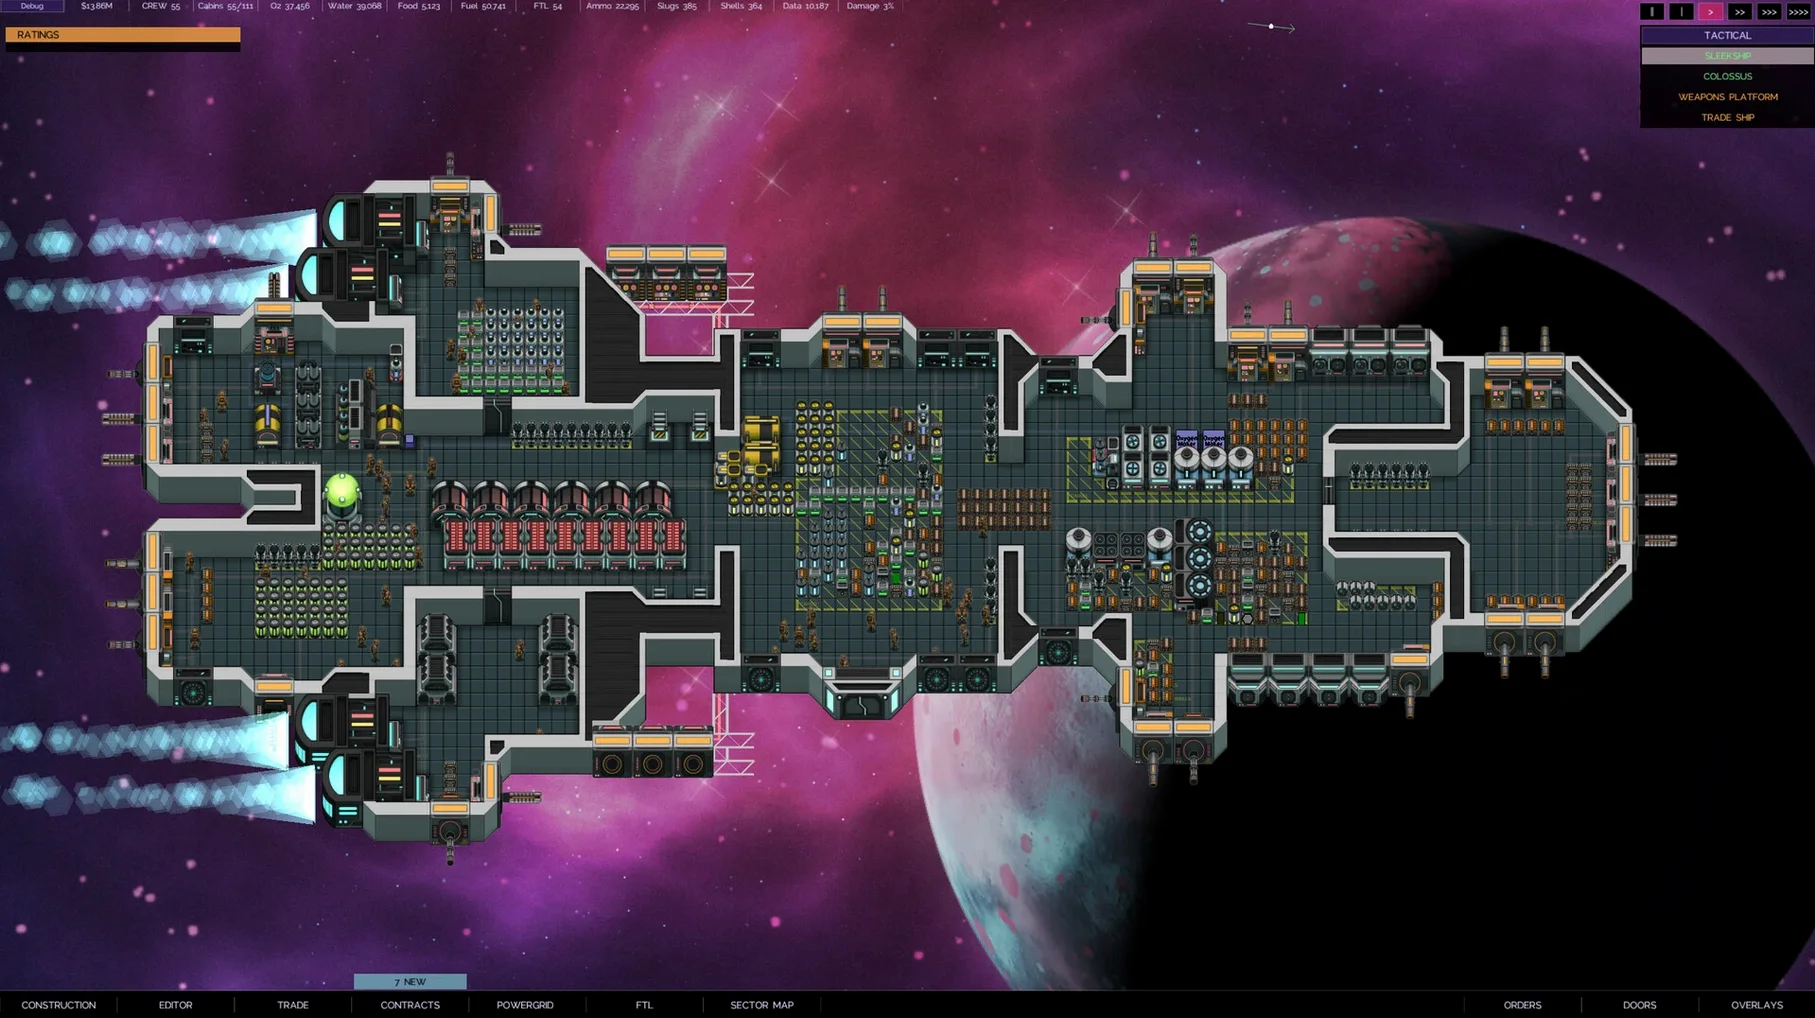
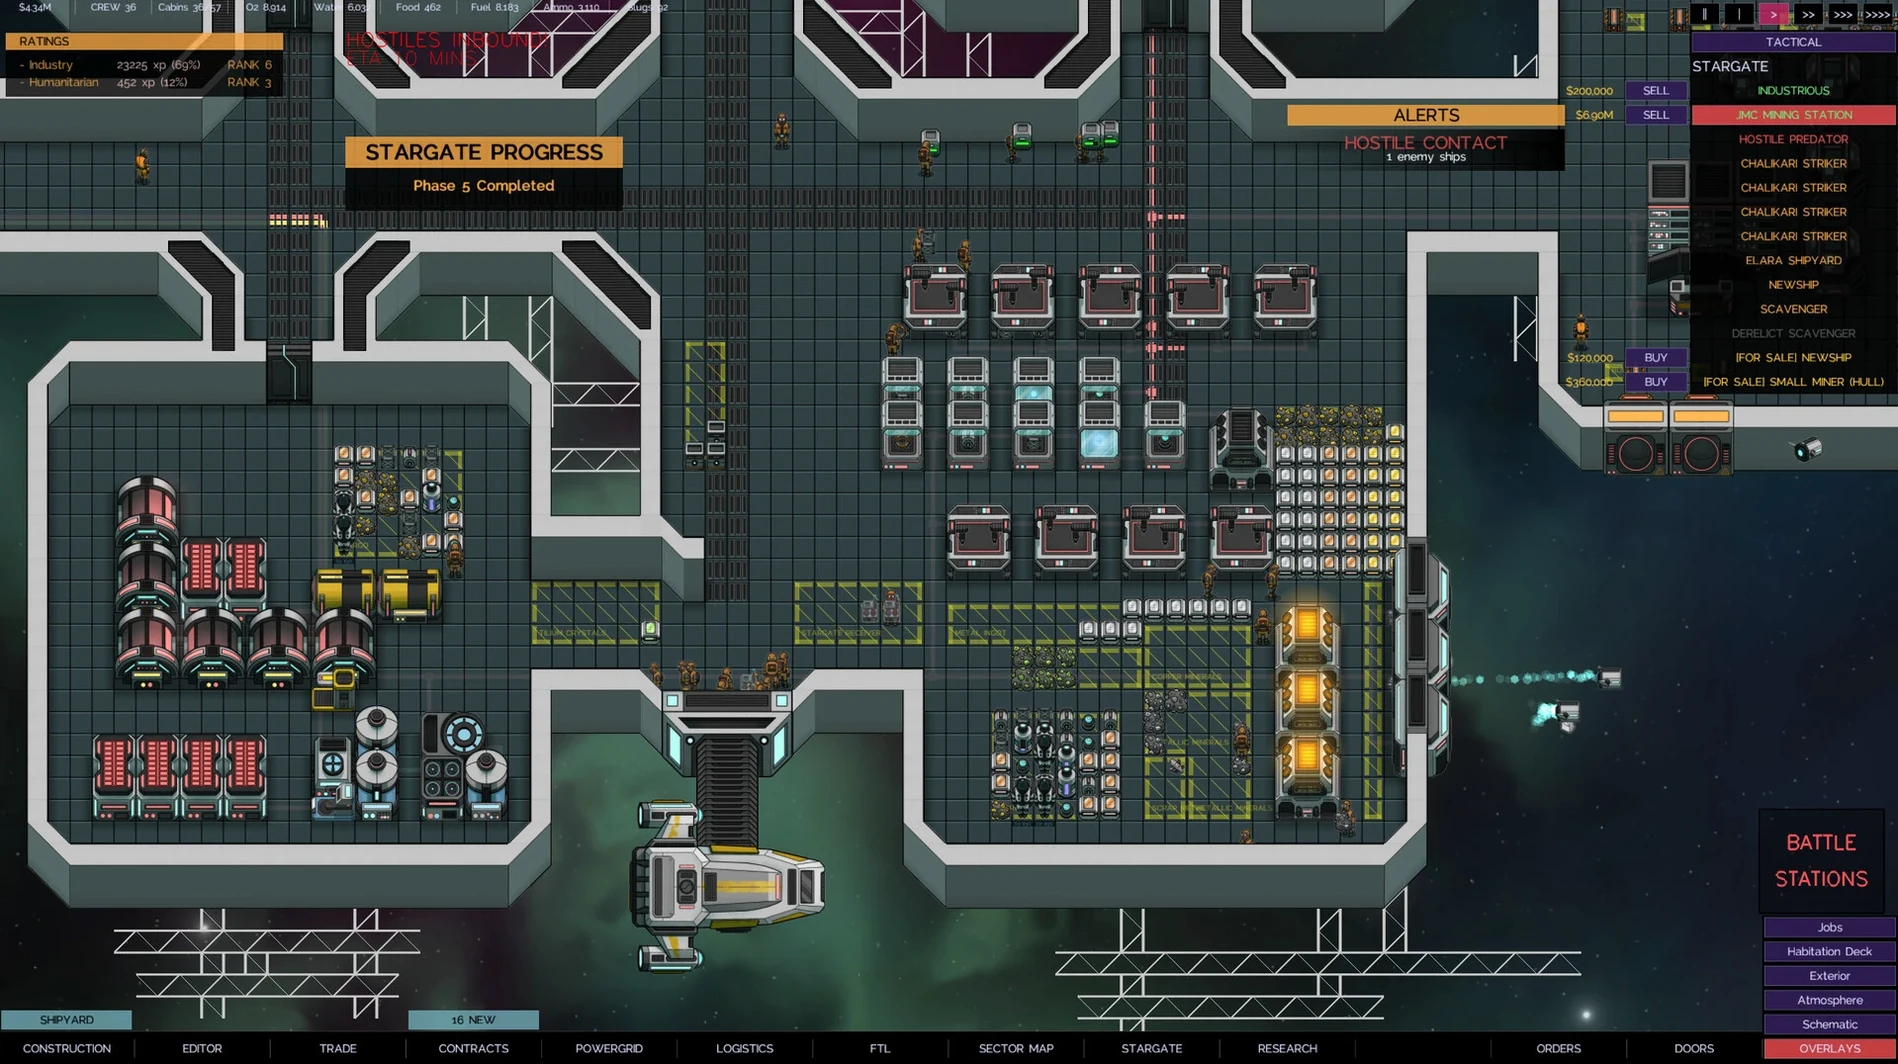
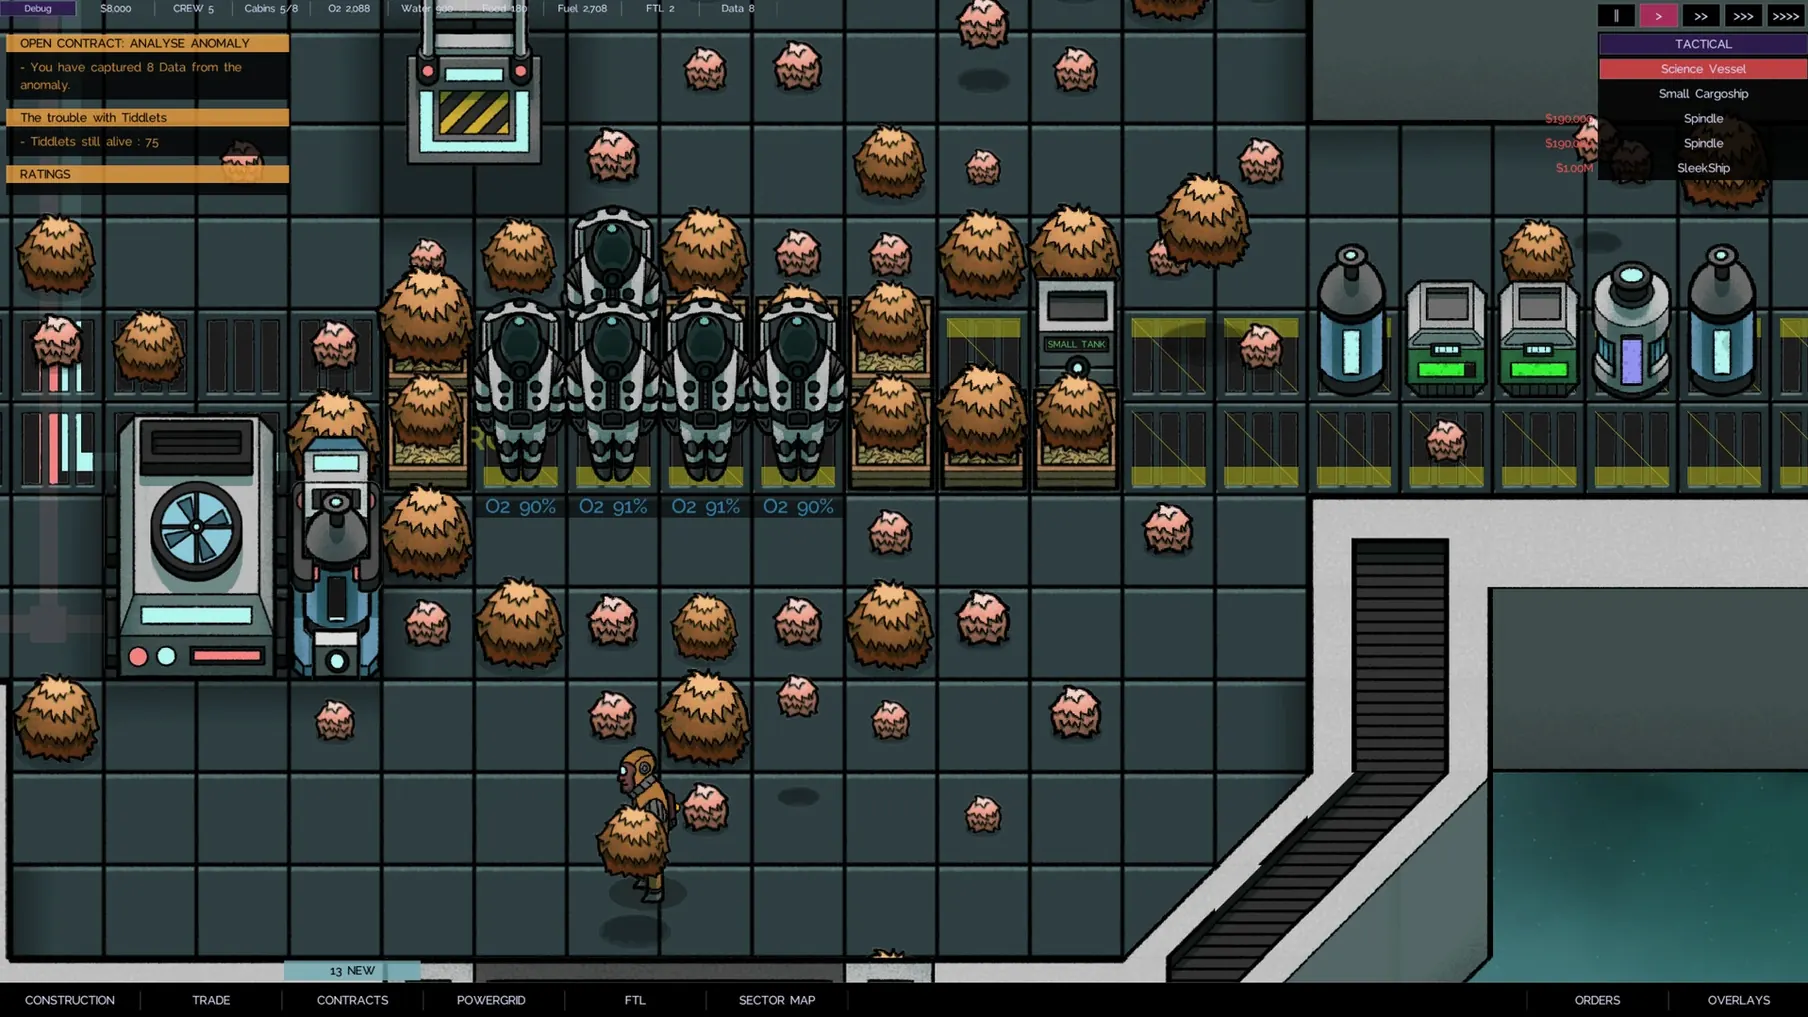
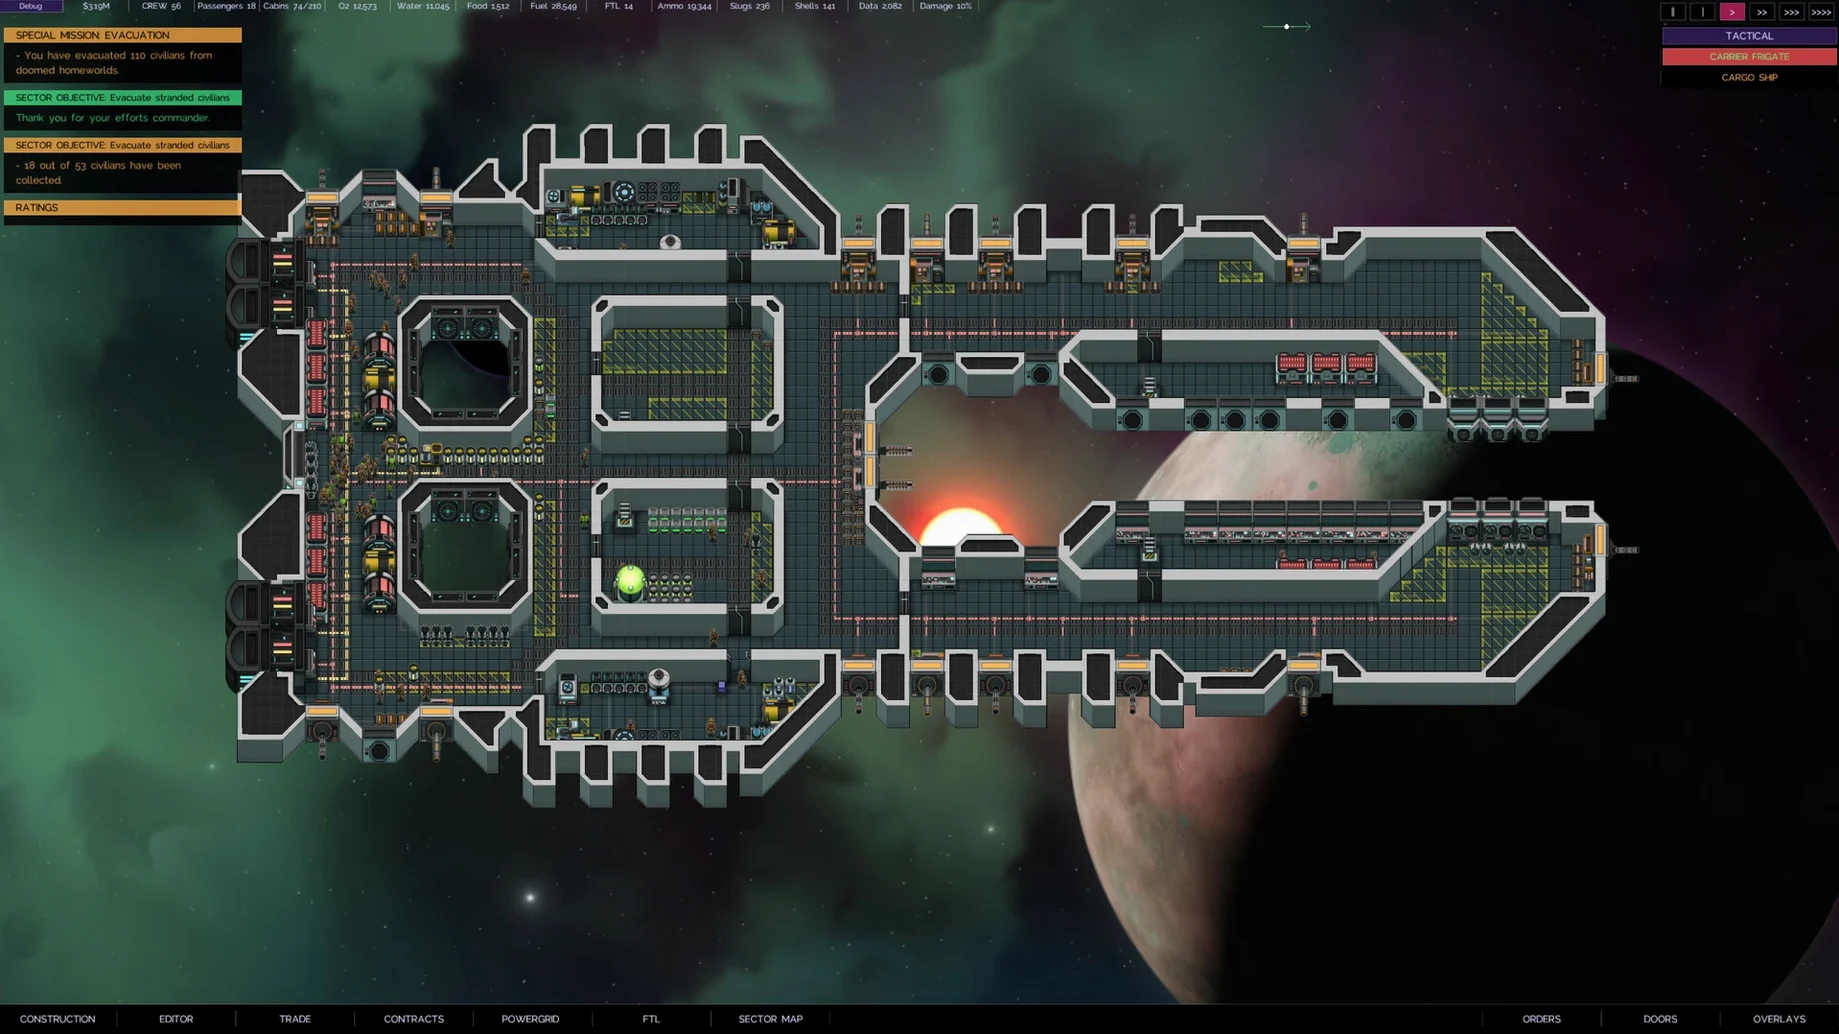
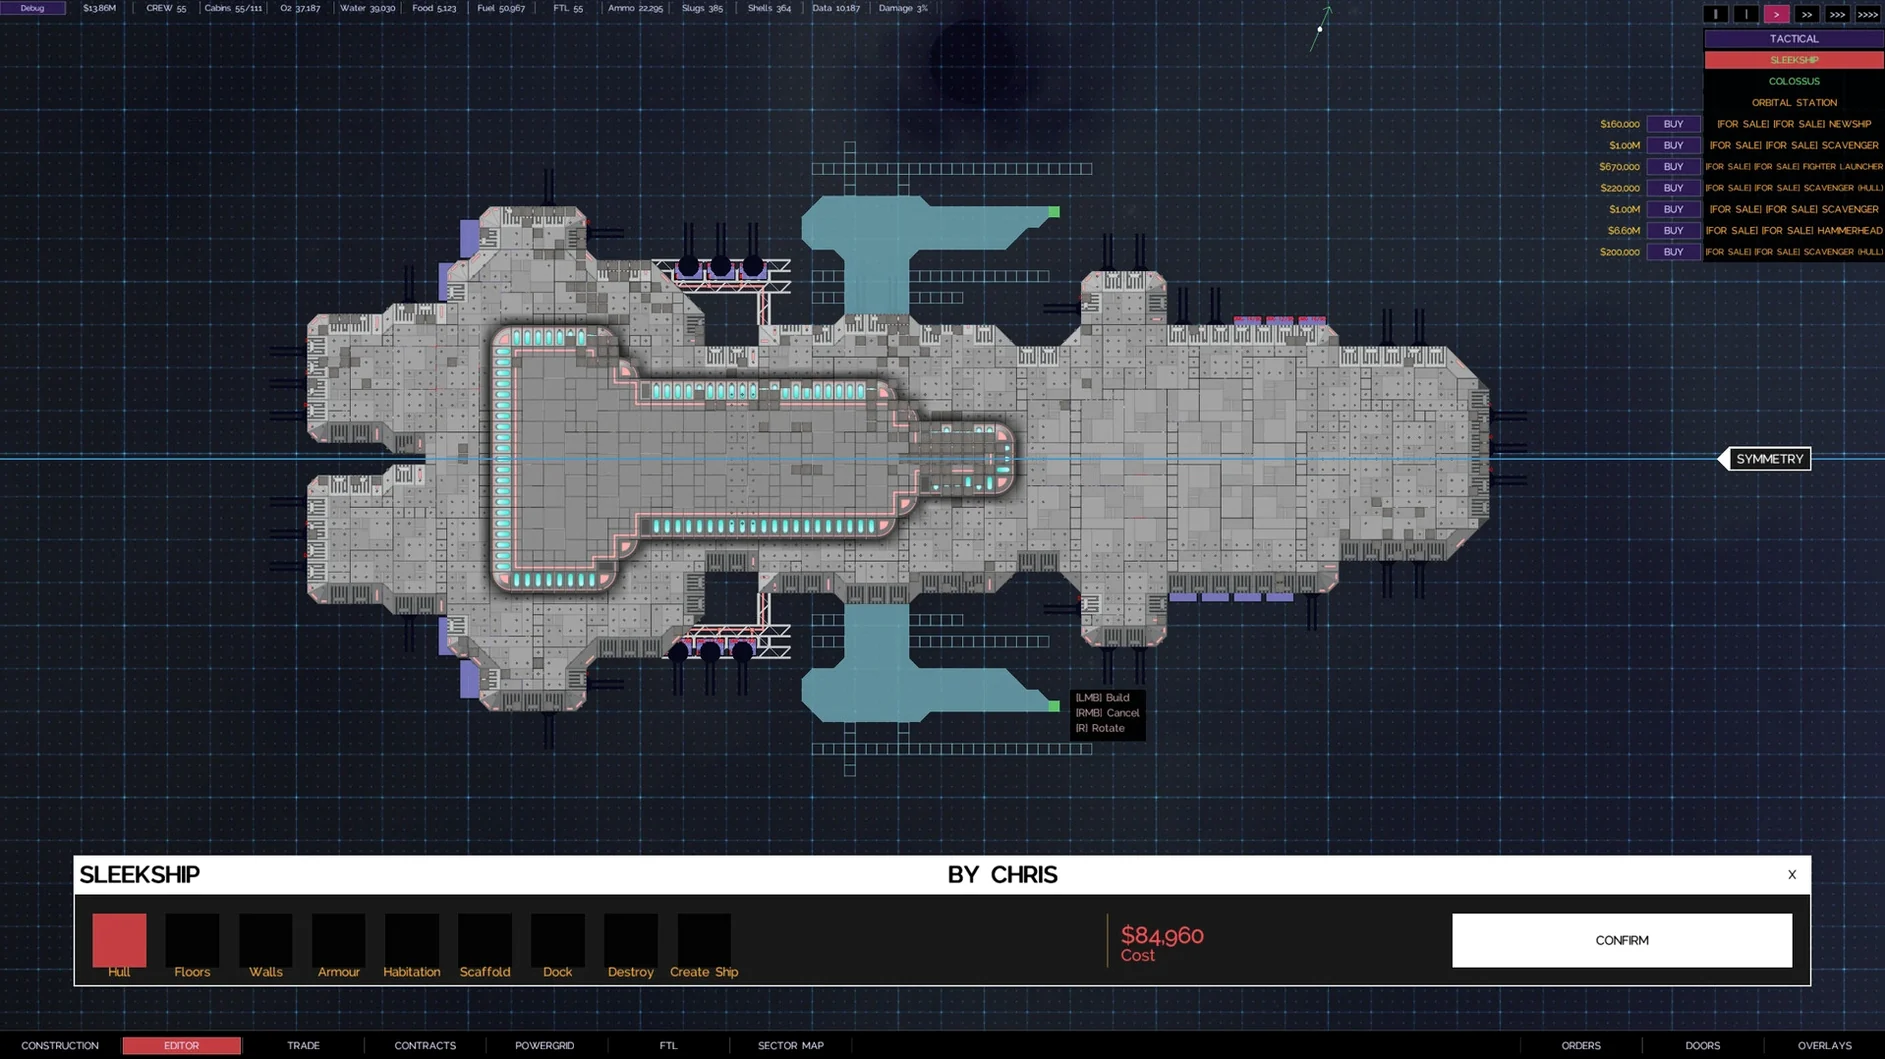
If you have used a ship editor in games like Kerbal Space Program or Space Engineers, the editor in The Last Starship will feel familiar but more focused. You start with an empty hull, then place a reactor, pipes, electrical systems, propulsion, life-support, and weapons manually. Each system consumes resources — water, oxygen, fuel — and the crew’s needs grow as you add more people.
Design your ship
Open the ship editor and lay out the core systems: reactor, propulsion, life-support, and an FTL drive. Weapons go where you want them, so you can shape the ship around your combat style.
Manage resources and crew
Once the ship is built, you manage oxygen, water, and fuel. As the crew expands, life-support demand increases. The sector map feeds into a procedurally generated universe, so no two runs play the same.
Fight using strategy
Combat requires precise strikes and strategic thinking — not just brute force. Missions, scenarios, and anomalies appear across systems, and regular updates (update 27d is the current build) keep adding content and fixes based on player feedback.
A session, from hull to jump
A typical session starts with the sector map. I pick a system with a mission marker — rescue or cargo delivery usually. That sets the ship’s job for this run. Back in the ship editor, I strip the hull down to chassis and start placing what that mission needs. For a cargo haul, I skip most weapons and add extra storage and a second reactor for endurance. For a combat scenario, I fit railguns near the bow and run pipes so coolant reaches them without crossing crew quarters.
Once the layout is done, I assign crew roles. The game handles the rest. I jump into the sector, watch the oxygen and CO2 scrubber levels tick over, and adjust. If a pipe breaks or a laser drone runs low on fuel, I pause and swap parts from the local store — no reloading, no save-scumming. The session ends when the mission objective is met or the ship needs a full rebuild back at the menu.
Who gets the most out of it
Mac users who enjoy systems-level puzzles — managing pipe routing, power draw, and life-support margins — will find a natural fit here. If you have spent time in Prison Architect or similar resource-loop games, the same logic applies: build something that works, then watch it run into problems you did not predict. The procedurally generated missions mean no two sessions play the same, so players who replay games for emergent failure states rather than scripted stories get the most value.
The other group is space-themed sandbox builders who prefer 2D over 3D. The ship editor removes the camera-fumbling that comes with a full 3D space, so you can focus on layout and resource routing. If you want to test different hull configurations quickly, this setup saves time.
Workflow: building a rescue ship from scratch
Here is the workflow for a specific task — fitting a ship for a rescue mission in a high-anomaly system.
- Open the ship editor. Start from an empty hull.
- Place the reactor and connect pipes for power distribution. Keep the reactor near the center so pipe runs stay short.
- Add propulsion. Standard thrusters for the main axis, smaller ones for maneuverability. No FTL drive for a local-system rescue — saves mass.
- Install life-support: oxygen canisters, CO2 scrubbers. Double the scrubber count because the target crew will be rescued and added to your own.
- Fit a modest laser for defense. Railguns draw too much power for a rescue ship. Place the laser near the stern to cover the rear arc.
- Add extra crew quarters near life-support. Short pipe runs mean less oxygen loss.
- Run pipes for water and fuel. Check that the reactor has coolant lines to the laser and propulsion systems.
- Back to the sector map. Confirm the mission waypoint. Launch.
- During the mission, keep an eye on oxygen levels. If they drop, pause, open the editor, and add another scrubber from the local store. You can do this mid-mission.
- Once the target crew is aboard, route them to the extra quarters. Fly back to the starting system. Mission complete.
The editor stays accessible during flight, so adjustments are part of the loop rather than a restart. That is the core workflow: build, launch, adjust, finish.
- Update 27d is the current build label.
- macOS version not specified
- Architecture: Intel and Apple Silicon
- Interface language: English
Install procedure
- Run the downloaded package and follow the standard installation process.
- Choose an install location when prompted.
- Applications is the recommended install folder.
Reports from players
Sign in or create a tester account to file a report.
No reports filed yet.