
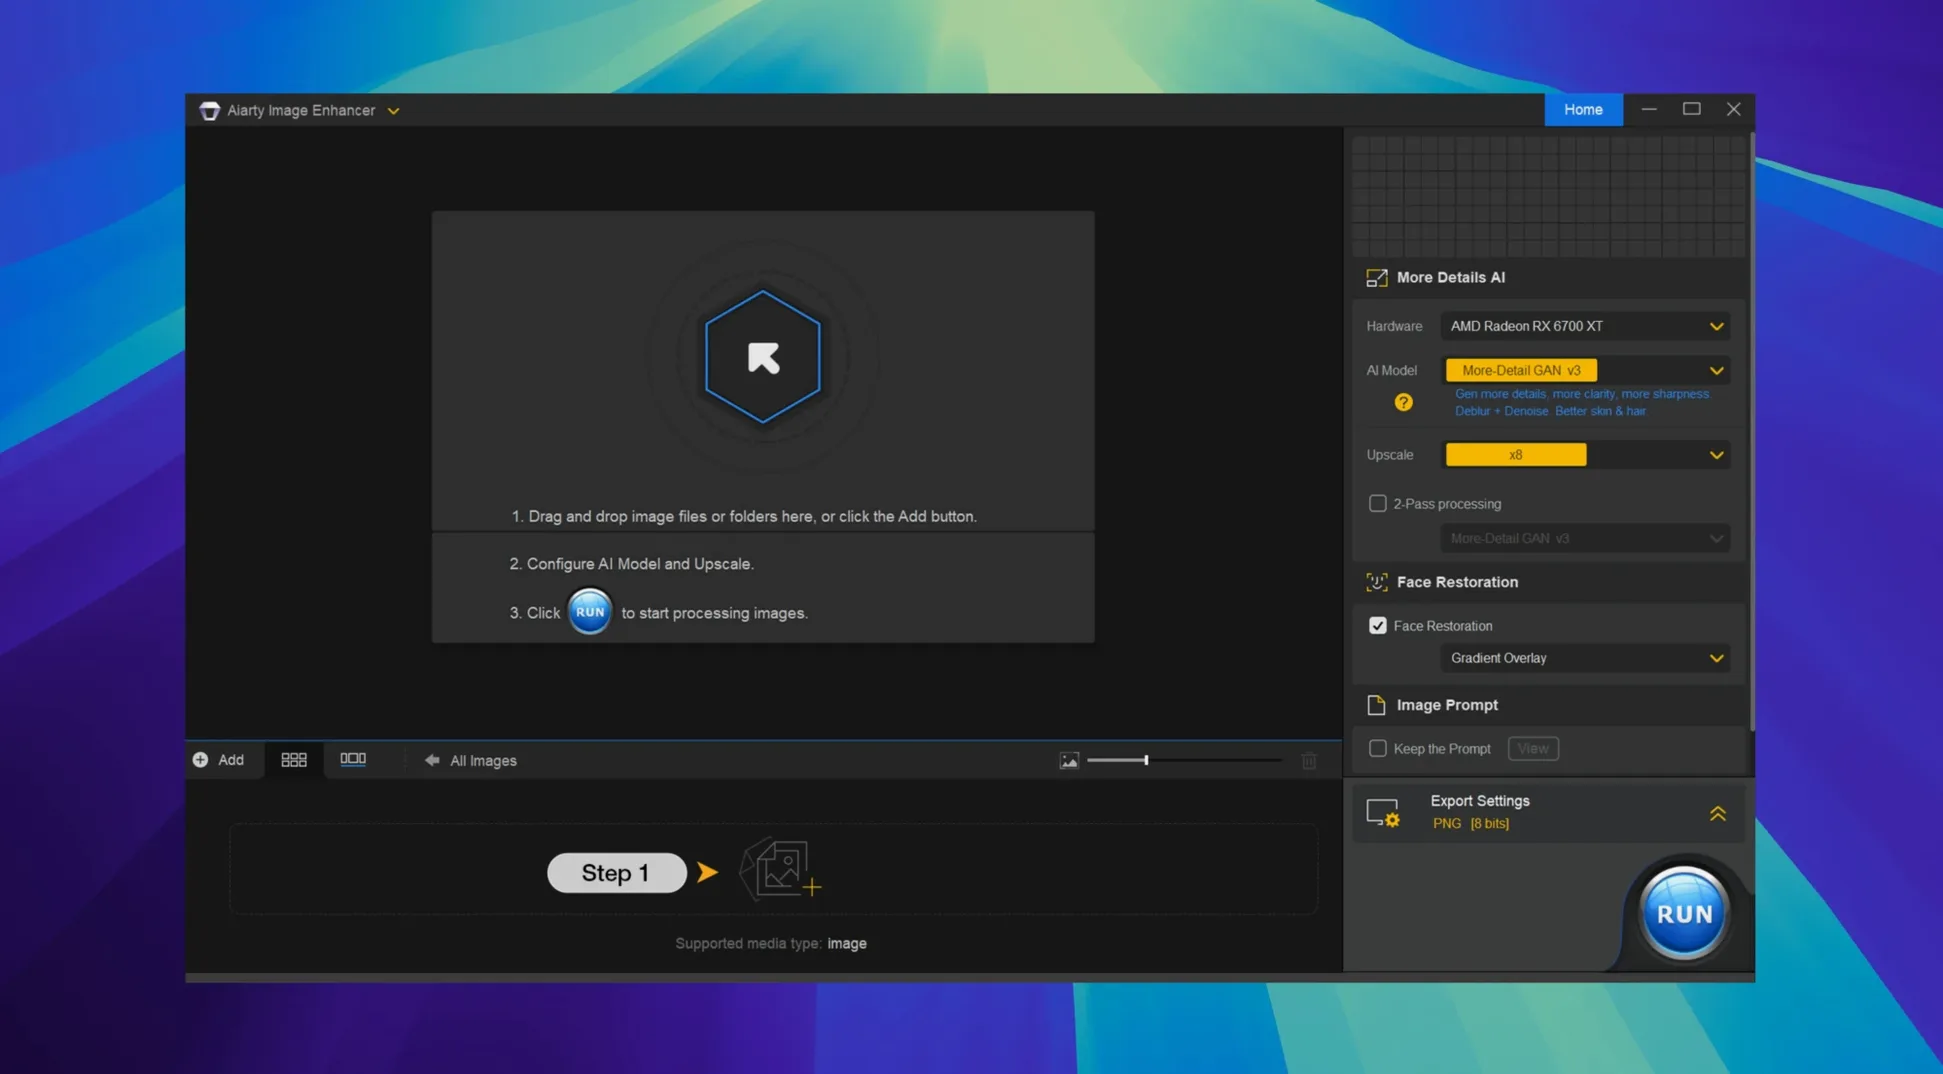
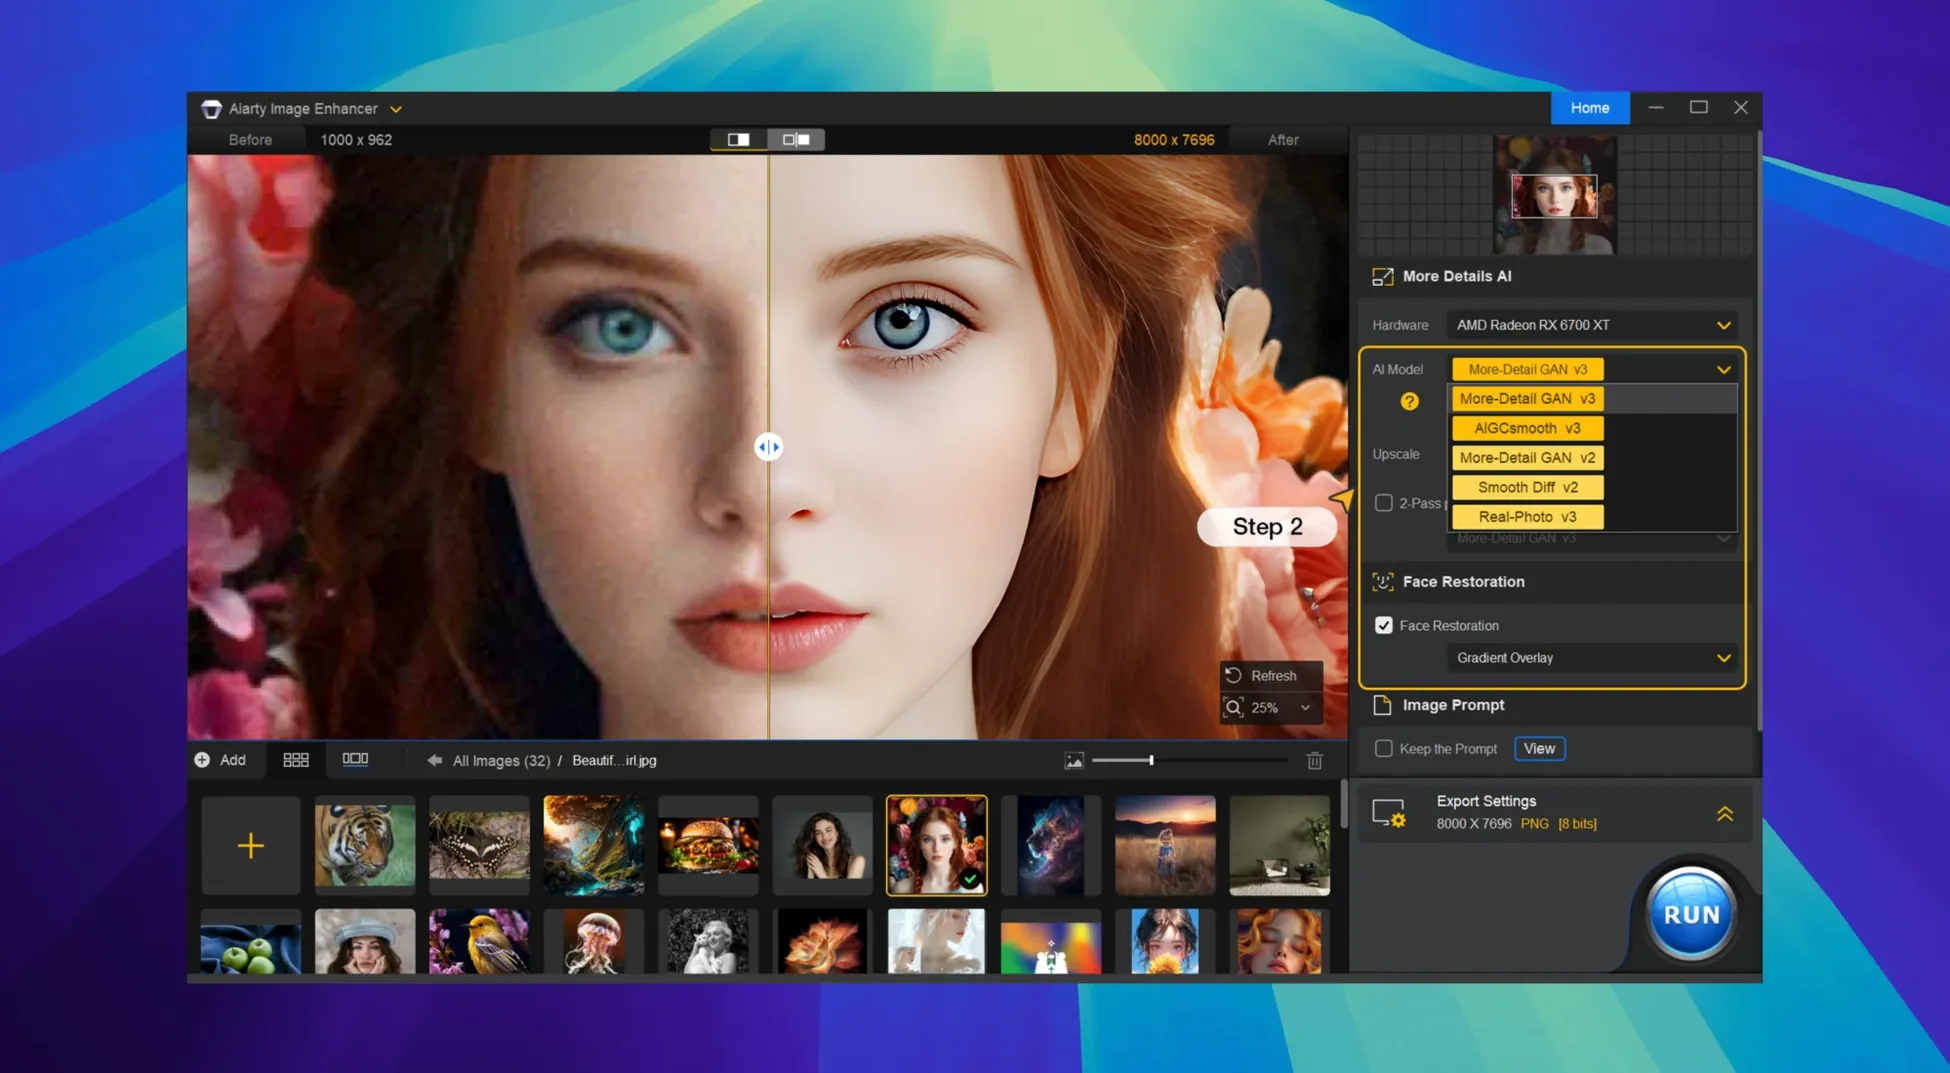
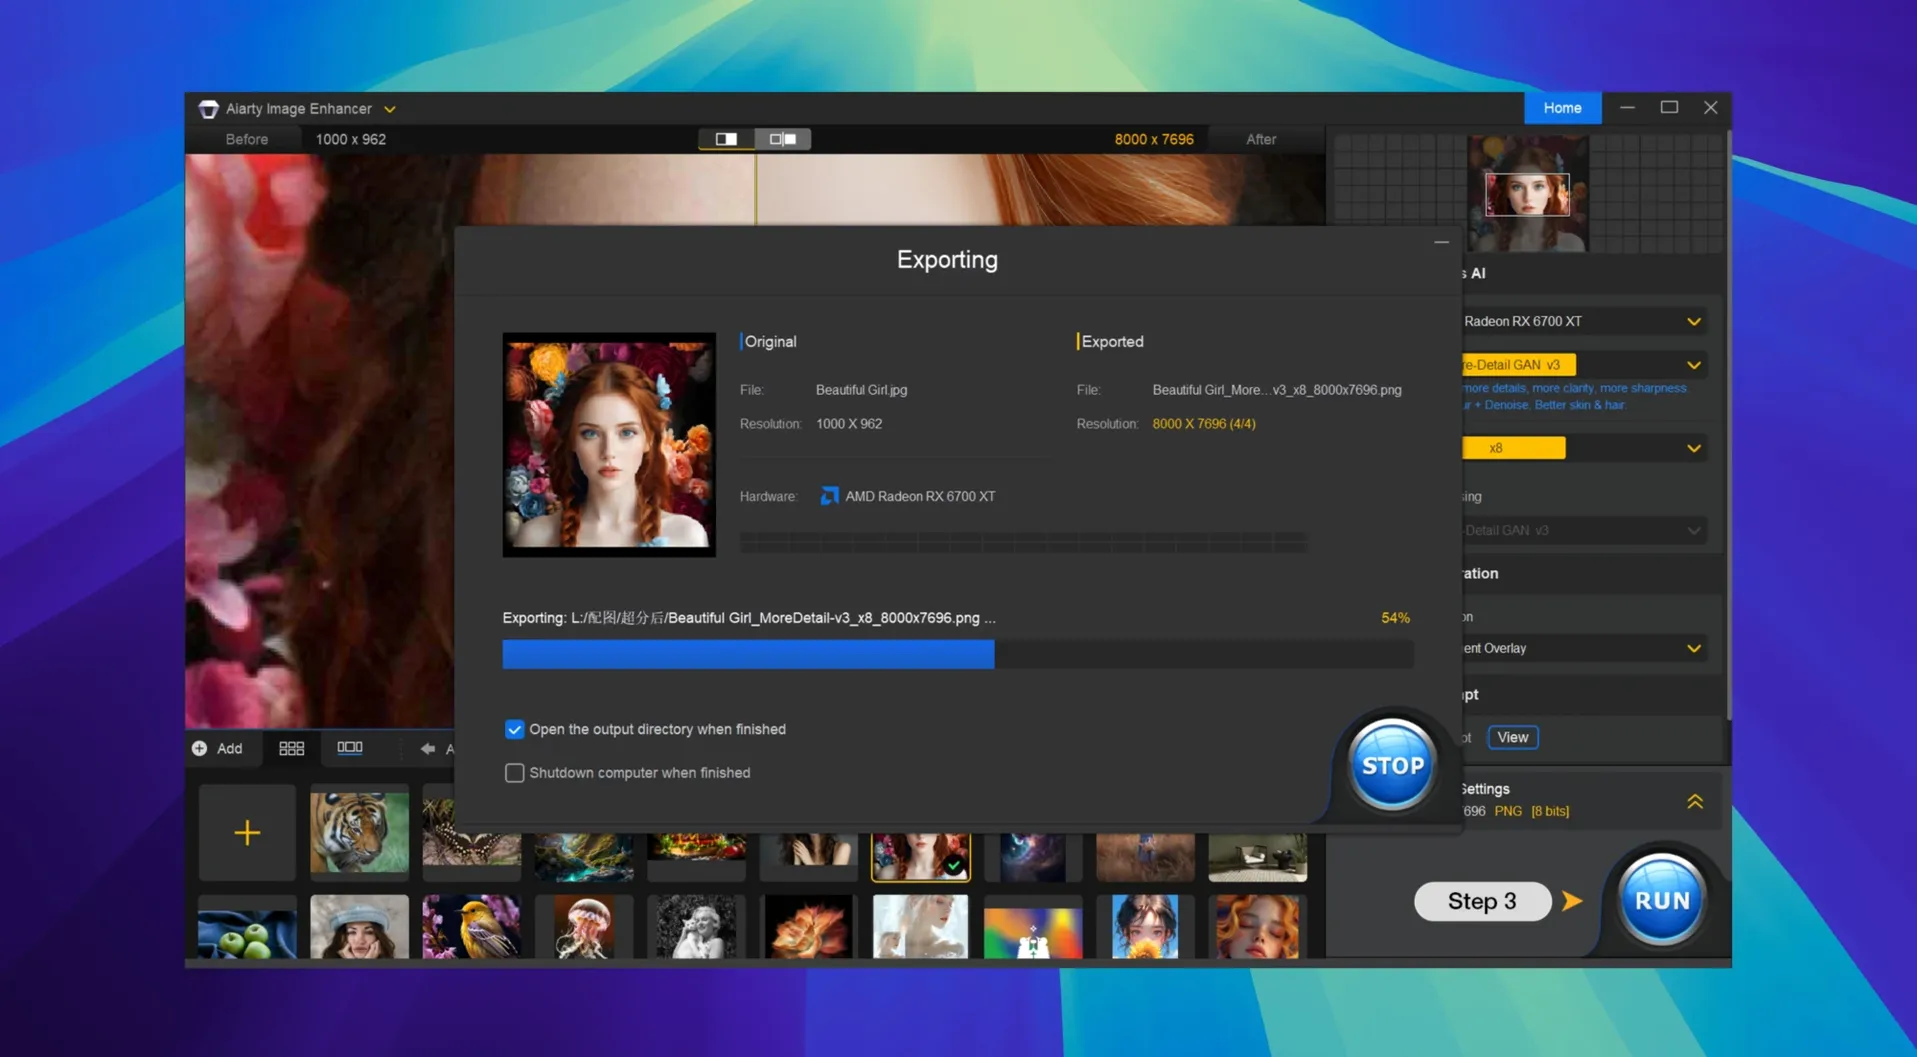
Aiarty Image Enhancer 3.14 handles upscaling up to 32K, which is the first number a newcomer should check. That scale matters when you're pulling old phone shots or low-res web images into a print or large display workflow.
Start with a noisy indoor photo for denoise and deblur tests
Start with a noisy photo taken indoors. The denoise pass cleans luminance and color noise while keeping edges sharp. Then run the same file through the deblur filter — it recovers detail from slightly out-of-focus shots without smearing skin or fabric textures.
Restoration and file support
For older scans, the restore mode rebuilds missing texture in hair, skin, and cloth. It works on JPEG, PNG, TIFF, WebP, BMP, and AVIF, plus RAW files from most cameras. Version 3.14 also tightens Lightroom Classic workflow, so you can send images out and bring results back without extra conversion steps. Interface language options include English, German, Traditional Chinese, Simplified Chinese, and Japanese — set it once and forget it.
EXIF metadata now preserved through denoise and upscale
The EXIF metadata access in 3.14 is the practical addition. Earlier versions stripped or ignored embedded camera data during export. Now, after you run an image through denoise or upscale, the original shooting settings — aperture, ISO, focal length — stay in the file. That makes a difference if you catalog photos by camera body or lens, or if you later want to check which settings produced a keeper.
The Lightroom Classic workflow improvements cut out the drag-and-export-reimport loop. You can select a raw file, open it in Aiarty, process it, and have the result land back in your Lightroom catalog without a manual file move. It saves a few seconds per image, and over a batch of fifty shots that adds up to time you don't spend hunting through folders.
Single-pass operation vs. Topaz Photo AI's separate subject models
Topaz Photo AI is the closest equivalent. Both handle denoising, sharpening, and upscaling. Topaz offers separate models for different subject types (face, landscape, low light), while Aiarty keeps everything in a single pass per operation. If you prefer choosing a specific model for each image, Topaz gives you that control. If you want one click and a result, Aiarty's approach is faster to learn.
HitPaw Video Enhancer has a photo mode, but its focus is video upscaling. The photo tools are competent for simple enlargements, not restoration or texture generation. Aiarty's detail generation for hair and fabric is noticeably more refined — the output looks like a capture, not a render. For photographers who work with portraits and product shots, that difference matters.
Adobe Lightroom's built-in Enhance Details works only for raw files and only at 2x upscale. It does not denoise or restore missing texture. Aiarty handles the full range of file formats and can go up to 32K, which puts it in a different category for large-format output.
6-megapixel JPEGs from a 2010 camera cleaned and sharpened
I had a folder of JPEGs from a 2010 compact camera — 6 megapixel shots with visible grain and soft focus. I opened Aiarty and dragged the first image in. The interface showed a side-by-side preview. I selected the denoise preset first. The processed side lost the grain but kept the brick texture on a building in the background. Good enough.
Next I ran the deblur pass. The original shot was a portrait where the subject's eyes were slightly soft. After deblur, the eyelashes and iris edges gained definition without looking artificial. That was the first thing I used to verify the metadata was intact.
For the last shot, a landscape with a distant mountain, I used the upscale tool. I set it to 4x, bringing the image from 6 megapixels to roughly 96 megapixels. The preview showed tree detail on the mountain slope that was invisible in the source. The output file was a TIFF, and I imported it into my catalog software directly — no intermediate format conversion needed.
The whole session for twelve images took about ten minutes, most of that waiting for the upscale pass on the largest files. No settings tweaking beyond picking the operation type.
Always denoise first to prevent upscale artifacts
Start with the denoise pass before anything else. Noise in the source image will confuse the upscale model and produce artifacts. Cleaning the noise first gives the upscale clearer data to work with.
Try the restore mode on photos where faces are in shadow. It recovers skin and hair texture that looks lost, especially on older phone camera shots. It does not work as well on extreme motion blur — that needs a different class of tool.
For batch work, process one file through the full pipeline first. If the settings work, apply the same sequence to the rest of the batch. Changing settings mid-batch on a hundred files is a headache you can skip.
Keep the source files in a separate folder. The export overwrite dialog exists, but it is easier to avoid the risk by keeping originals untouched. Name the output folder something you will recognize three months later — "aiarty_2025_upscale" rather than "processed".
If you use Lightroom Classic, the workflow integration in 3.14 is worth setting up immediately. Test it with one raw file before committing a batch. Once it works, the round trip is faster than exporting, opening separately, and reimporting.
- macOS 11 or later
- Intel or Apple Silicon
Questions from the notes
What is the maximum upscale size in Aiarty Image Enhancer?
It can upscale images up to 32K.
Which file formats does Aiarty Image Enhancer support?
It supports JPEG, PNG, TIFF, WebP, BMP, and AVIF, plus RAW files.
Does Aiarty Image Enhancer work with Lightroom Classic?
Yes, version 3.14 includes workflow improvements for Lightroom Classic.
Install procedure
- Mount the disk image and launch Open Gatekeeper friendly.
- Press Enter in Terminal to bypass Gatekeeper.
- Drag the app to the Applications folder.
- Open the app.
- If needed, run it with Rosetta and use a VPN.
Reports from players
Sign in or create a tester account to file a report.
No reports filed yet.