
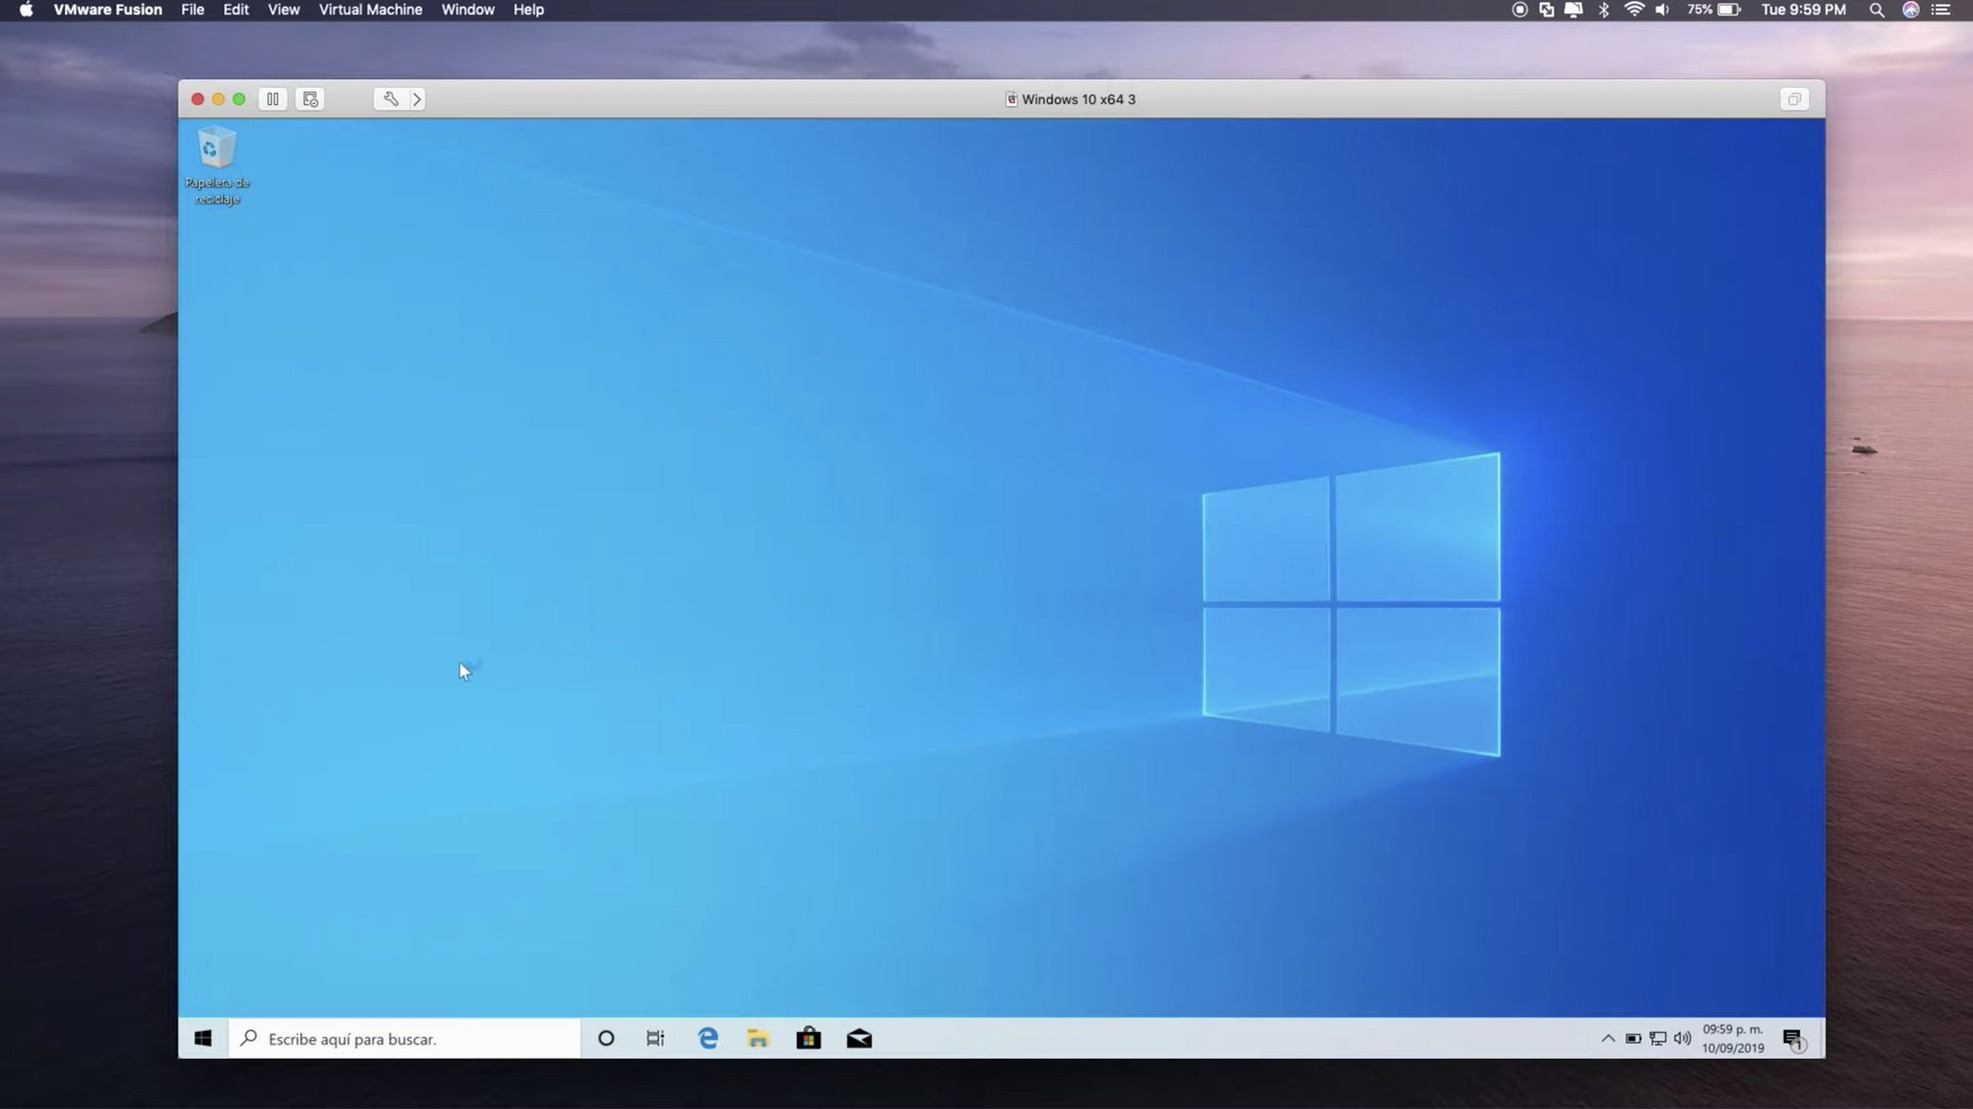
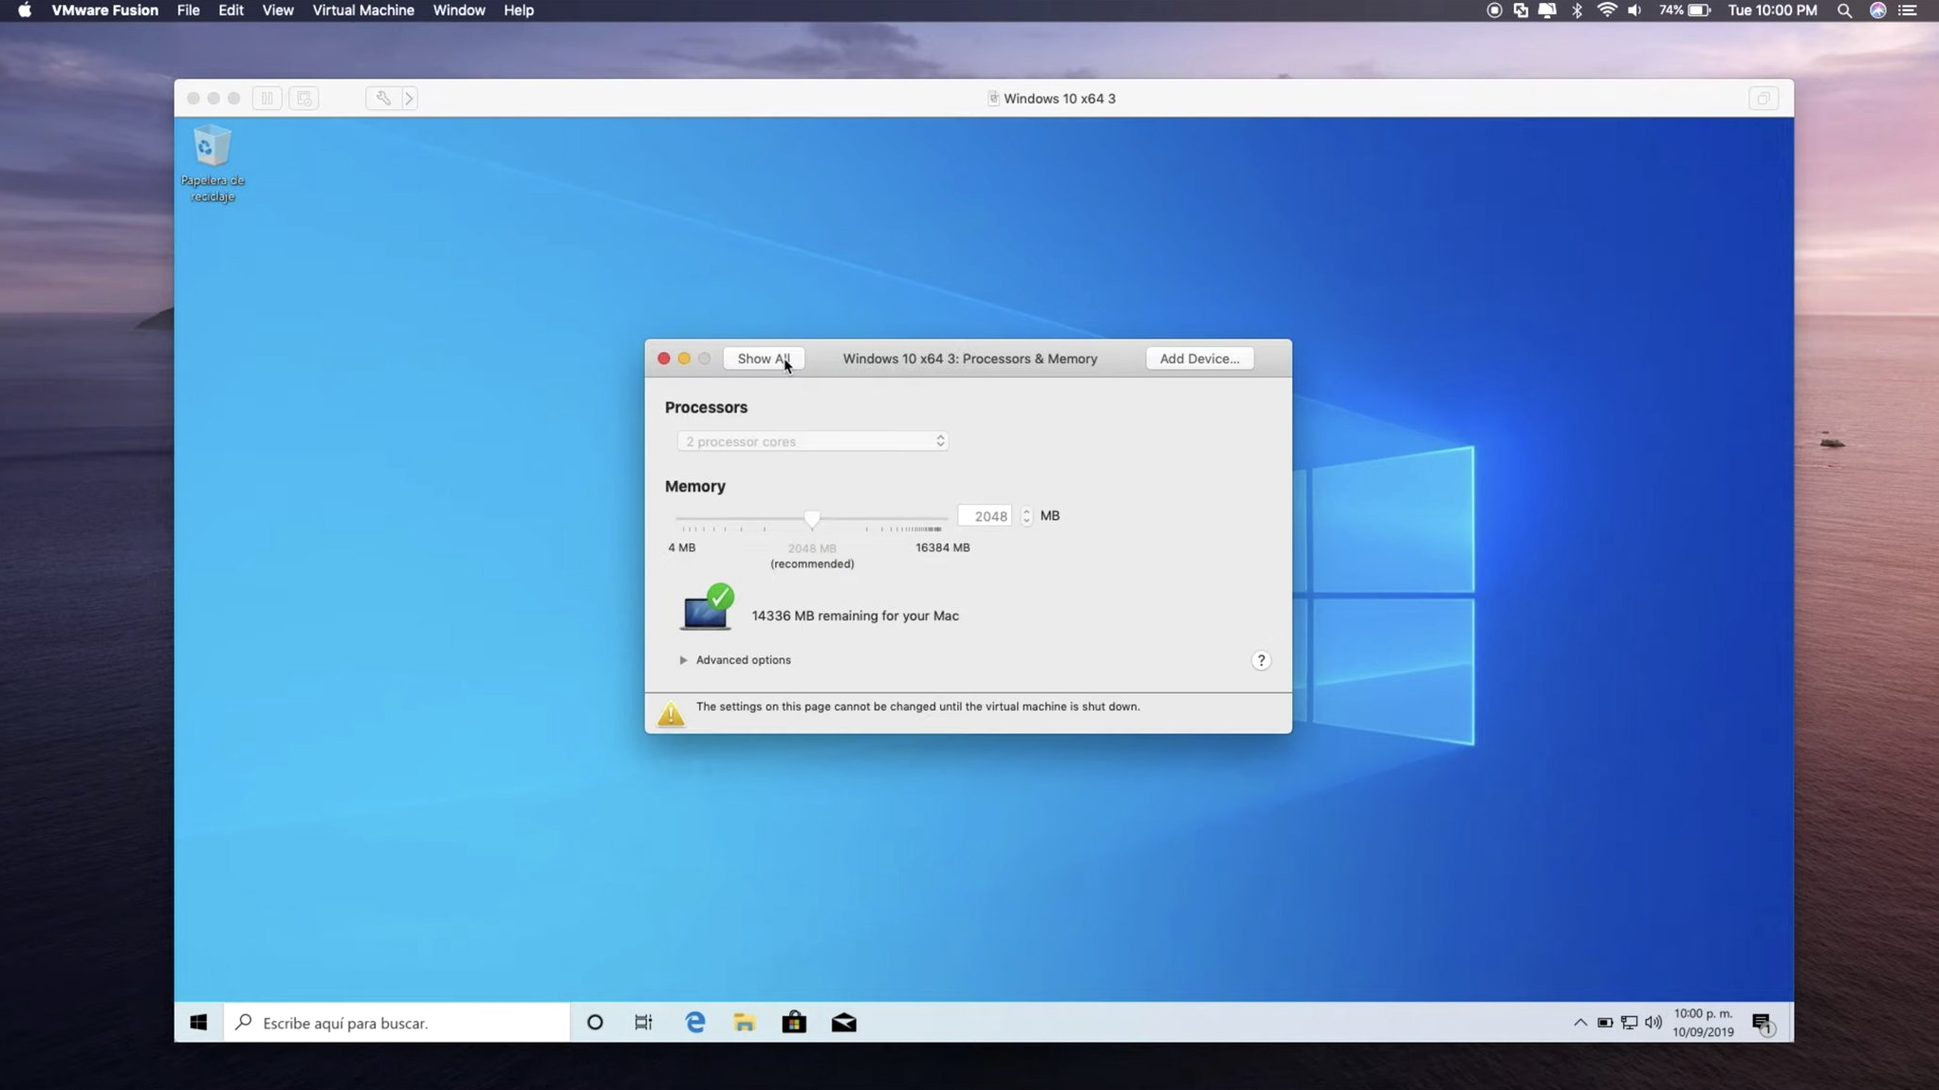
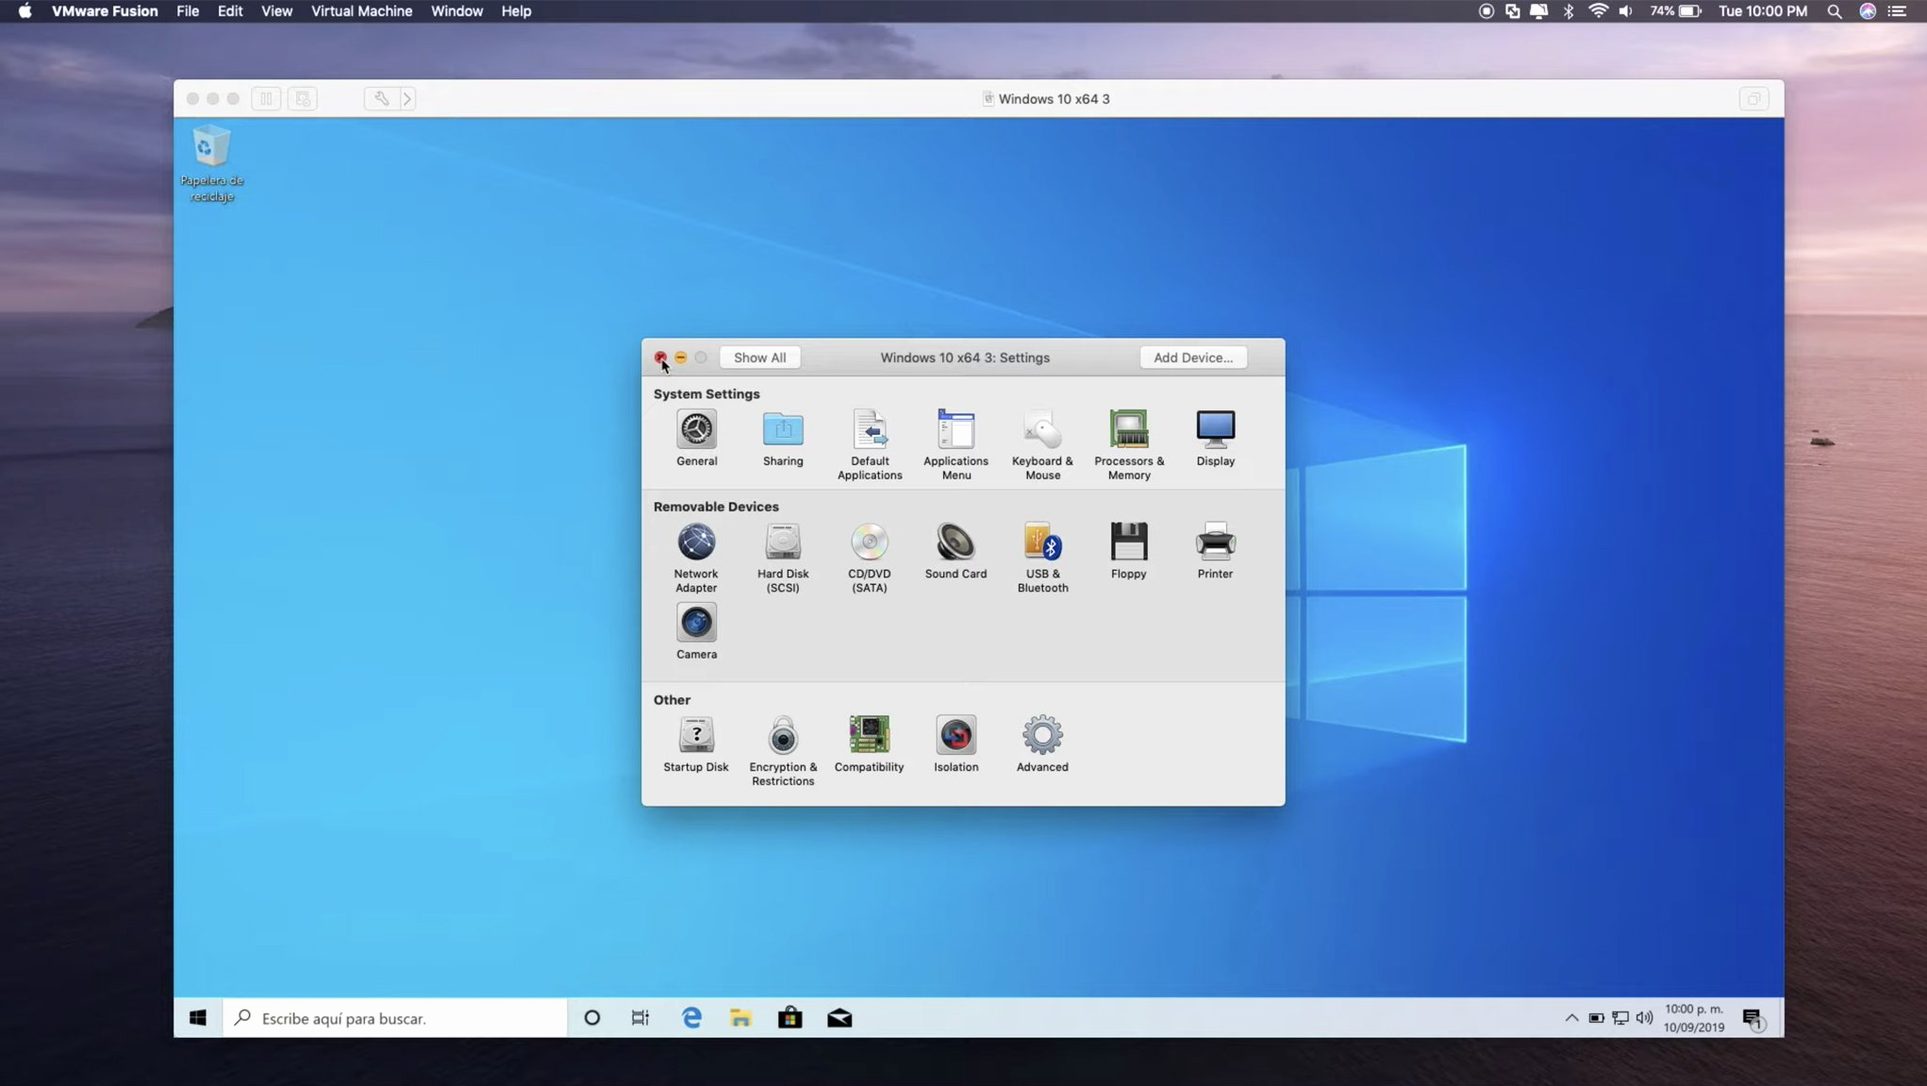
You need to run Windows software on a Mac, or test another OS without rebooting. VMware Fusion Pro creates a virtual machine on your desktop, letting you install Windows, Linux, or other OSes as isolated guests. Here is the workflow a newcomer should follow to get a usable VM running quickly.
- Open Fusion and click New. Choose to install from an ISO or use the express installation wizard for common OSes. For Windows 10 or 11, Fusion can download the installer automatically.
- Allocate resources: give the VM at least 4 GB of RAM and two processor cores. If you plan to run DirectX 11 applications in Windows, enable 3D acceleration in the VM settings.
- After the OS installs, install VMware Tools from the VM menu. This adds proper display drivers, mouse integration, and clipboard sharing between macOS and the guest.
- For USB 3.1 devices or external drives, connect them while the VM is running and attach them via the VM menu. Fusion passes them through cleanly.
That setup handles most day-to-day needs. If you work with containers, Fusion also supports local Kubernetes clusters, so you can spin up a full dev environment inside a single VM without leaving macOS.
Parallels hides VM settings behind a wizard; Fusion gives direct hardware access
VMware Fusion Pro and Parallels Desktop are the two main options for running Windows on a Mac. Parallels tends to keep the VM settings more hidden behind a wizard, while Fusion gives you direct access to hardware configuration from the start. Fusion Pro also includes Kubernetes and OCI container support through the command line, which Parallels does not offer. UTM is another alternative, especially on Apple Silicon Macs. UTM is free and open source, but its virtualization relies on the QEMU backend, which means you lose DirectX 11 hardware acceleration for Windows guests. Fusion Pro gives you that acceleration, so Windows applications with 3D graphics run natively rather than being translated through QEMU. UTM also has no equivalent for linked clones or the built-in container support that Fusion Pro provides. If you need a simple, occasional Windows instance, UTM may be enough. If you need DirectX 11, USB 3.1 passthrough, eGPU support, or container workflows, Fusion Pro covers those scenarios without extra configuration.
Timestamps for VM creation and last power-on appear in the library
The 26H1 release adds timestamps for virtual machine creation and last power-on time. These show in the Virtual Machine Library window next to each VM entry. If you manage multiple VMs for different projects, you can quickly tell which one you last used or which one was set up most recently. The remote connection feature for ARM-based ESX hosts is another detail that only matters once you need it, but saves time if your infrastructure runs on ARM servers. VMware Tools, installed after the guest OS, enables clipboard sharing and drag-and-drop between macOS and the VM. Without it, you switch between systems using copy-paste commands inside each OS. Fusion also retains the VM window position and resolution between sessions, so you can close a VM and reopen it in the same layout.
Start with one VM and choose a supported Linux or FreeBSD ISO
Start with one VM and get it running before creating more. Choose an ISO for a supported guest: Ubuntu 26.04 LTS, Fedora 43 or 44, SUSE Linux Enterprise 16, openSUSE 16.0, or FreeBSD 15.0 all have official support in this release. After installing the guest OS, install VMware Tools immediately. This resolves screen resolution issues and makes the mouse cursor work smoothly between macOS and the guest. Set a reasonable disk size: twenty to forty GB is enough for a development VM. You can expand the virtual disk later, but shrinking it is more involved. If you intend to run Windows 10 and use DirectX 11 applications, enable 3D acceleration during VM creation. You cannot add it after the fact without reinstalling the graphics drivers inside Windows. Keep the registration key file safe. The activation instructions are included with the download, but you need that key to unlock Pro features like linked clones and encrypted VMs.
Requires macOS 13, runs on Apple Silicon and Intel, under 1 GB on disk
VMware Fusion Pro requires macOS 13 or later and runs on both Apple Silicon and Intel 64-bit Macs. The application itself takes under a gigabyte on disk. Each virtual machine stores its data in a separate bundle file on your drive, sized by the disk you allocated during setup. A VM with a twenty GB disk will occupy roughly that space once the guest OS finishes installing. Fusion uses additional memory based on the RAM you assign to each VM. If you assign four GB to a VM, macOS sees that memory committed. The DirectX 11 hardware acceleration works only in Windows 10 virtual machines, not Linux guests. USB 3.1 devices require the VM to be running before you attach them through the VM menu. eGPU support is available for external graphics enclosures connected to Intel Macs; on Apple Silicon Macs, eGPU passthrough is not supported by the hardware. Fusion itself runs in a single process, and you can switch between VMs using the window system. The Virtual Machine Library shows all your VMs with their creation and last-on timestamps, which is a quick way to find the VM you need.
Skipping VMware Tools causes low resolution, laggy mouse, and no clipboard
The most common mistake is skipping VMware Tools installation. Without it, the guest OS runs at a low resolution, mouse movement feels laggy, and clipboard sharing is absent. Install it from the VM menu after the guest OS boots. Another mistake is allocating too much memory to a VM. If you assign eight GB to a Windows VM on an eight GB Mac, the host OS runs out of RAM and performance drops. Start with four GB and increase only if the guest actually needs it. Beginners also forget to enable 3D acceleration before installing Windows. Fusion does not let you turn it on later without reinstalling the graphics stack in the guest. If you plan to run any 3D software, enable it during VM creation. Another issue: using the wrong architecture. On an Apple Silicon Mac, you can run x86 Windows only through emulation, which is slow and not covered by the DirectX 11 acceleration. Use the ARM version of Windows if you want native performance on Apple Silicon. Finally, some users ignore the activation instructions and expect the Pro features to work immediately. The download includes installation and activation instructions, plus a registration key link. Follow those steps before trying to create encrypted VMs or linked clones.
- Fixes: none listed in this release.
- Changes: timestamps for VM creation and last power-on time are now visible in the library.
- New guest OS support: Ubuntu 26.04 LTS, Fedora 43, Fedora 44, SUSE Linux Enterprise 16, openSUSE 16.0, FreeBSD 15.0.
- Remote connections: added support for ARM-based ESX hosts.
- macOS 13 or later
- Intel or Apple Silicon processor
- Interface language: English
Questions from the notes
What guest OSes does version 26H1 add?
The 26H1 release adds support for SUSE Linux Enterprise 16, openSUSE 16.0, Fedora 43 and 44, Ubuntu 26.04 LTS, and FreeBSD 15.0.
Does VMware Fusion Pro support Apple Silicon Macs?
Yes, Fusion Pro runs on both Intel and Apple Silicon Macs, though the guest OS must support the architecture. Windows 10 and 11 run under emulation on ARM-based Macs with DirectX 11 acceleration available.
Install procedure
- Install the application using the included installer instructions.
- Activate the product following the activation instructions provided.
- If registration keys are needed, download them from the link included in the downloaded files.
Reports from players
Sign in or create a tester account to file a report.
No reports filed yet.